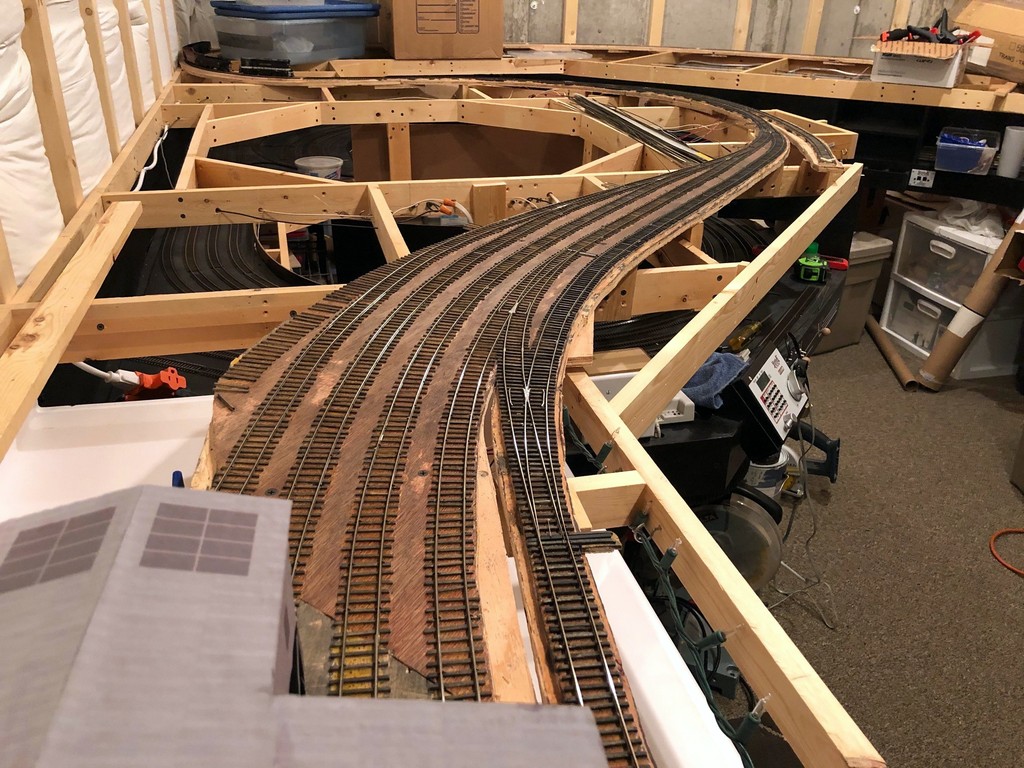
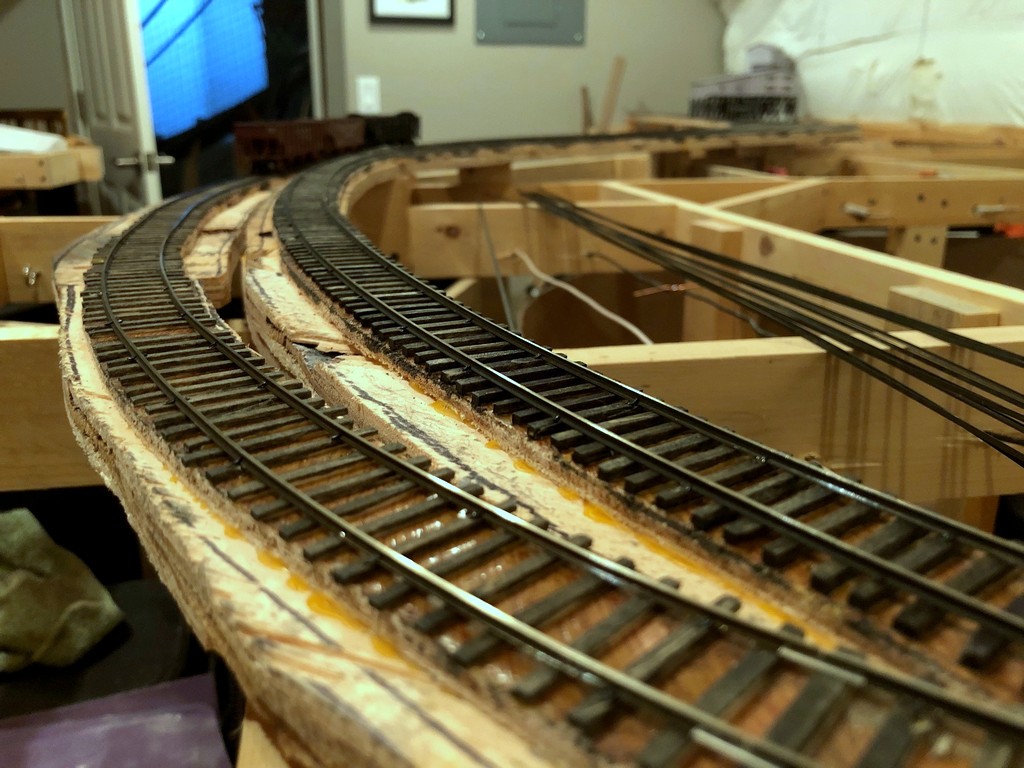
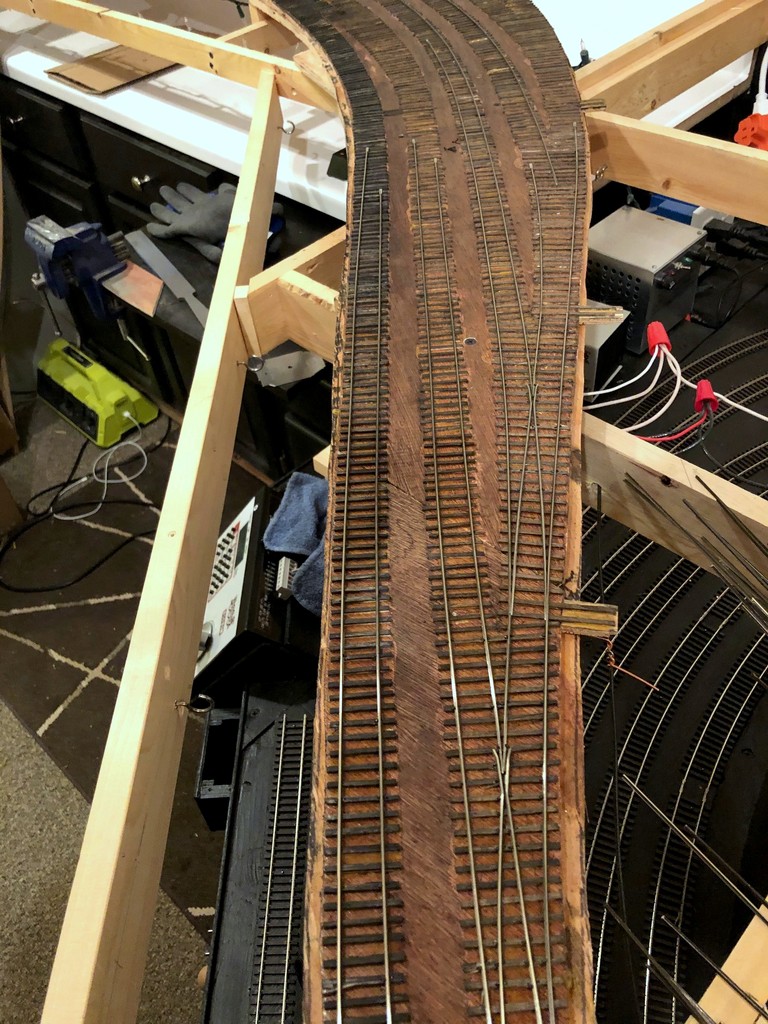
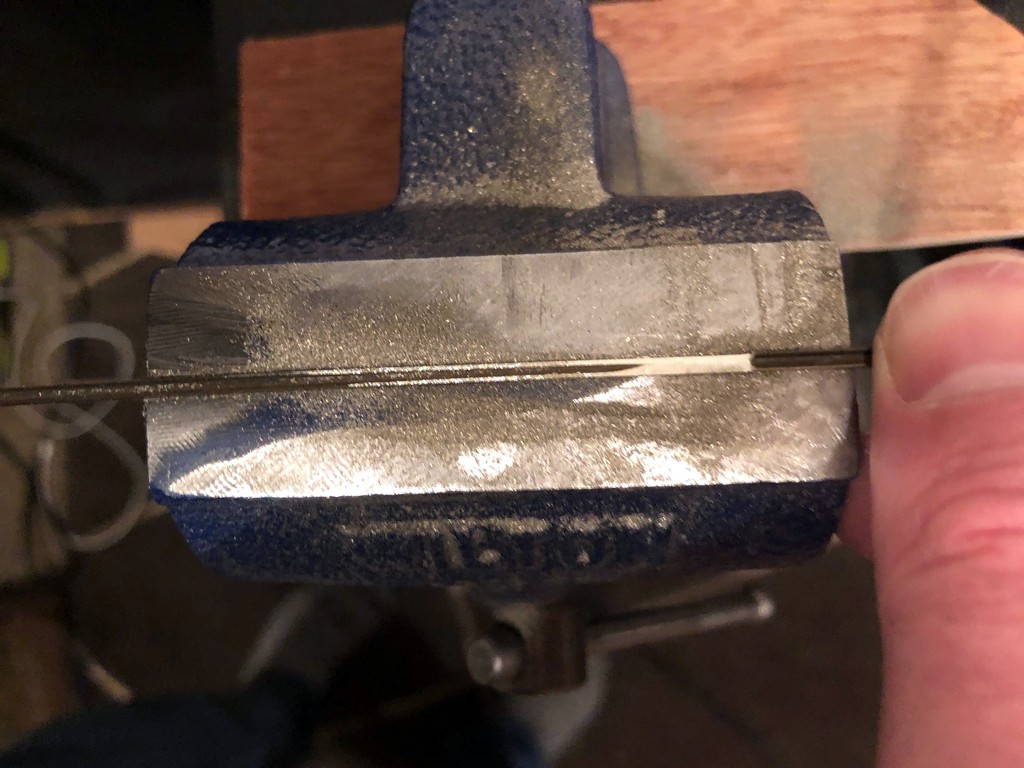
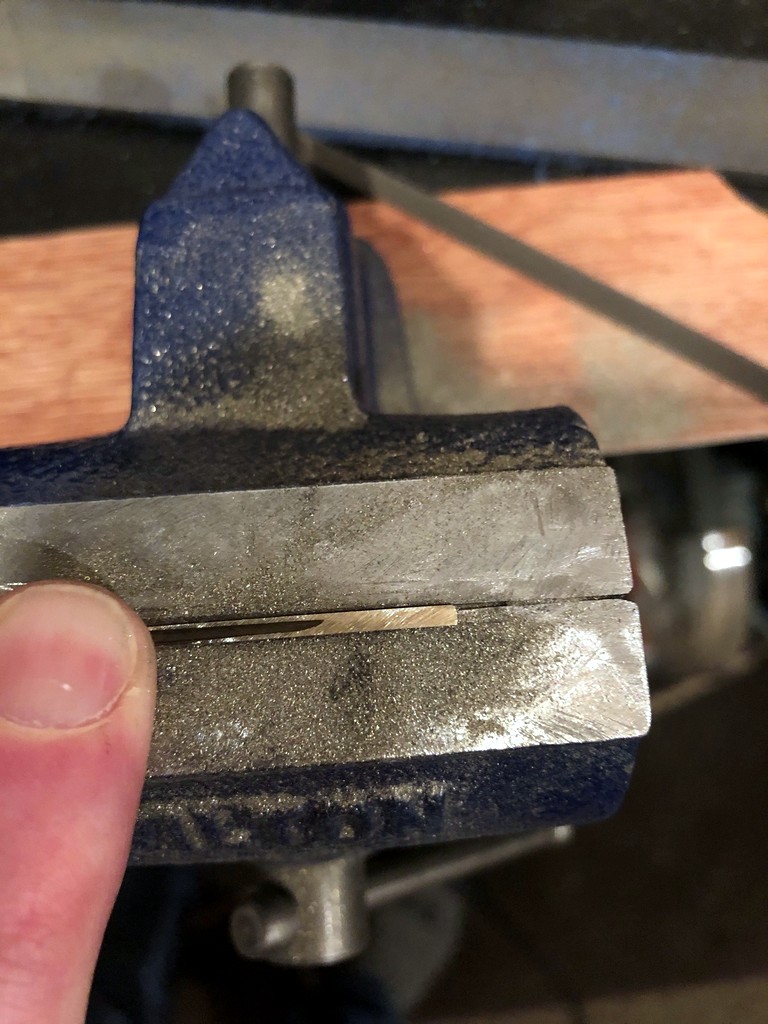
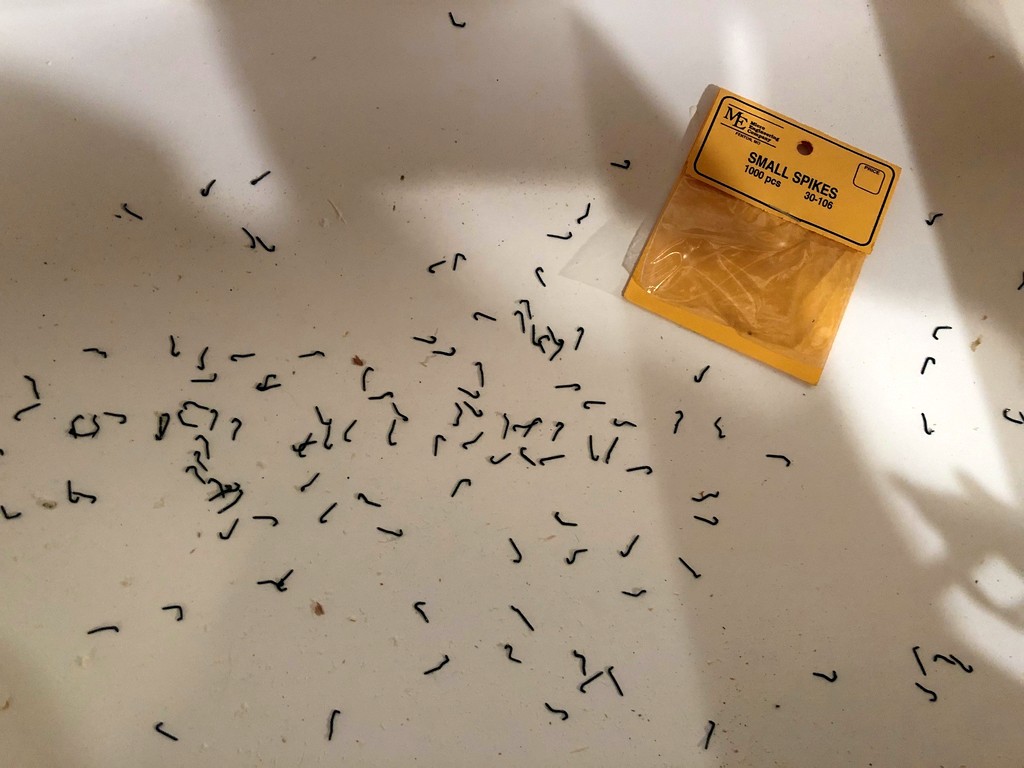
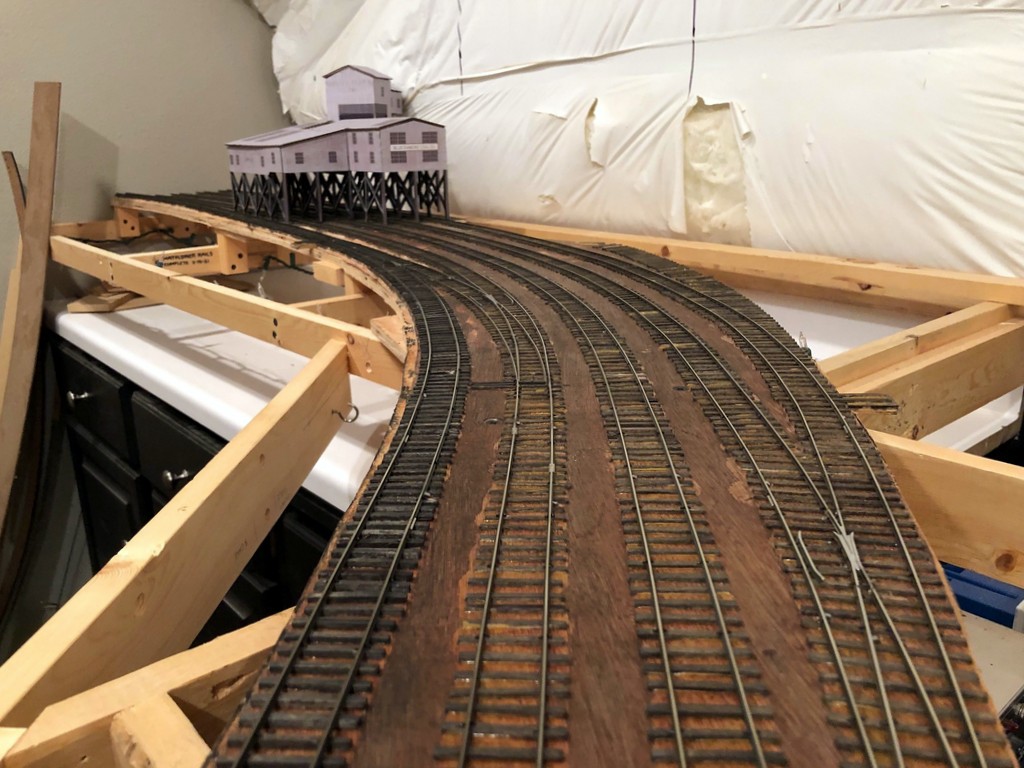
I’ve completed laying rails on the Mayflower section of the railroad, and I’m just about ready to run the first mine run–exciting times! Everything is hand-laid, and I’ll share a little about my technique. I lay everything in place instead of using a jig because I find the track flows better. I use code 83 for the main and code 70 for sidings, and I spike everything with small spikes, about every 5th tie except for switches. I like to work outside-in as you’ll see in the pictures of the load yard ladder. This means the first few switches take a while because you’re notching for the points of ALL the switches on that piece of rail, but it speeds up as you go because you’ve already filed pieces up-front. I don’t pay much attention to frog numbers or curves–I just lay them as the ties dictate (and remember, the ties were laid down based on outlines traced around flex track, so that’s where I check radii and things).
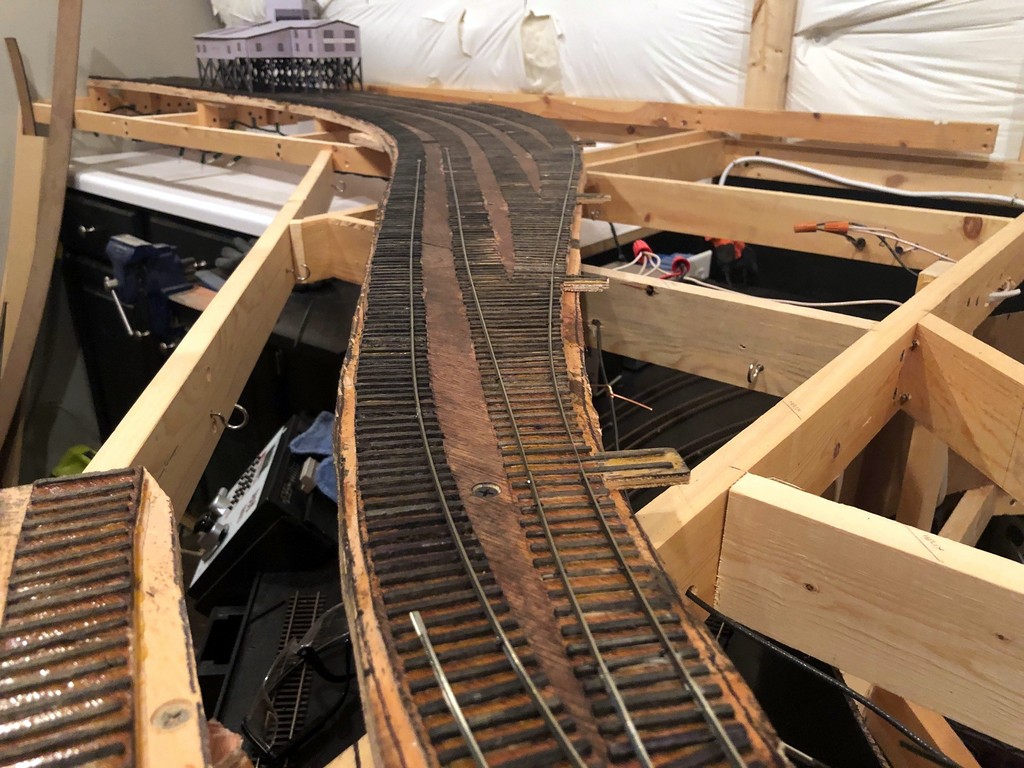
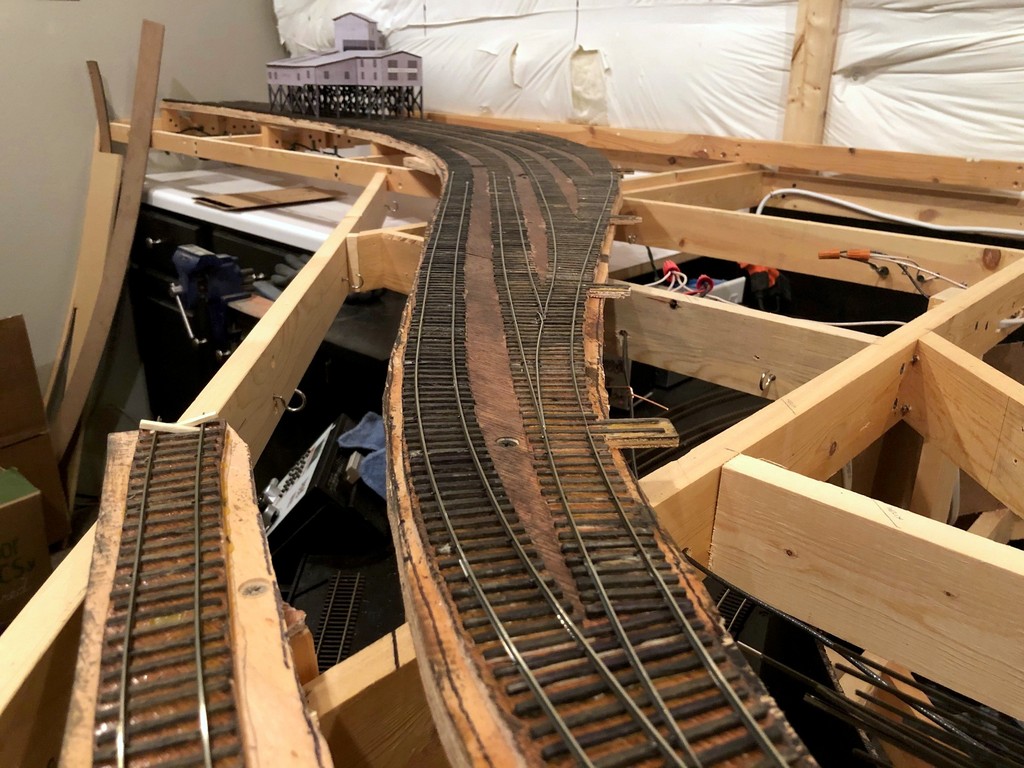
You also might notice that I’m not putting in guard rails alongside the frogs for some switches which is prototypical for sidings in some areas of the country. I use them on both sides of every mainline switch, and I use them on the tightest curve side of every curved switch. For the rest, I test cars and put them in as needed. If your frog is straight, you probably wont need them. If your frog is curved at all, you probably will. I like the look of the switches with no guard rails because it emphasizes “siding.” I also use the track to tell part of the story, so you’ll notice that I laid an extra switch’s worth of ties for a 5th track under the tipple that has been removed (try doing THAT with commercial track)–Mayflower had a spot to load on a 5th track, but track diagrams in my era only show 4 tracks. I’ve modeled it as if they just pulled up the rails and laid through the switch instead of pulling up all the ties.
All the feeders (a gazillion) got dropped and attached yesterday, so I just need to set out some cars and recruit my engineer for the first-ever mine run on the layout. Woohoo!
Dan
Looks great. Thanks for the update. Looking forward to the photos of the first mine run.
It looks good, nothing like that first train over tracks you spiked. I currently predrill pilot holes for my spikes because I am tired of bending them and smashing ties or pushing the rails out of gauge, it really does not add that much more time, and really it might even be a wash because every spike works. I purchased a Dremel Stylus (cordless) that I only use for spiking, it has a small drill bit in it and I taped on to the side of it a LED that I wired to a small switch and battery. The LED helps me see that the drill bit is in the right spot, it only takes a few to know how far away from the base of the rail to get it to work every time.