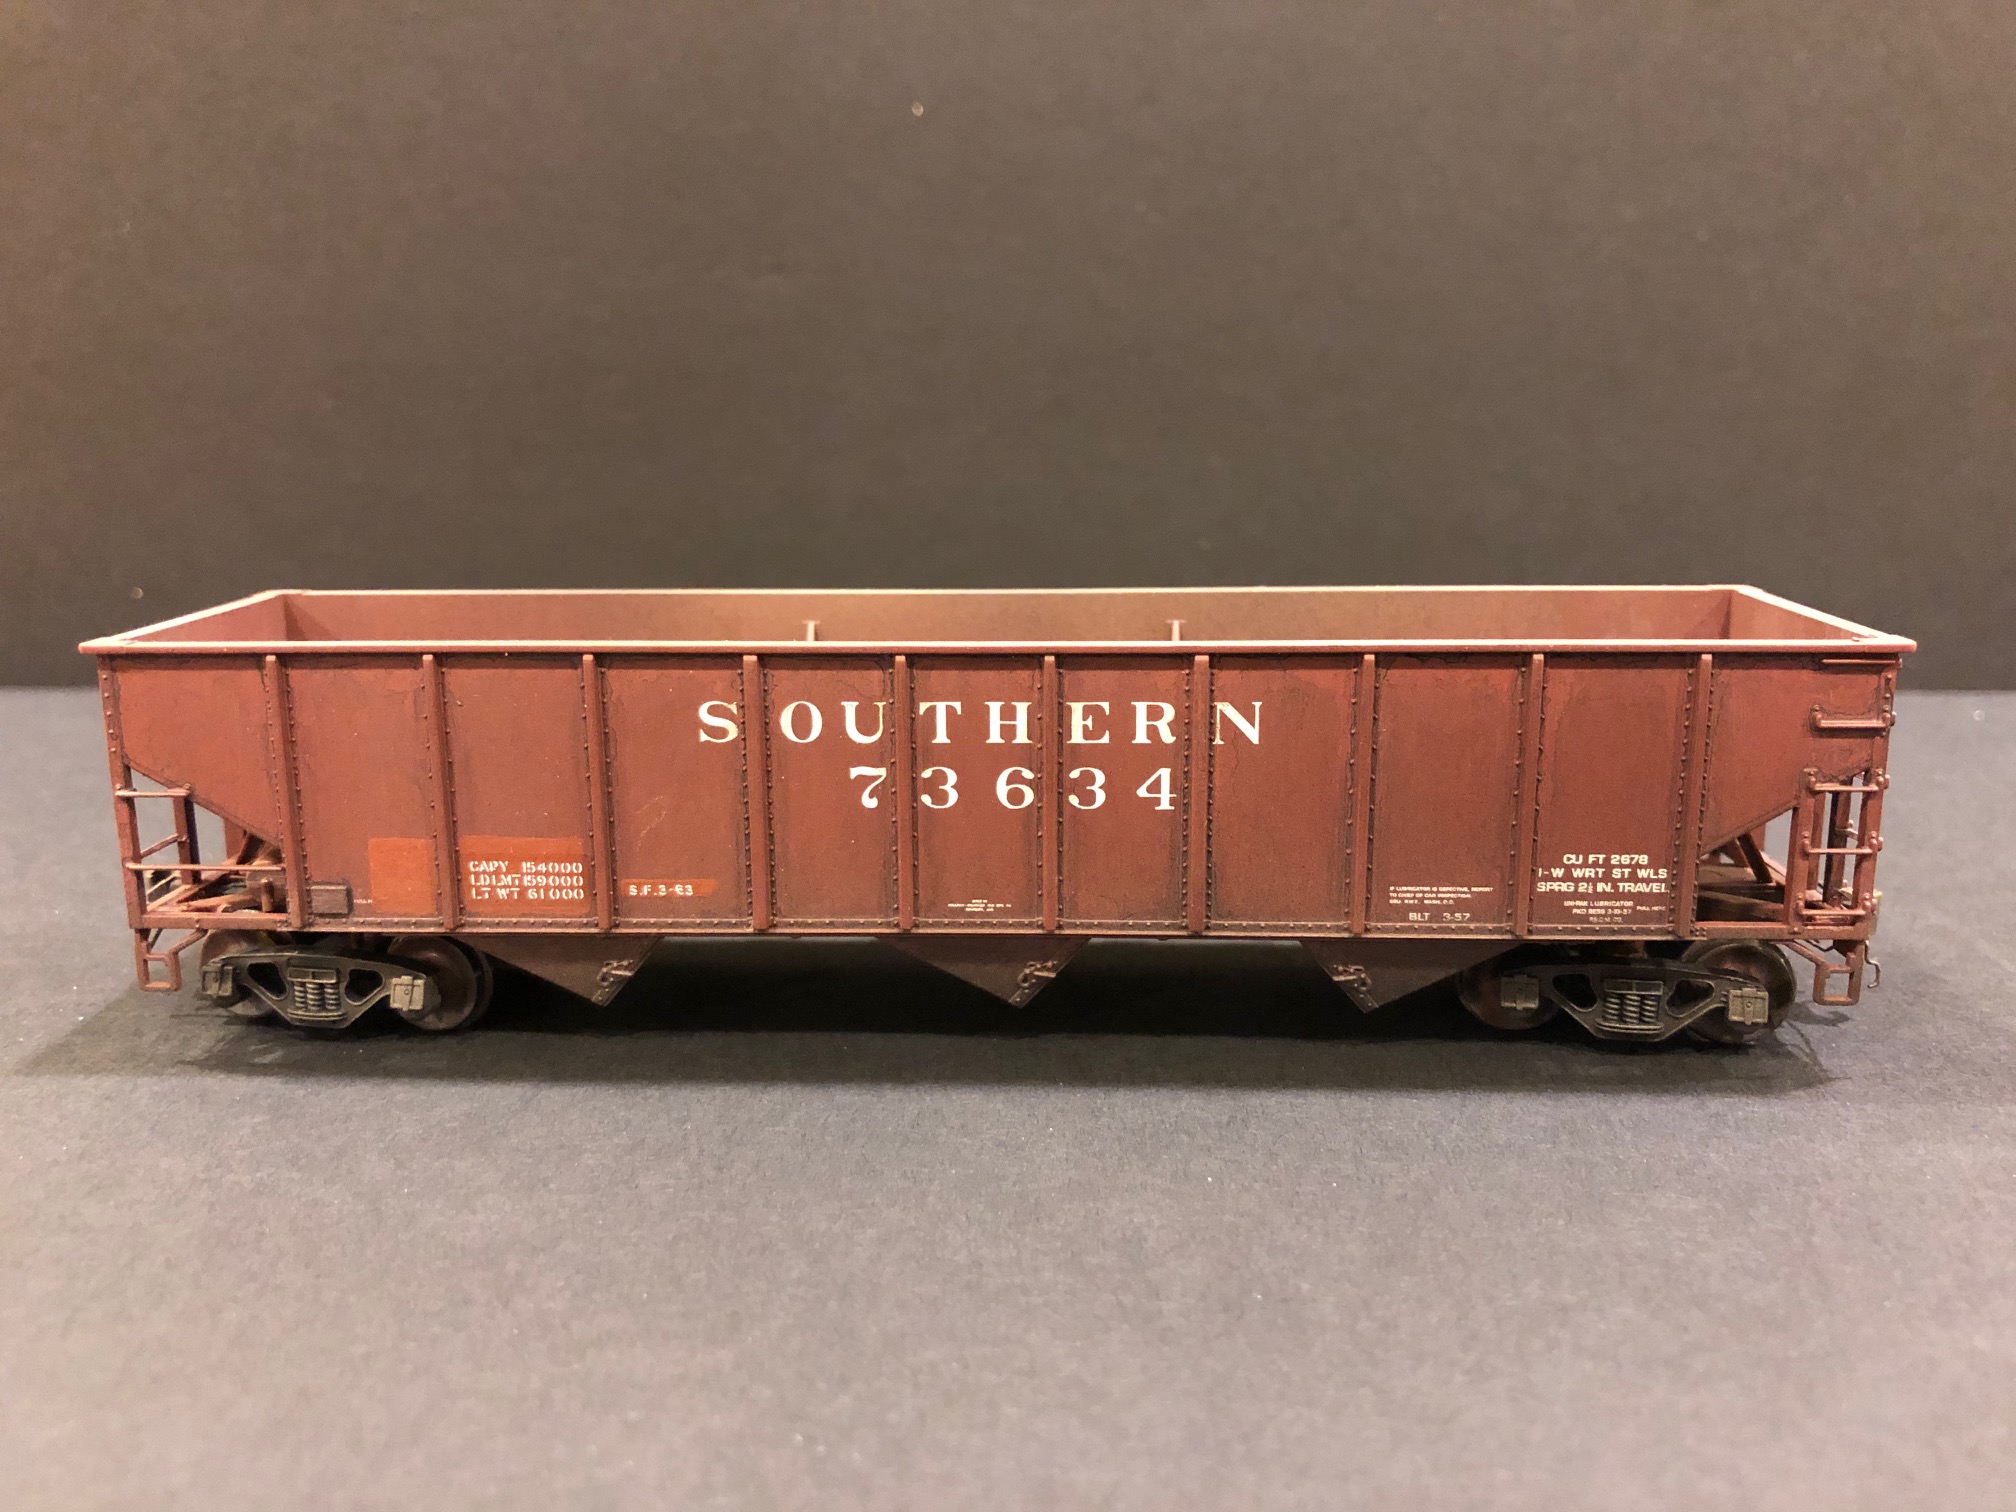
In addition to building the layout, I’m also spending some time building the hopper fleet to occupy it. I figure I’ll need somewhere between 100-200 hoppers. I’ve already modeled more than a dozen classes of hoppers for the layout, but the most numerous hopper will be a Southern 70-ton 3-bay hopper. The Southern had about 4,000 of these cars in the 1960s, and thankfully the Atlas Trainman 70T hopper is a pretty close stand-in.
The detail on the Atlas car is slightly above what you’d expect from an entry-level model with sharp paint, good rivets and crisp detail, but it still needs a little work to be ready for a prototype-based layout. Out of the box, the most detrimental feature is the chunky molded-on grab irons for the corner ladders. I’ve superdetailed a few of these cars by completely stripping the ladders and adding individual wire grabs, but it’s a lot of work for a middle-of-the-train car–not something I want to replicate on 60 cars. I’ve found I can improve the look of the ladders significantly by carving away the thickness of the molded grabs with an XActo knife, and it takes a lot less time and detail parts than adding wire.
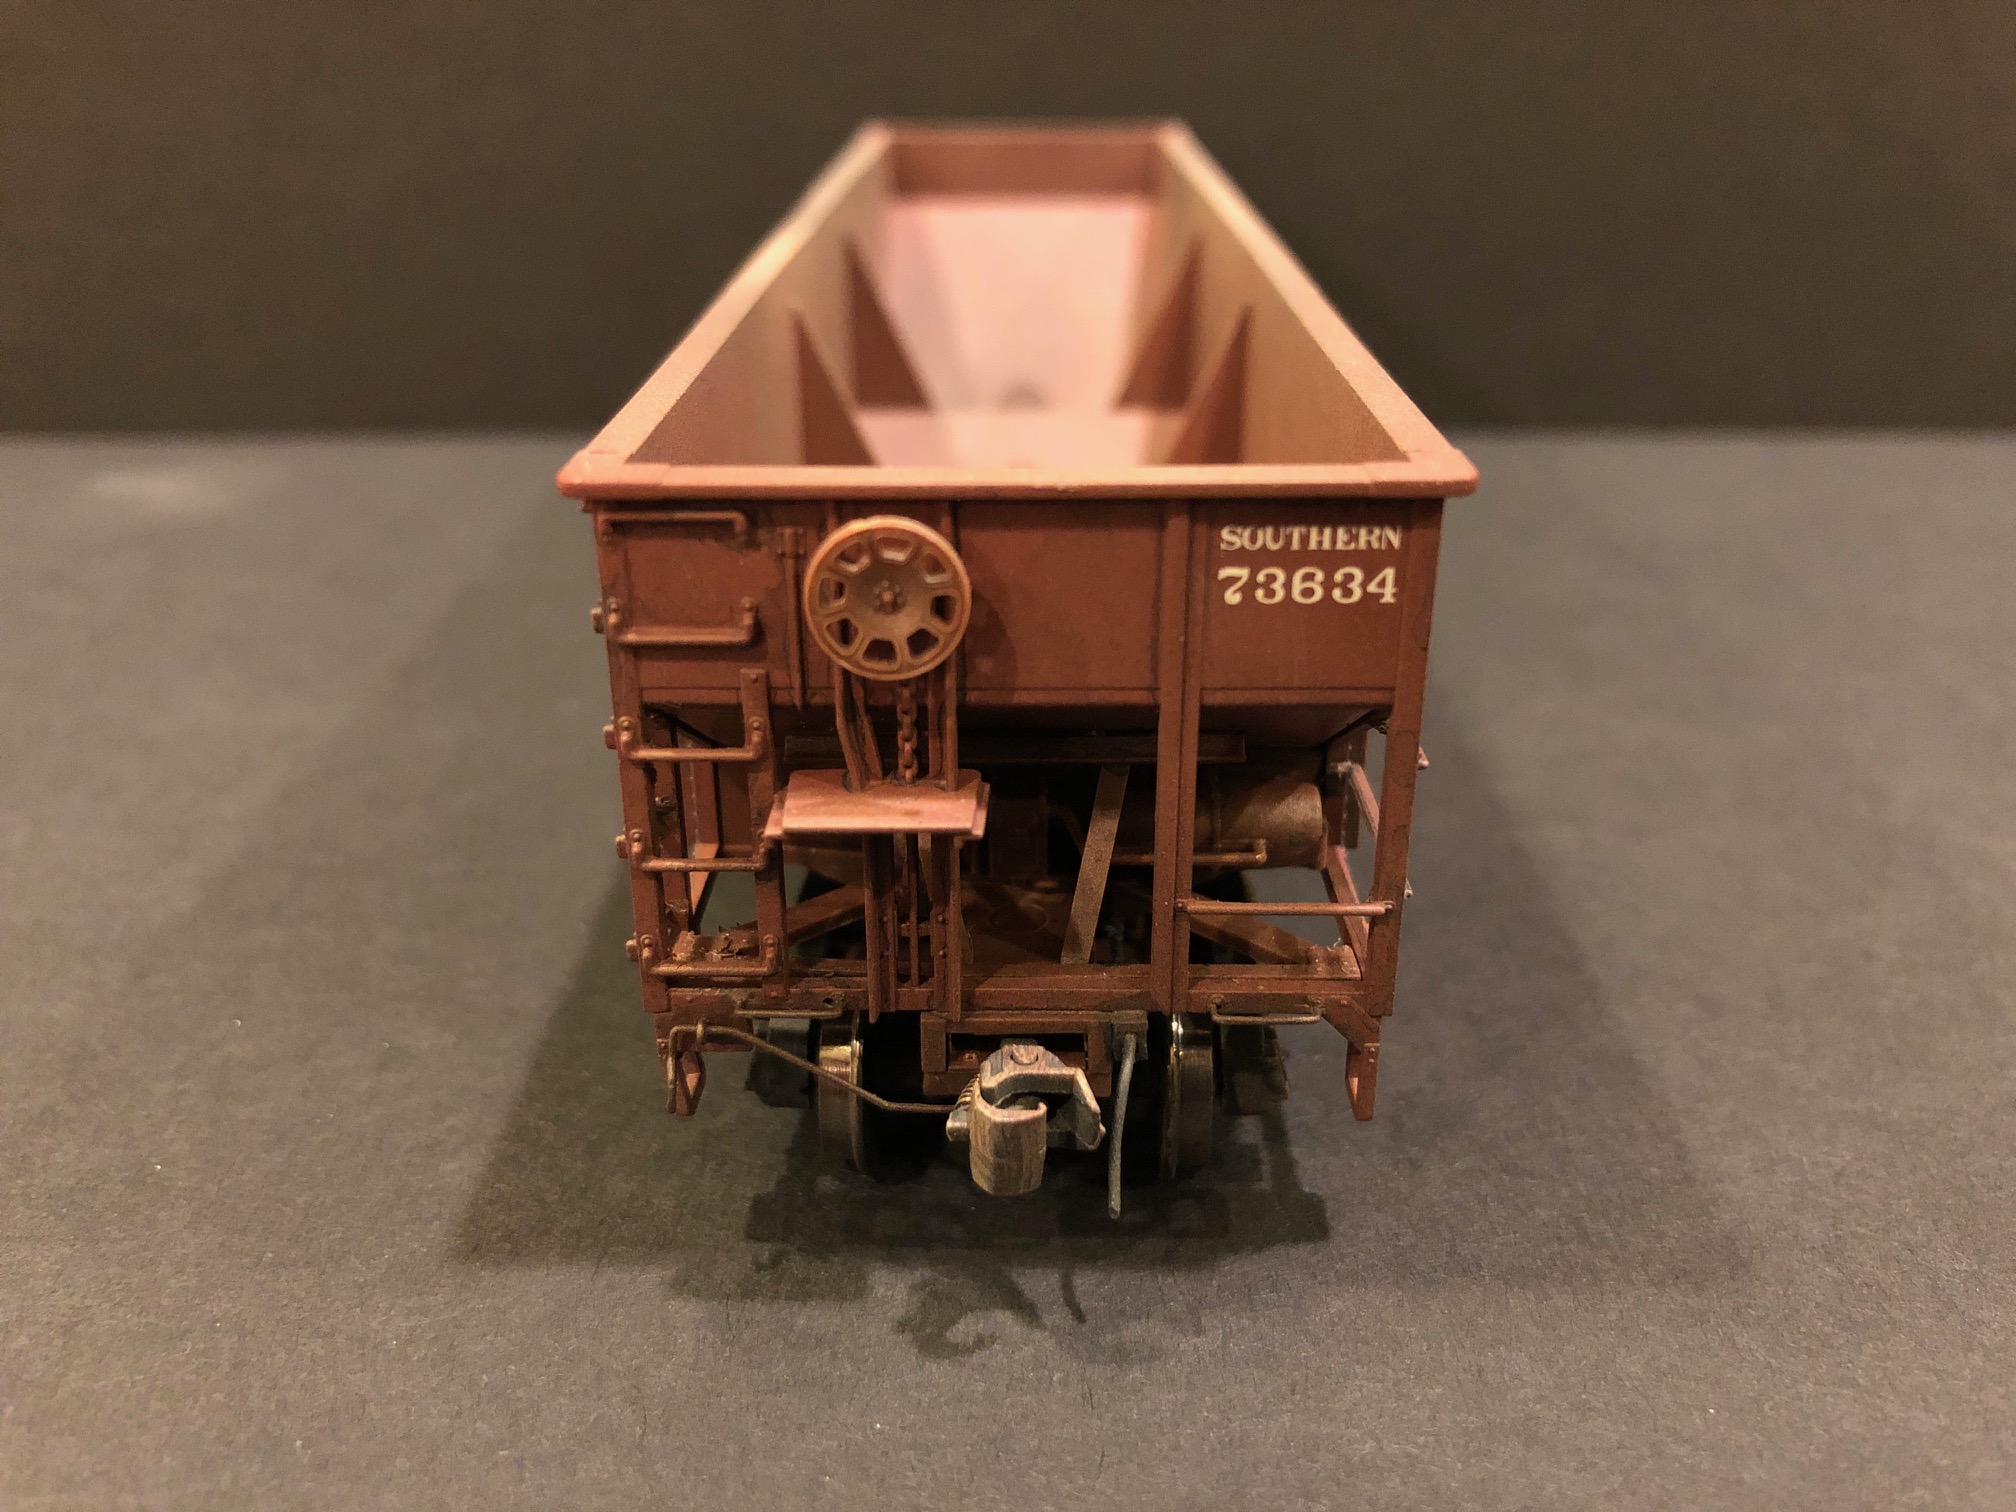
Additional details include a set of wire grabs on the end sills, a coupler cut bar, tack boards (scrap styrene), and a train-line hose made from a piece of stripped copper Cat 5 wire super-glued between two L-shaped pieces made into a box. While the wire lacks the detail of a molded plastic or brass part, it’s cheap, easy to make, and most importantly, it’s nearly indestructible (my last layout was littered with broken-off hoses). I also replace the plastic couplers with good-old Kadee No 5s. This was another lesson learned from the previous layout–smaller couplers like No 58s didn’t couple well on curves, and there are a LOT of curves on an Appalachian layout! The reliable operation is well worth the sacrifice in fine detail, though I’ll still likely keep the smaller couplers on locomotives and cabooses.
The final detail is the weathering which includes washes of black and grimy tan and light sprays of tan, black and rust via an airbrush. For some cars, I’ll also do some “restenciling” of the car data by painting fresh boxcar red over top of the washes and adding some decals.
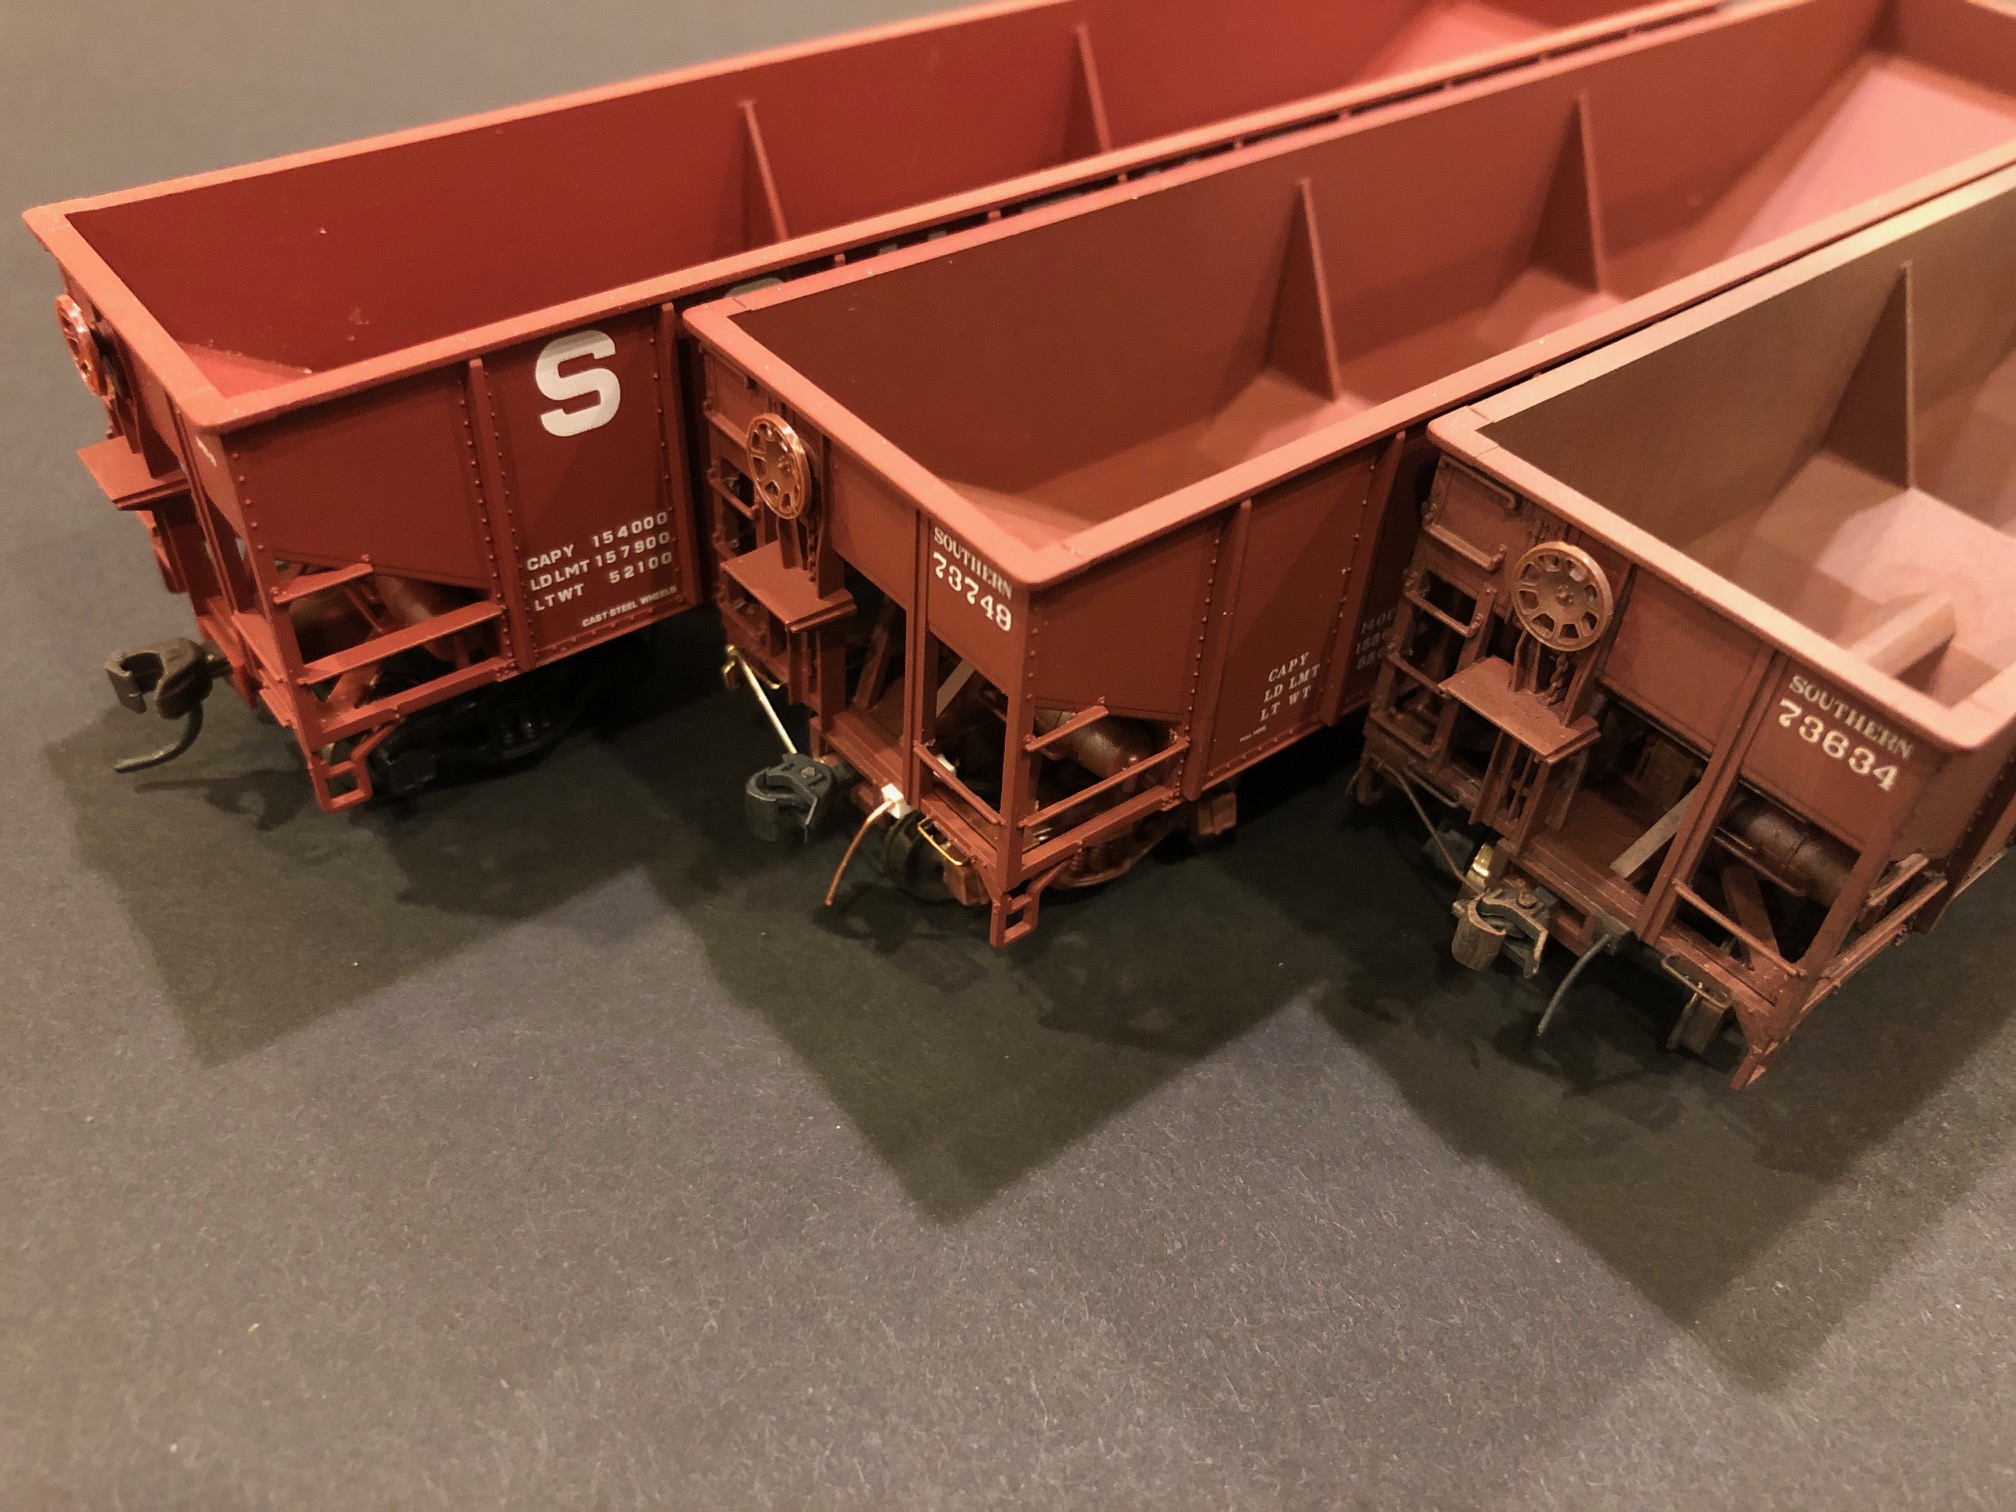
Being set in the 1960s and 70s, I’ll also need a few different paint jobs on the layout. Some will be the original black with Roman “SOUTHERN” lettering that most of the cars were delivered in. Several will be in the middle scheme with the older Roman “SOUTHERN” lettering on red. Most will be red repaints with the Most will be red repaints with the big rounded “SOUTHERN” lettering on the sides. For the Atlas cars, the repaint scheme often involves replacing the circular “O” with a more square “O” (the circles weren’t common until the late ’70s/early ’80s), removing the lube plates, and modifying the numbers to make them unique. I can usually remove letters, numbers and lube plates by repeatedly scraping a square XActo blade along the sides of the car. This mix of paint schemes and differences in weathering should add a good bit of realism to a train snaking through the layout.