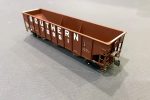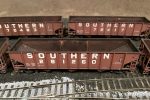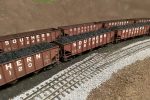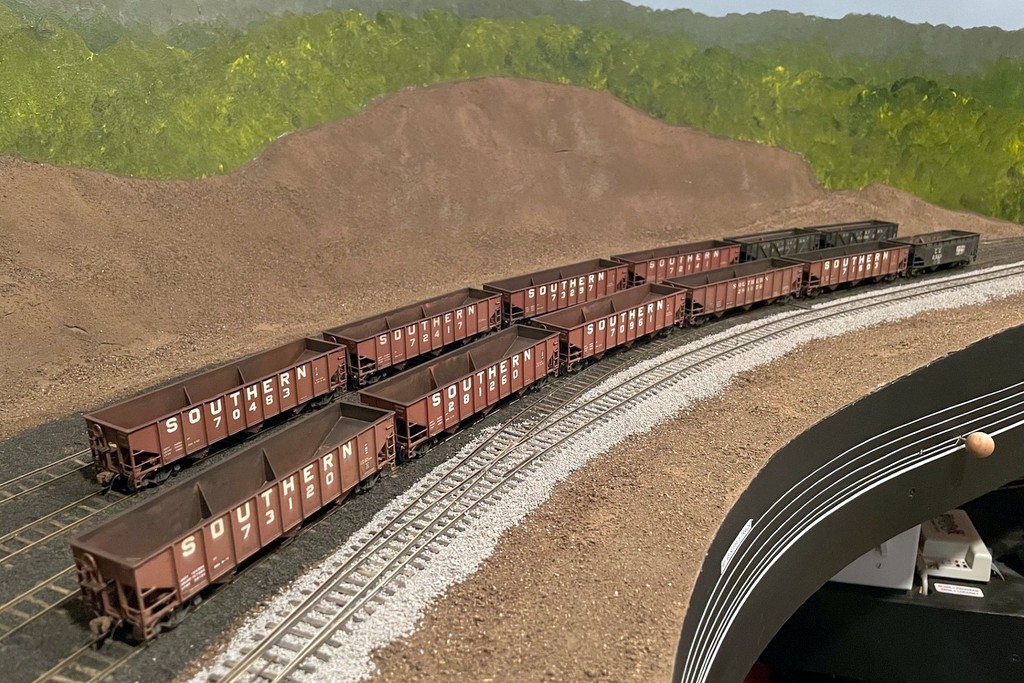
I’m proud to introduce you to the hopper class of January 2024. This class is comprised wholly of “run of the mill” hoppers for the layout rather than any super-detailing projects. Most are Atlas hoppers including 9 70T 9-panel hoppers and a single 50T offset. Rounding out the class are two Proto 2000 war emergency rebuilds. All hoppers are factory painted, but most have been renumbered, and some have had their round “O” replaced with the rectangular one more appropriate for my era. Renumbering/relettering consisted of carefully scraping off the unwanted digits with an X-Acto chisel blade and adding new decals. I used a tiny paintbrush on the ends to paint in something close enough to the right number to not stand out from a distance.

The Atlas cars all went through a series of “upgrades” including shaving the backs of the grabs to make them more round and closer to prototypical thickness–this is far easier than replacing all the grabs with wire, and from 12″ away, you really don’t notice that a few of the grabs are still molded onto the body. I did replace all the grabs adjacent to the coupler with wire grabs, and I added homemade coupler cut bars from .012″ brass wire and train lines out of copper from old Cat 5 ethernet cables. Each car also got tack boards made from strip styrene. Since I first posted about the “layout standard hopper” four years ago, I’ve added a couple more details including an etched metal brake platform cut from a sheet of roof-walk material and the bars across adjoining doors, made from styrene channel. The Central of Georgia car also got some slope sheet braces made from styrene L shape. I touched up the metal and bare plastic with some black and Vallejo “hull red”–not an exact match, but close enough once the weathering goes on. I used a silver Sharpie to add a little detail to the elbow and ends of the train lines.
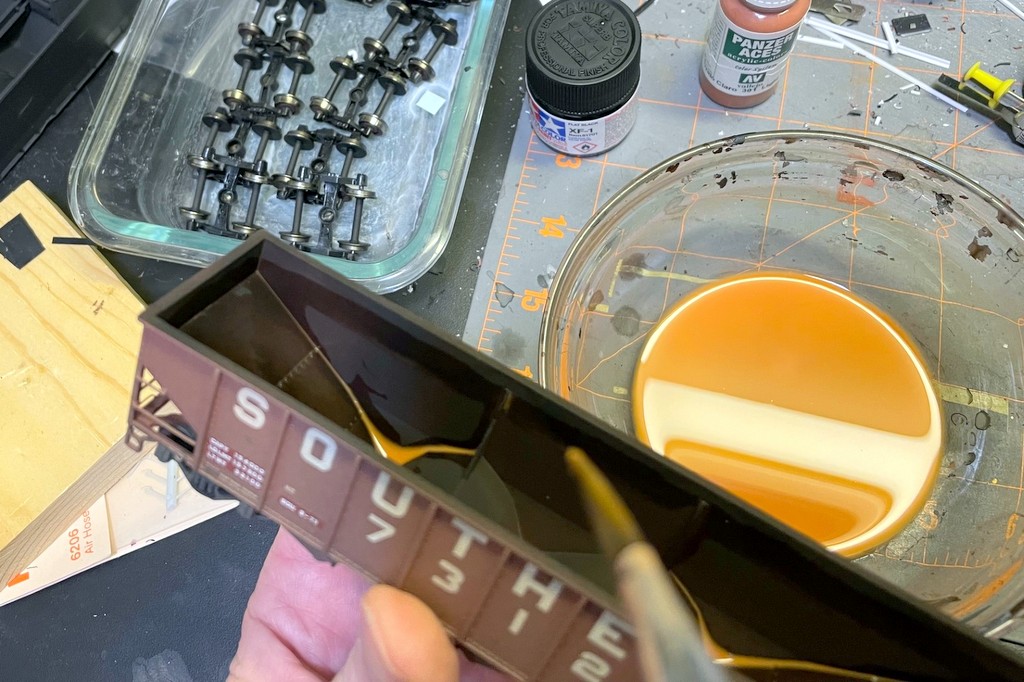
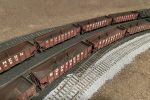
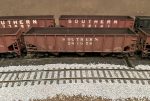
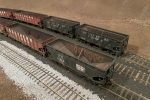
I had a lot of fun weathering these. Each first got a coat of matte lacquer spray to help blend in the decals and to give the cars a nice finish for the weathering to stick to. Next, I dry brushed some black, light rust, and dark rust onto the sides of the older black cars to simulate fading paint, scrapes, and rust patches. Some of the red cars also got a few nicks of dark rust. I masked off the capacity data and shop dates of a couple of the cars to keep it new looking like a patch job. I airbrushed all the cars with a light coat of dark tan on the sides and underframe and some flat black inside the hopper. I sprayed the black thinly letting the red still show through a bit. The undersides got a little black as well to add to the grime. Next I gave each a wash or two of flat black to bring out some of the detail and add some grunge. The last step was the hopper interior rust. I made a wash of light rust color, painted a “water line” just below the top chord where the coal would reach, and filled in everything below with the wash. I sopped up any excess with a paper towel. Each car got 2-4 coats leaving some more rusty than others. A few of the older cars (like the black ones) got some extra dabbing of light rust on the insides and a little dry brushed dark rust for some variety.
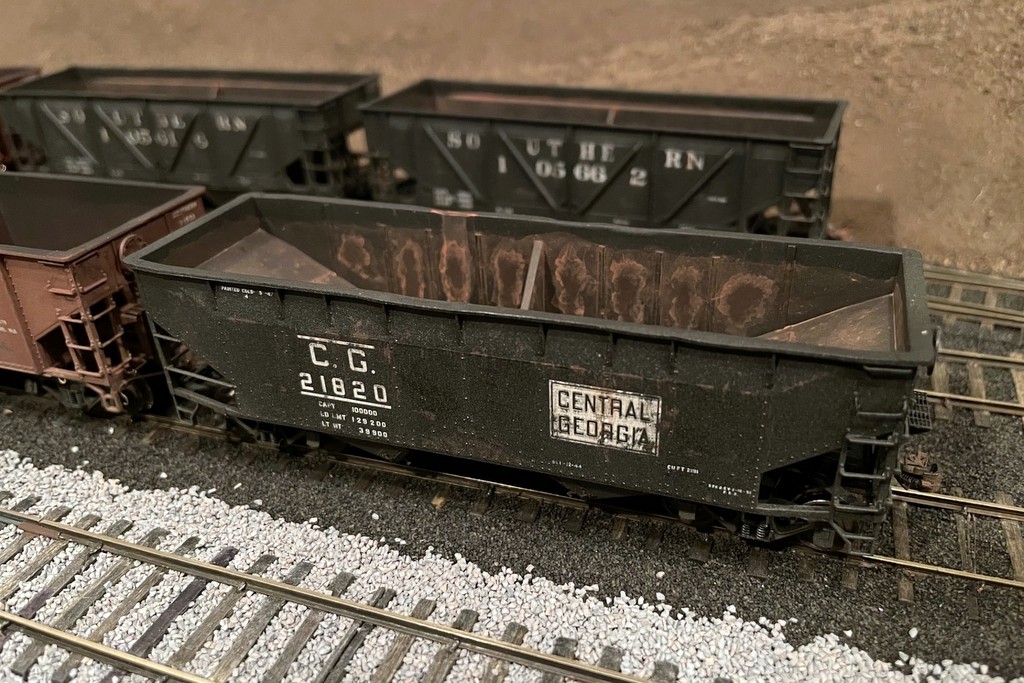
Overall I’m happy with how these turned out, and I like this technique for weathering the inside of older hoppers. While newer hoppers tend to have lighter rust or even bare shiny metal, an older steel hopper tends to settle into a mottled dark rust color which I think the repeated light rust washes over flat black airbrushing accomplish pretty simply and convincingly.