So there are two reasons why I’ve been working on so many models lately. First, I enjoy building models. Secondly, I’ll admit that I’d hit a major mental block with the layout’s progress because I needed to work on the basic scenery for the lower deck before adding the benchwork for the upper deck. I could retrofit the scenery, but I figured it was worth it to add it now to save myself about 260 lumps on the head trying to install it under the upper-deck benchwork. This last week I finally got up enough gumption to jump into the deep end and start the scenery!
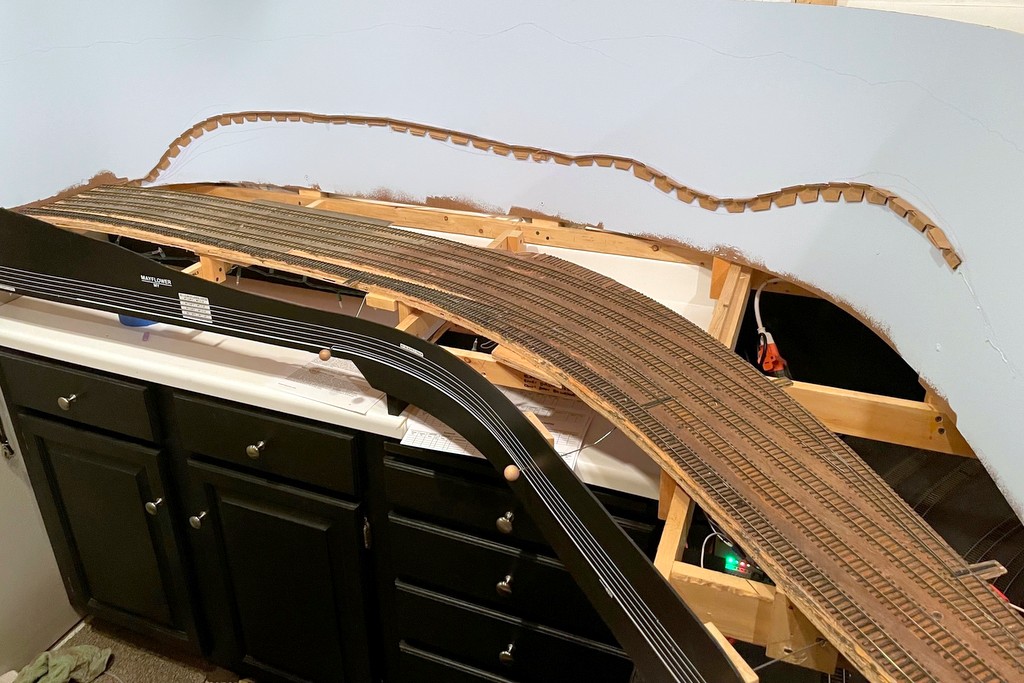
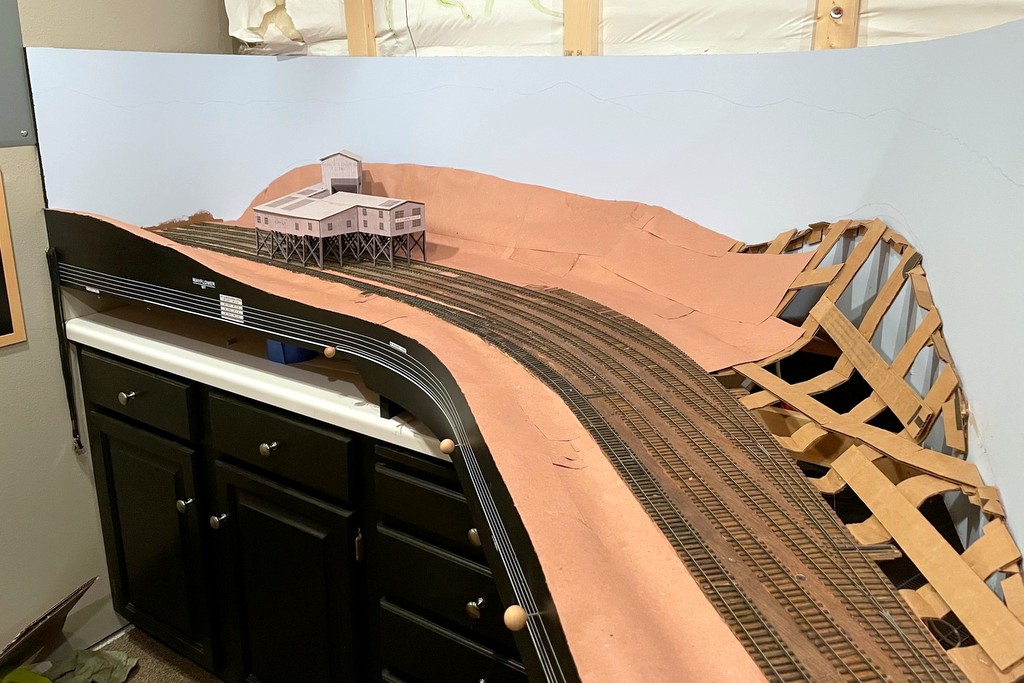
Ever since I read his article in the Jan 2007 Railroad Model Craftsman, I knew I wanted to use Howard Zane’s “paper shell” scenery technique. For mountainous ground that’s mostly going to be covered by trees and the occasional rock casting, this method is extremely simple and uses easy-to-find and cheap materials including cardboard, hot glue, red rosin paper (available for under $20 for a 3′ x 167′ roll at home improvement stores), and white glue. I won’t go into his whole technique, but you can see from the photos that it’s essentially outlining the hills on the backdrop with a cardboard strip, building a lattice of the basic landform from strips of cardboard, and covering the lattice with small patches of rosin paper. The next step (which I haven’t started yet) is to cover everything with a thick layer of white glue to smooth it out and give it stiffness.
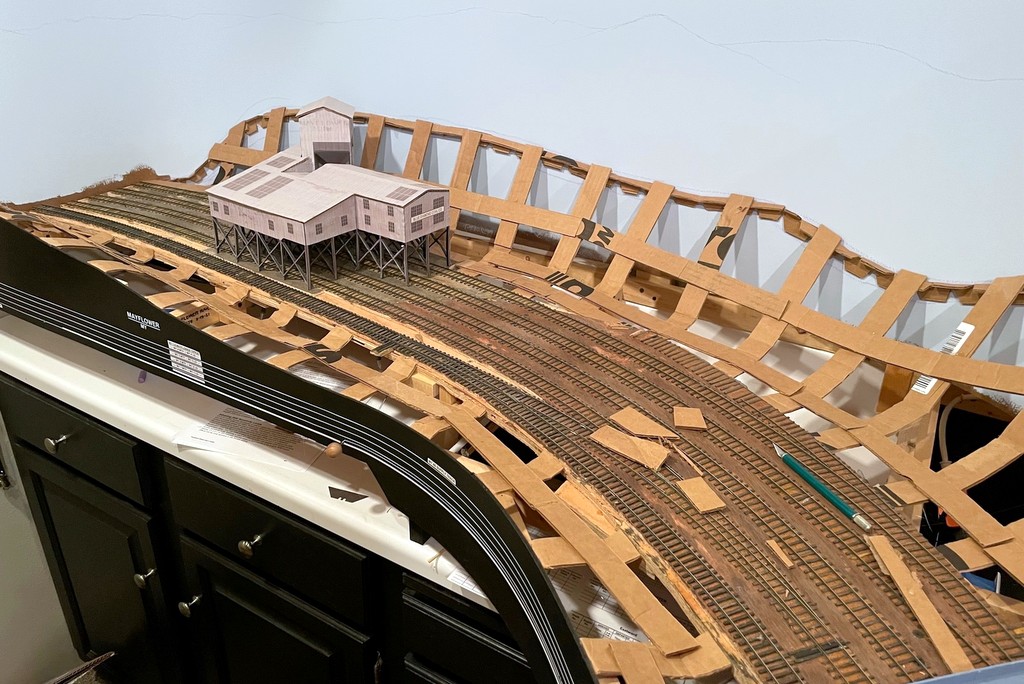
I’m starting with Mayflower and working around to St. Charles. Some would recommend a much steeper terrain so the majority of the background is hills and trees, but I’ve opted to go with a more natural angle between 30-50 degrees slope. This means my backdrops will need to be painted really well since the transition from scenery to backdrop will be very visible. If you look closely you can see where I’ve drawn in the ridge line near the top of the backdrop. I don’t know how to paint yet, so what could go wrong? We’ll see how that goes soon enough!
So far this has been a time-consuming but enjoyable project, and I’m very happy with the paper shell method. I’m learning little tricks as I go which will make it go faster as I gain more experience, but it’s great to start seeing things take a shape other than plywood and dimensional lumber!