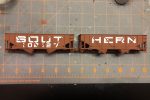
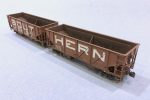
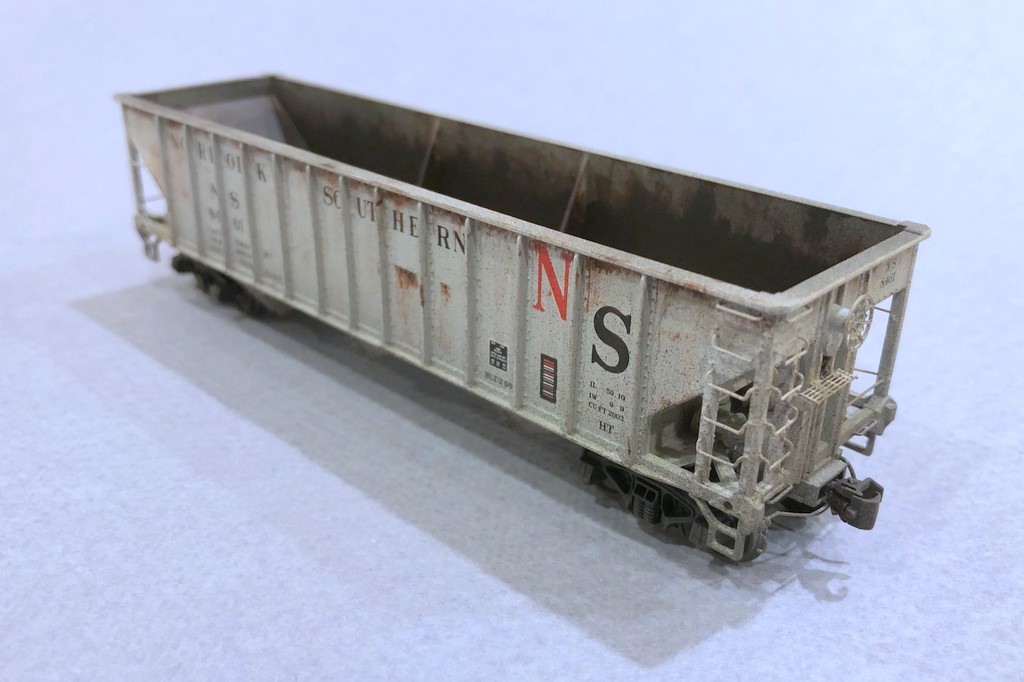
The Southern Railway was definitely known for innovation, especially in the ’60s. They were one of the first railroads to use large numbers of 100T hoppers for moving coal. The Southern still had a large number of usable 50T cars, particularly war emergency rebuilds and ex-Interstate hoppers, so they permanently paired some of them into what they deemed 100T “articulated hoppers.” There was nothing fancy about it, they just removed the coupler cut levers from between the cars, put the brake ends of each car at the ends, and numbered them as a single car. The idea was it allowed 100 tons of coal to be moved in a single car shipment for a customer which gave these old cars a little more life in the 100T era. There were several paint schemes used on these cars include a red version with “SOUTHERN” on the left-hand car and the car number on the right-hand car. Some cars had a black version of this. The most striking and unique cars were those painted with giant lettering and “SOUT” on one car and “HERN” on the other–this is the car I wanted to model.
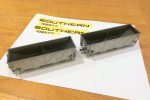
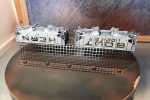
The base cars were easy enough. They’re essentially stock Proto 2000 War Emergency hoppers with a couple minor modifications. I trimmed the tow loops off the bottom, added small beveled strips of styrene under the outermost ribs, and used bent .012″ wire to fashion new side-mounted tow loops above the styrene strips. I also used dummy couplers on the “A” ends of the cars that I pulled out of an Accurail 50T AAR hopper kit–this will keep operators from inadvertently uncoupling the car on the layout. I only added coupler cut bars to the “B” ends like the prototype, and I added a scratchbuilt train line air hose to each end (piece of bent copper wire from old Cat 5 cable sandwiched between two styrene L-shapes).

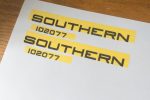
The tricky part of this model is the lettering. No one makes a lettering set that even comes close, so I would need to either make my own decals or somehow mask and paint the lettering–I opted for the latter technique. First, I had to draw up some artwork. I used my favorite graphics program, Microsoft PowerPoint, to create the lettering using large rectangles and quarter circles. Once it looked about right, I copied and pasted the lettering as an image (right click and picture icon) on a new sheet, then I was able to size it and print it with the letters 3′ tall in HO scale and the numbers 2′ tall. Then I covered the lettering with some Tamiya model masking tape and ran it through the printer again to get the ink onto the top of the tape. Warning: even after the ink dries, it still smears a bit, so I used another piece of plain masking tape to remove some of the ink, and I was careful not to get smudgy fingers on the car.
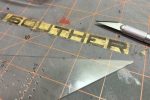
Speaking of the car, I airbrushed the sides white and let them dry overnight. Back to the lettering, I carefully peeled the tape off the paper and placed it on a clean cutting mat. Then I used a straightedge and Xacto blade to cut along all the straight edges. I freehanded the corners which was a bit more challenging. The angled ribs on this car required me to eyeball where the rib would go through the letter (I had a picture of an actual car), so for each rib I removed about 1/16″ of masking tape. Next, I peeled the letter mask off the cutting board and applied it lightly to the car, using a blade to lift and reposition it as needed. After all the lettering was in place, I used the round end of the Xacto handle to burnish the tape onto the sides securely.
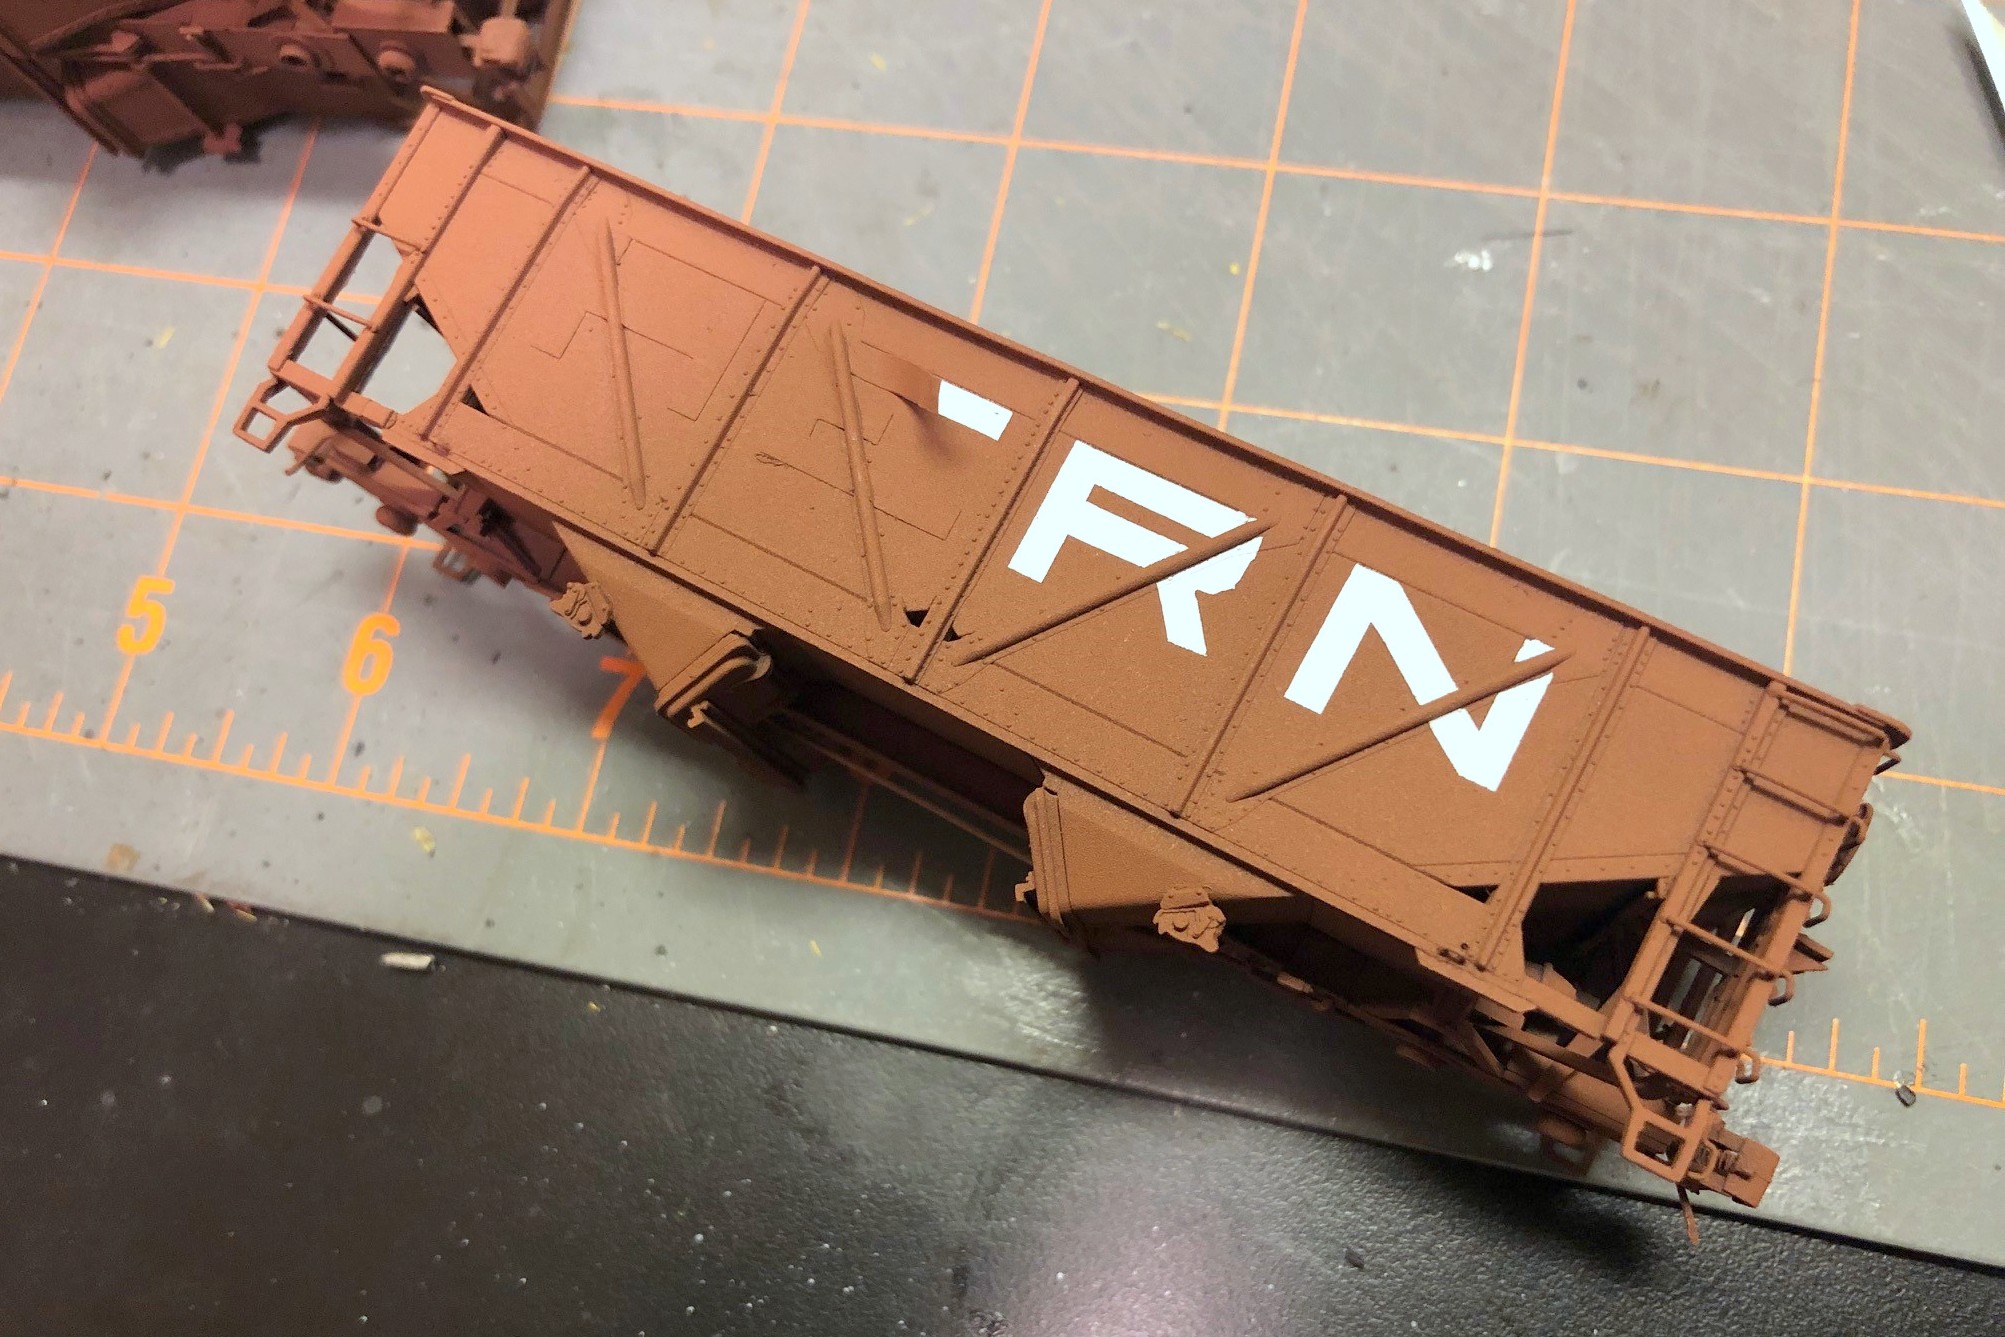
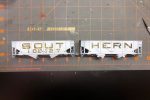
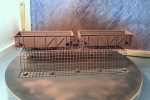
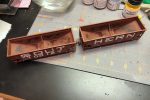
Back to the painting booth, I first sprayed the cars with black as a dark primer and then gave them a couple coats of oxide red and let them dry for an hour. After the paint was dry, I carefully removed the tape from the sides using a blade and careful fingers to reveal the white lettering. I thought I was going to have a lot of touch-up to do, but the tape held up very well and left mostly clean edges. With all the tape off, I then used a brush and white paint to fill in the lettering gaps across the ribs. I sprayed it with some gloss coat and applied the capacity stencils and other small lettering from a Microscale data sheet using multiple liberal coats of decal solvent and decal setting solution. After letting the decals dry for a day, I hit the cars with another coat of gloss (the paint came out REALLY dull, so even with three coats of gloss it’s pretty dull).
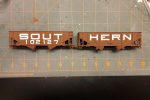
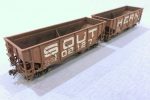
For weathering, I first dry brushed a little light rust and dark rust onto the car, mostly on the inside to simulate a few years of wear with the paint just starting to wear through where the coal repeatedly tugs at it. Next I gave all surfaces of the car a couple coats of black wash (water with a dab of paint). I worked one set of sides at a time (one “SOUT” and one “HERN”) to ensure the weathering was consistent across cars, brushing on the wash, letting it sit for a couple minutes, then dabbing and streaking it off down the sides with a moist paper towel. I followed the black wash with a single wash of tan. The final weathering was some black airbrushing inside the hopper and along the bottom followed by some light tan airbrushing on the sides and trucks.
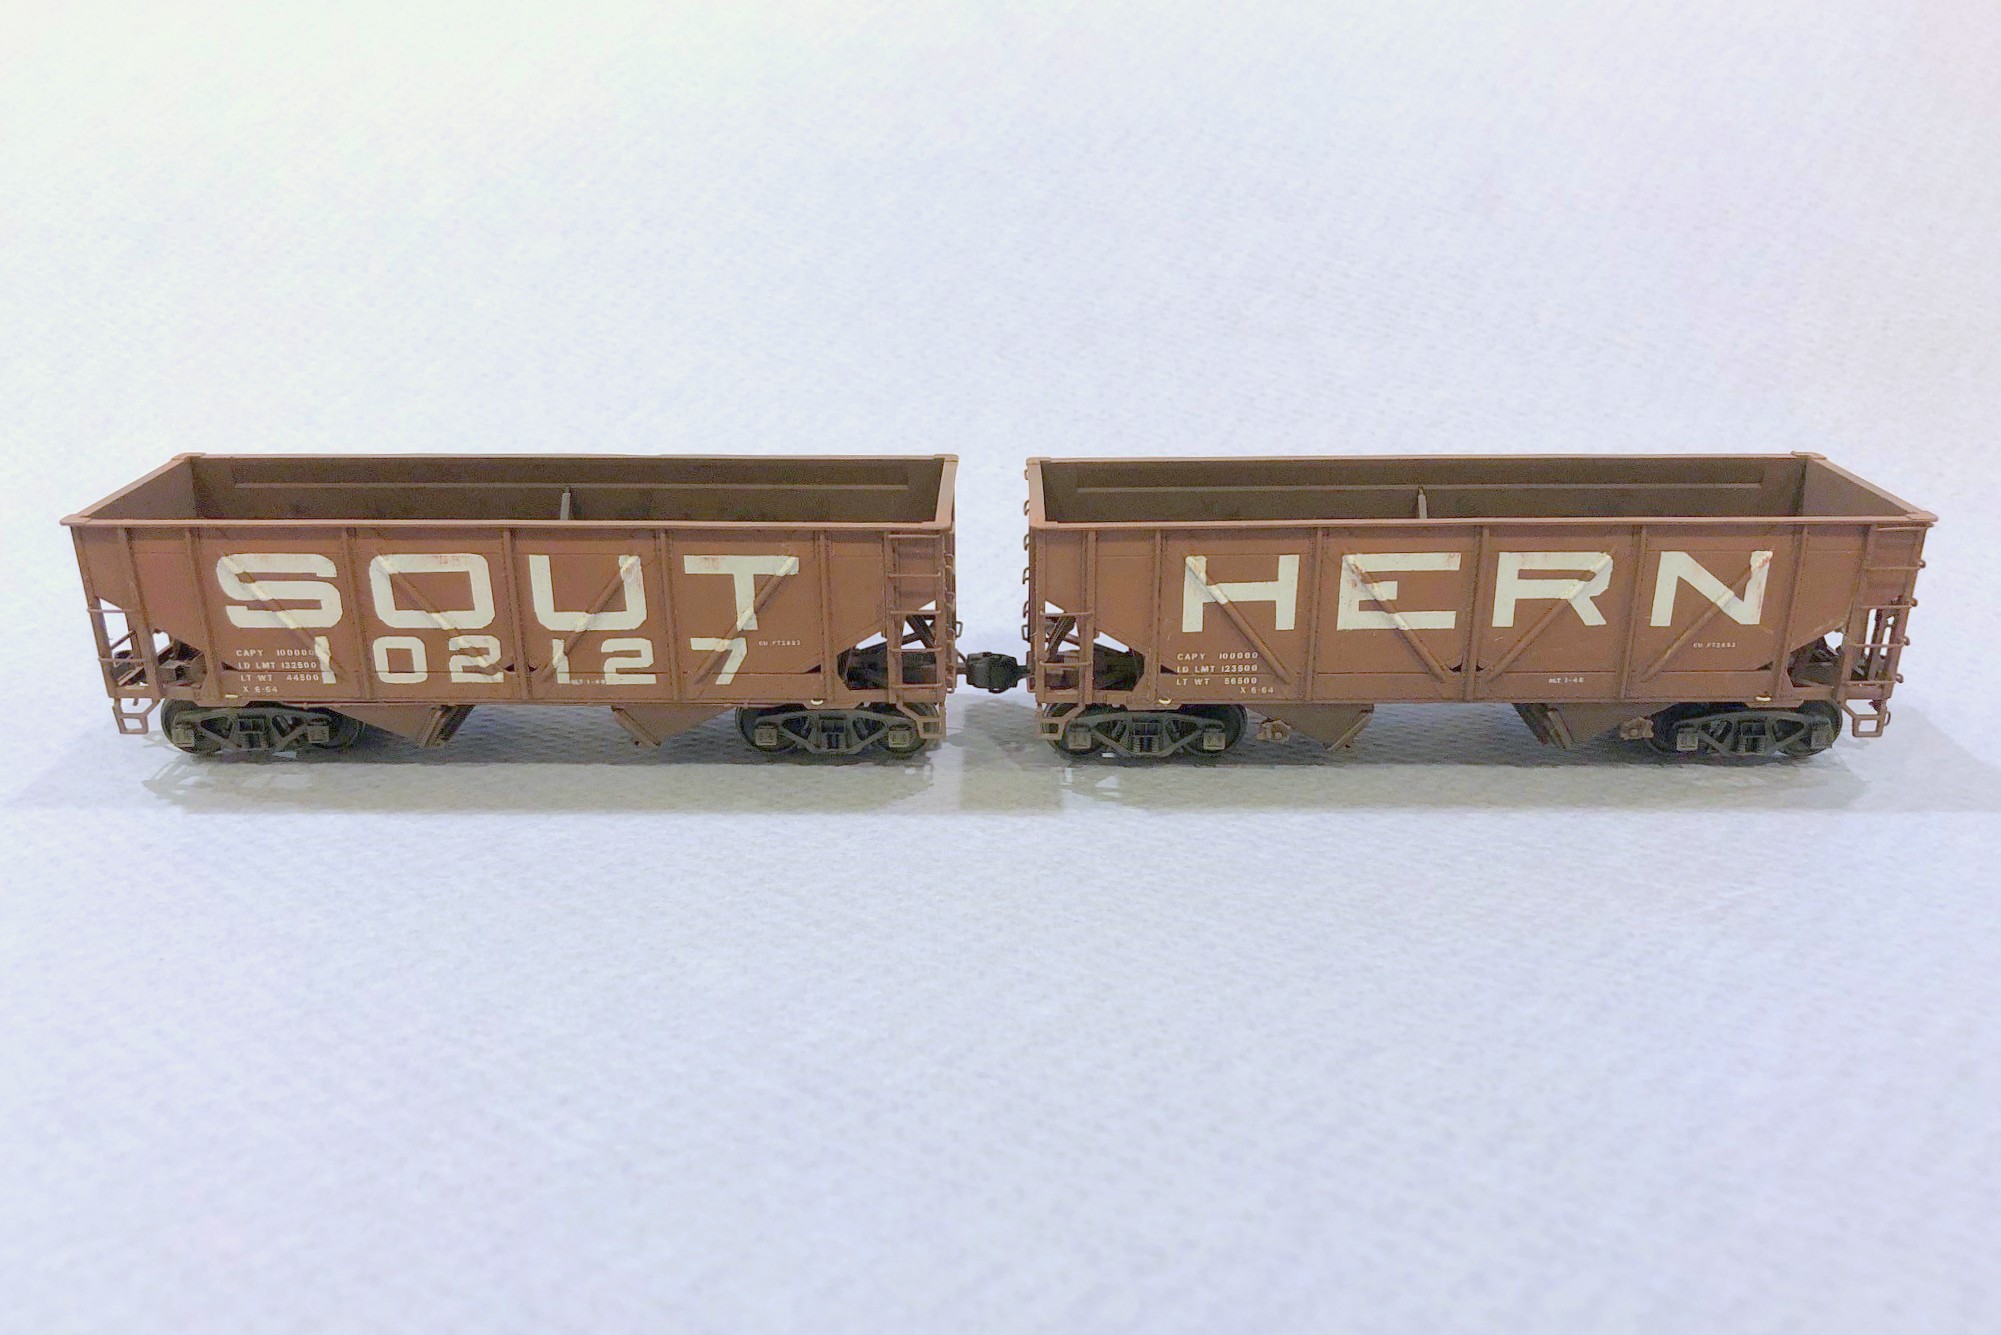
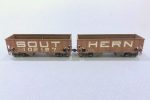
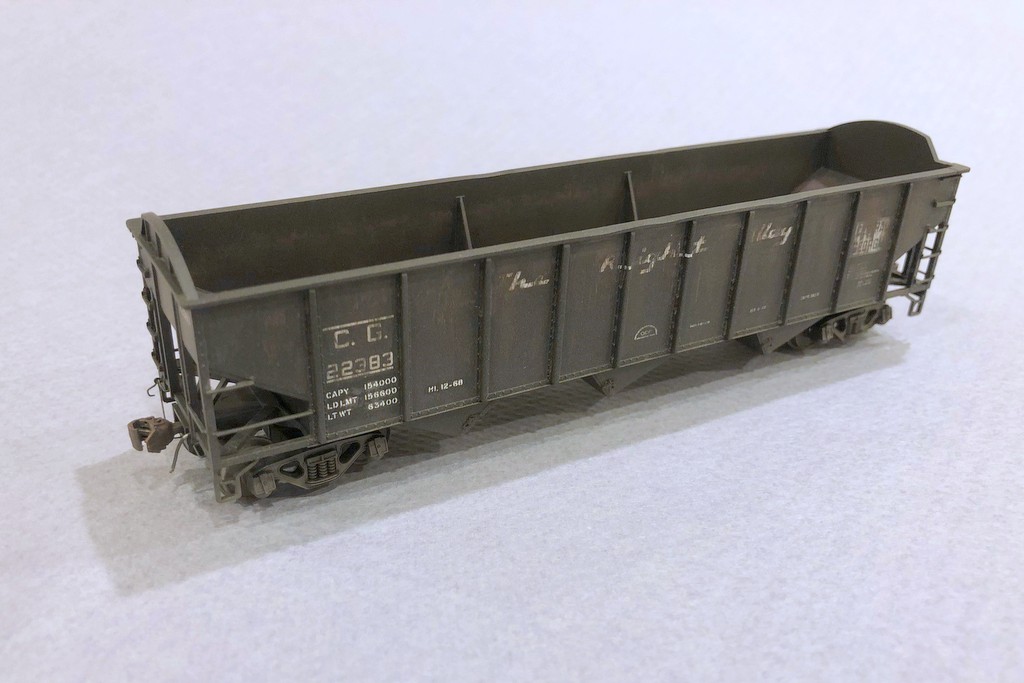
I’m pretty happy with how this car turned out. It’s definitely unique and is bound to be a conversation piece on the layout. I can’t wait to watch the first operator trying to uncouple the dummy couplers so I can give them a little history lesson in Southern innovation!