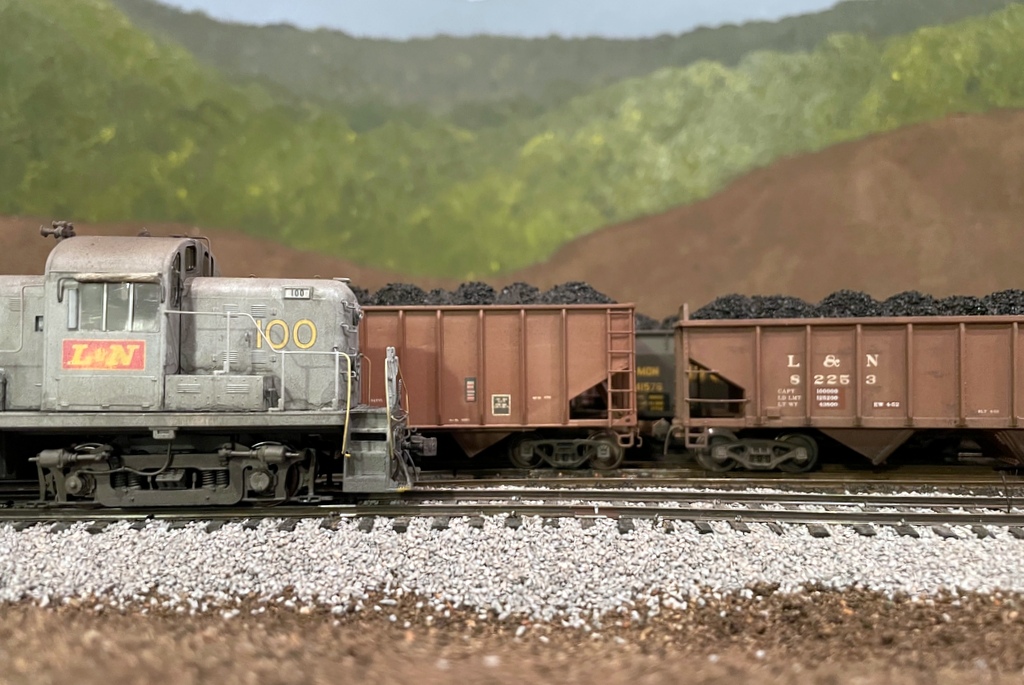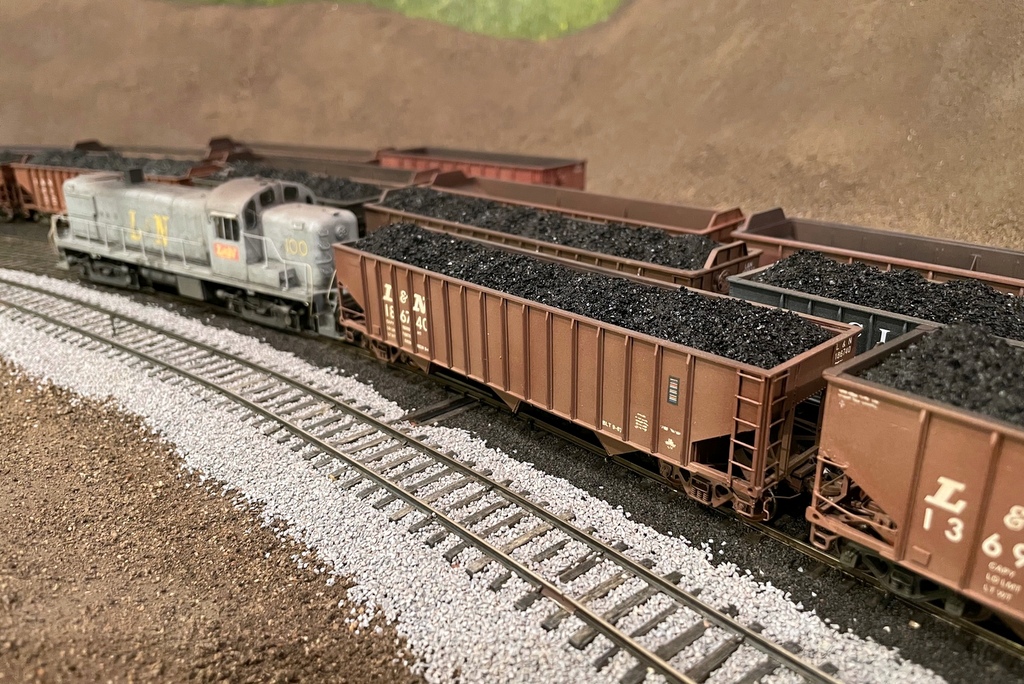
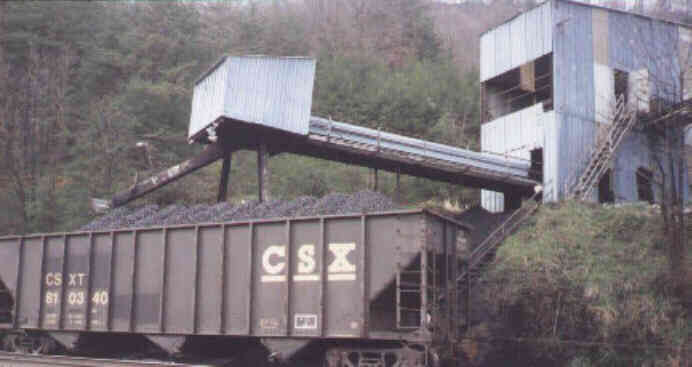
After years of hauling around black foam core inserts pretending to be coal loads, I finally got around to finishing some of them… 58 to be precise! I won’t go over the whole process here (article coming soon on Appalachian Railroad Modeling), but I’ll give you the basics here. Most people are used to seeing gently sloping coal loads that can barely be seen over the top of the car–this is a load that’s been on the road for a while and settled into the car. I model coal at the source, and this looks very different. In the ’60s and ’70s, much of the coal was loaded by feeding a car under a chute a few feet at a time using gravity or a winch to pull the car along in stages. This resulted in a series of high, distinct, and often uneven coal lumps, perhaps a dozen or more.
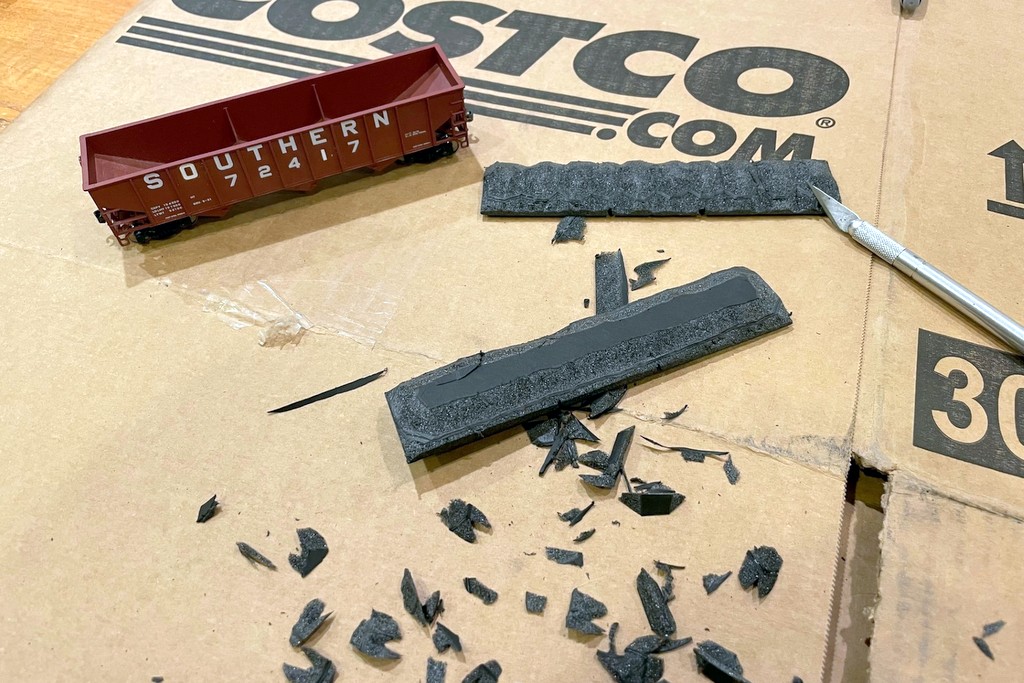
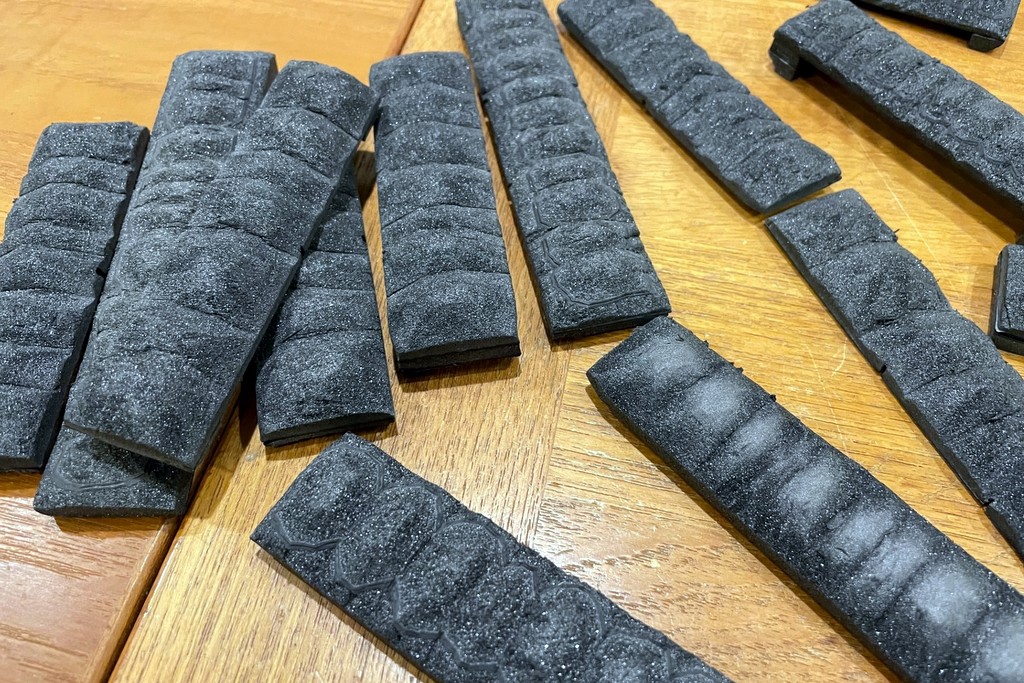
I haven’t seen too many modelers attempt this look, so years ago (like 25 years ago), I came up with a way to model this look using foam core and real coal. 25 years later, the biggest improvement has been the introduction of black foam core which does a MUCH better job of hiding any imperfections. I use 1/2″ black foam core, though some of the older forms were made from two 1/4″ pieces laminated with white glue. I basically cut them about 1/16″ smaller than the dimensions of the hopper, press them into the car to know where to cut notches for any bracing, and carve the load. I start by cutting a rough 45-degree angle around all sides, then I cut notches where I want the lumps to be. I try not to be too precise, and all the lumps are slightly different sizes. I then start rounding the lumps and eventually cut the top poster board layer off the foam core. The final shaping is done by compressing some of the foam with my fingers to smooth it out. If it needs it, I’ll add little pieces on the ends underneath and cut them to fit the car so the load sits a little higher.
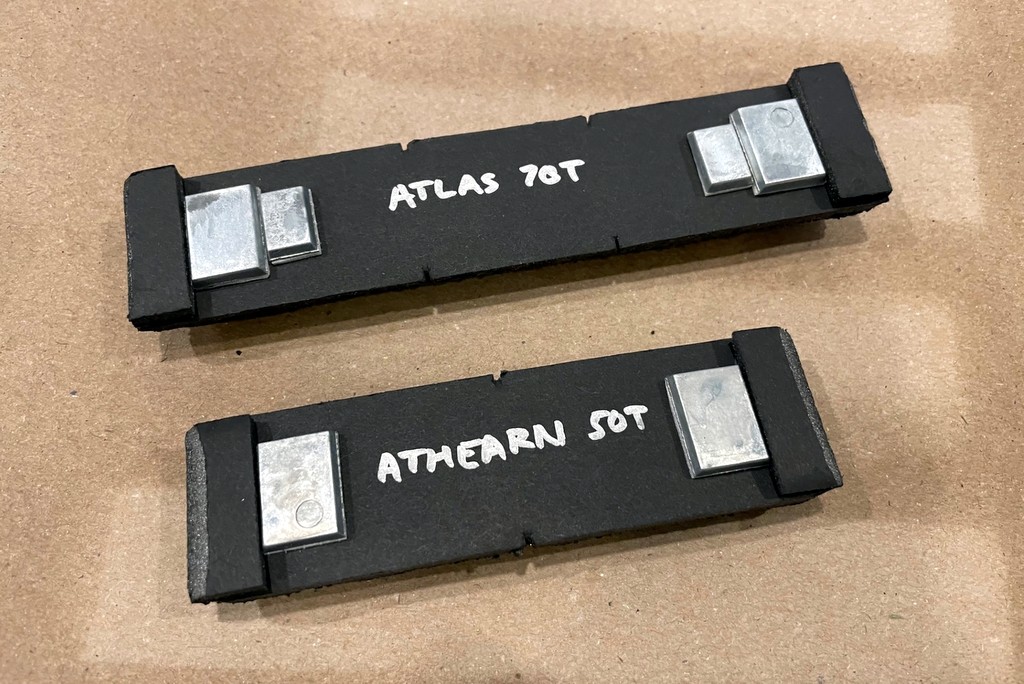
Before I lose track, I label each load for the type of car it fits (easy with a silver Sharpie), and I add a couple of stick-on weights under each load (pinewood derby weights). I want my coal cars to “feel” heavier to a locomotive when they’re loaded, and I also want them to be a little top heavy like the prototype so crews will handle them a little differently.
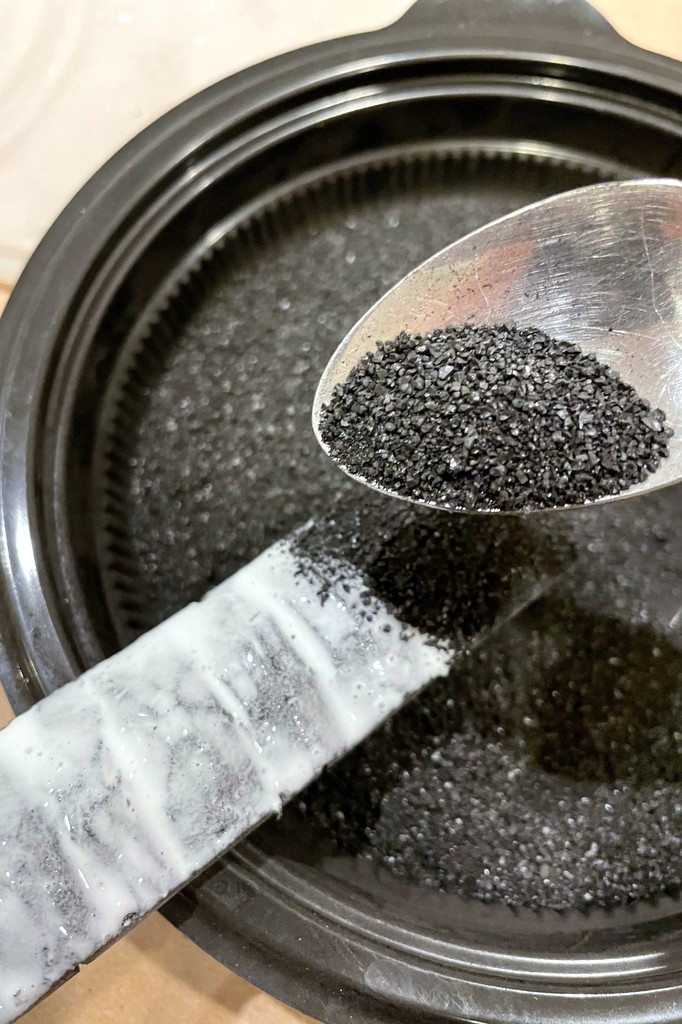
I grind my coal the old fashioned way: with the butt of a butter knife in an old Cool Whip container. Then I sift it with a kitchen strainer to get a container of small coal. I paint the top of the foam core with straight white glue, then sprinkle the coal over the top and shake off any excess. I do this over the coal container so I can recycle any coal that falls off.
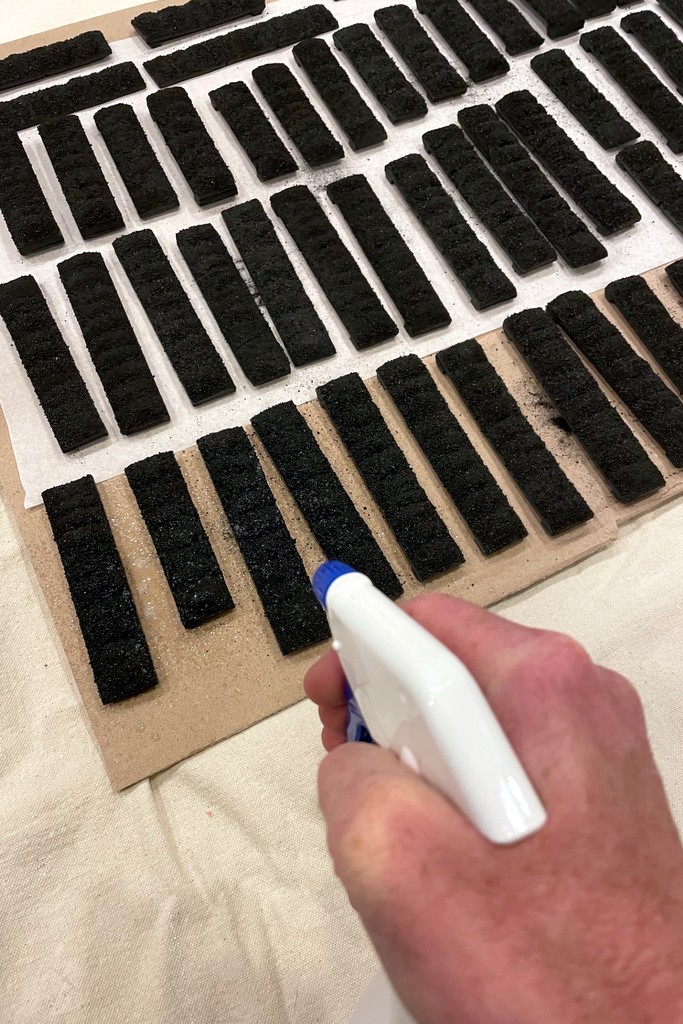
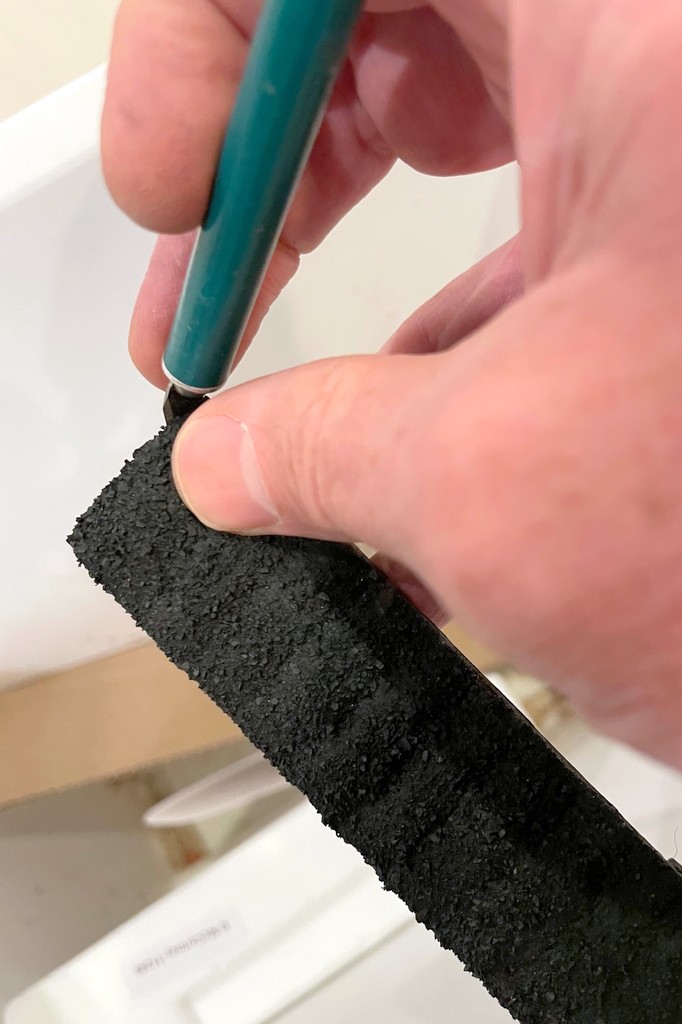
I set the loads on parchment paper to dry overnight. The next day, I spray the tops of the loads with “wet glue” (about 8:1 water:glue + a couple drops of dishwashing soap) until they’re saturated. This really sets the loads and keeps the coal from leaving dust on hands and models. Once the glue has completely dried, I go along each load with my fingers, knocking off any protruding pieces of coal, then I clean up any coal on the edges with an X-Acto blade.
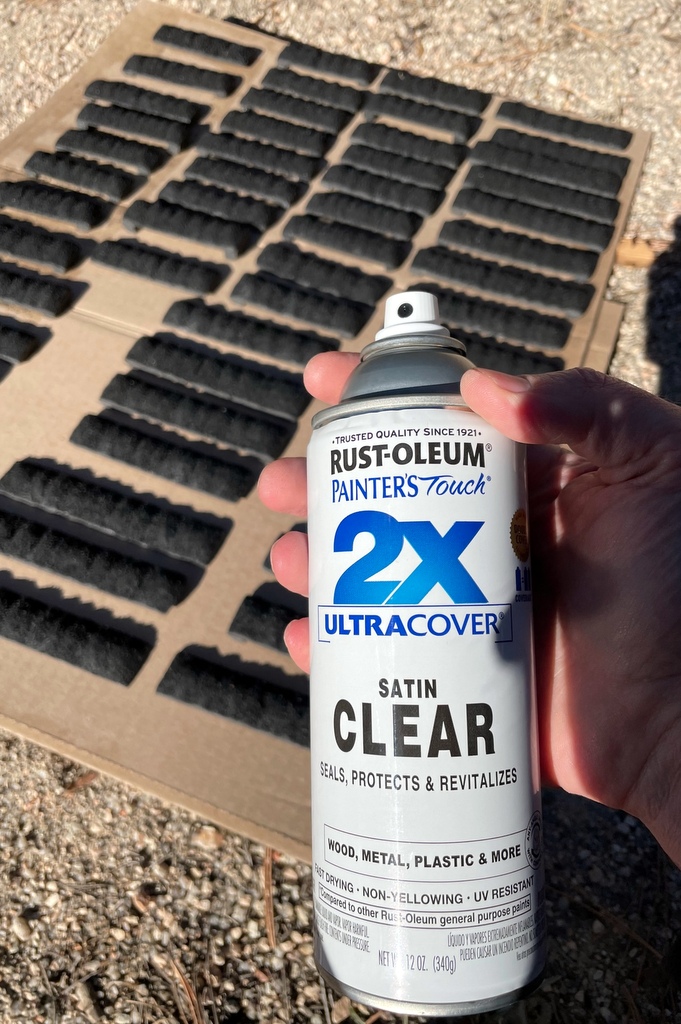
The white glue tends to dull the coal’s sheen, so my last step is to hit the loads with a coat of clear satin-finish lacquer spray–this looks about right to my eye to bring the coal back to its original luster. All told, when you do them in bulk, it only takes a few minutes and a few cents worth of materials per load, and I love the way they look! I also like that each load is absolutely unique–something tougher to achieve with commercial loads.