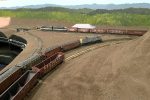
Nearly a year ago I posted the beginnings of building my scenery using Howard Zane’s “paper shell” method. The unfinished red rosin paper shell about halfway through his process served as my basic scenery base for a while–it’s far better than plywood! As I’m nearing the time to move on to the upper deck, I finally got around to finishing the scenery base.
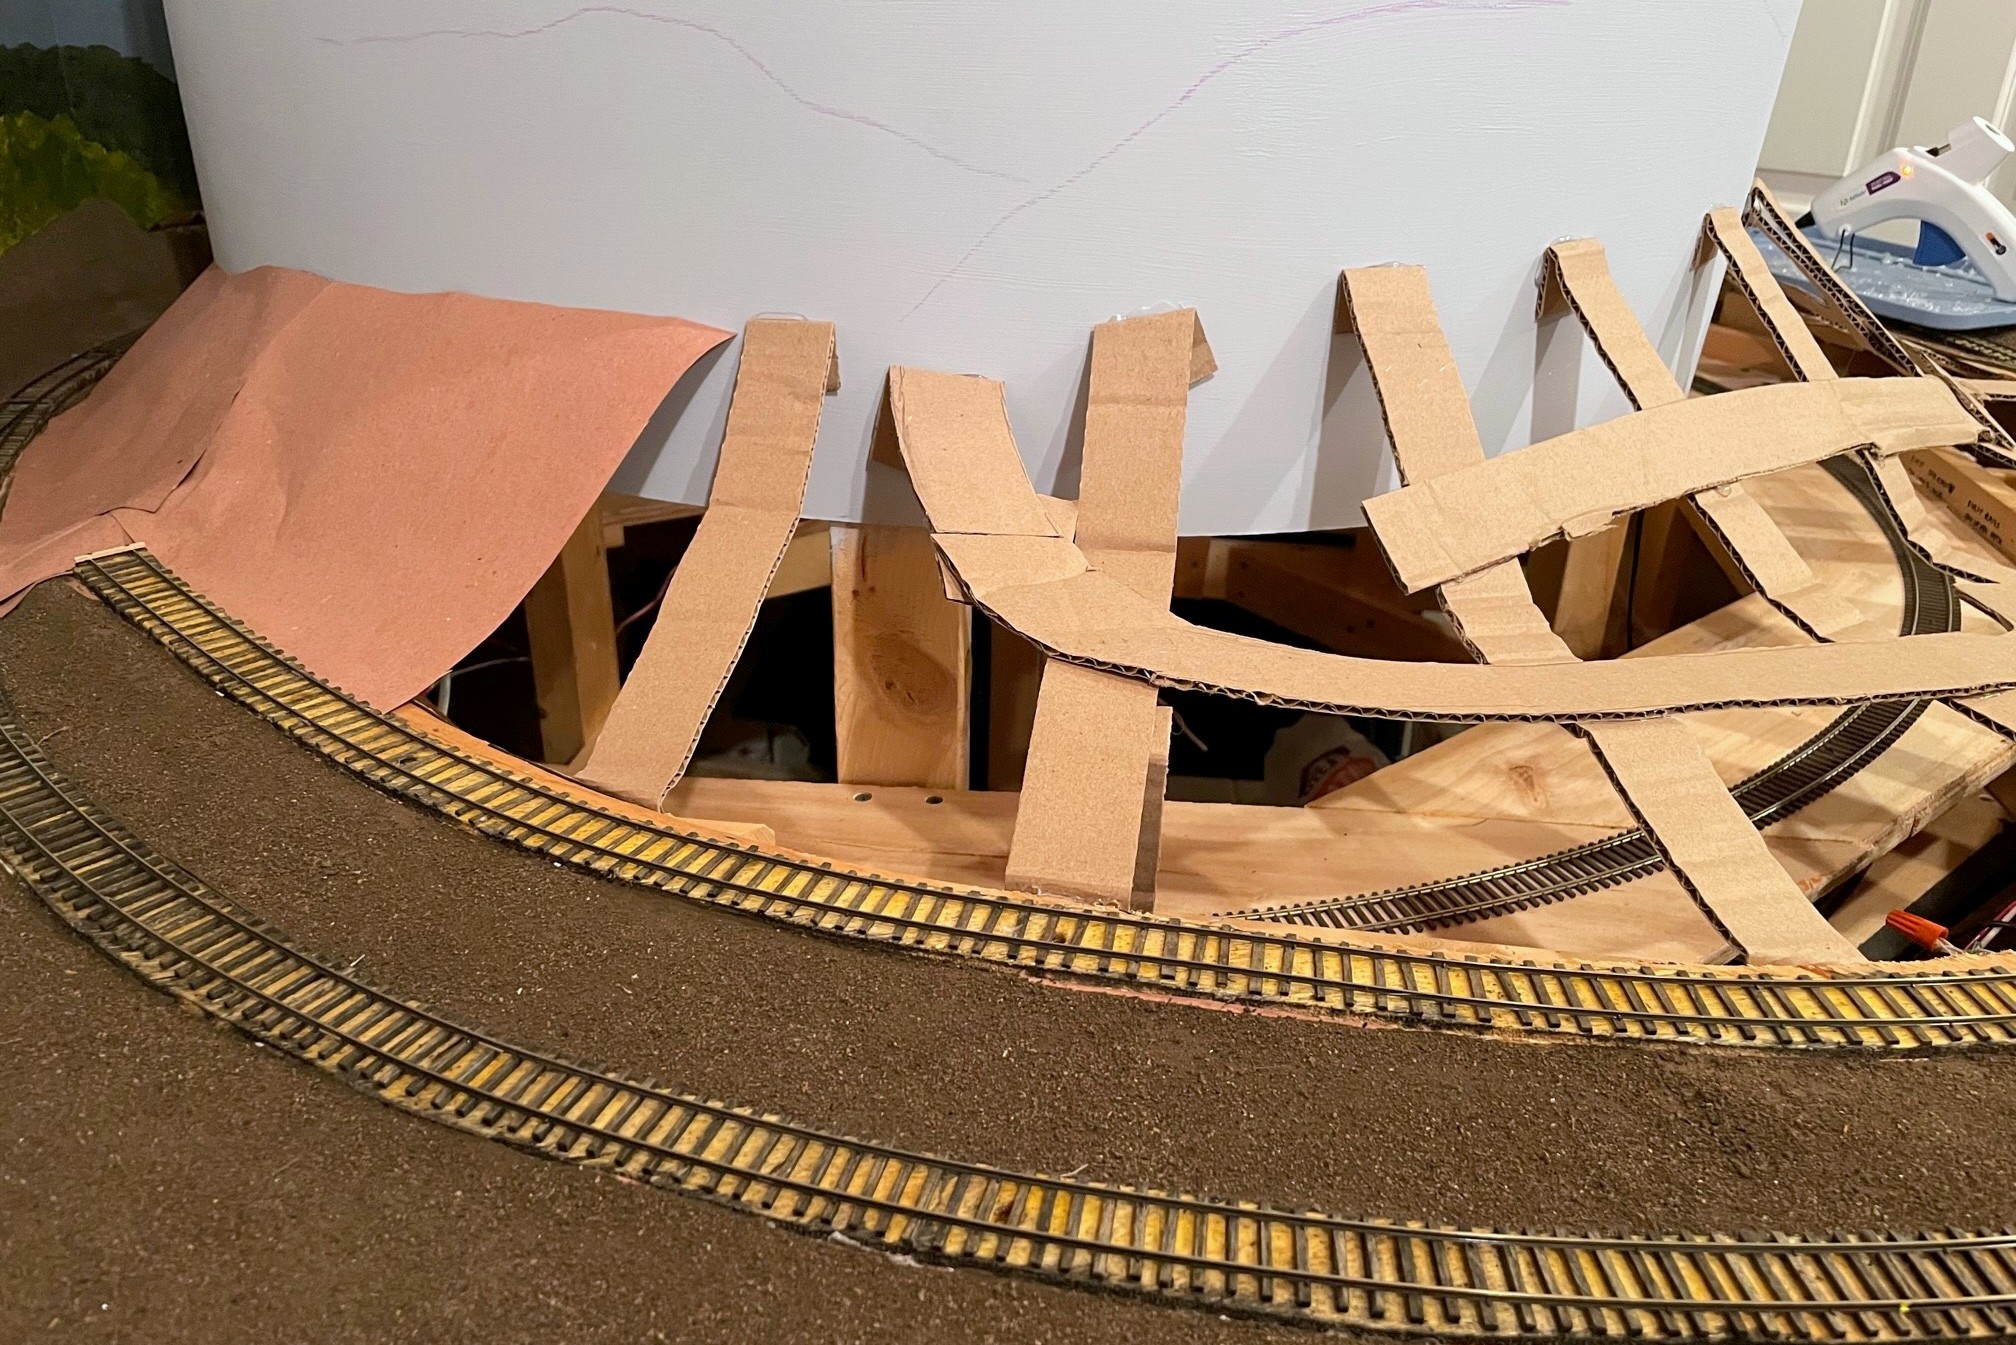
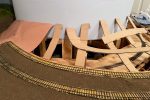
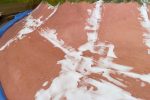
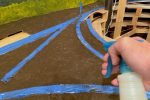
In the first post, I covered how to build the basic scenery form using cardboard strips, hot glue, and red rosin paper. Since that first attempt, I have changed my technique a little. I no longer glue a long strip to the backdrop (tedious) but instead just fold the cardboard strip to form a tab and glue the tab to the backdrop. Once the initial cardboard web and red-rosin-paper shell are in place, the next step is a layer of white glue. First, I put masking tape over the tracks and other features I needed to protect from the glue. I use straight Elmer’s white glue from a giant bottle I bought at a local office supply store. It helps to pour a little bit in a portable paint cup for easy access. I used a paint brush (approx. 1.5″ wide designed for house painting) to apply a thick layer of white glue over all the red rosin paper. If your paper layers aren’t tight, expect a little dripping, so be sure to clear out anything valuable from underneath first. When the glue is drying, it saturates the paper causing some unexpected wrinkles–I was worried at first, but most of these disappeared when the glue dried, and those that remained looked like pretty natural variations in the landscape. In places where the paper edges were warping up and away from the layer underneath, I brushed an extra layer of glue underneath and smoothed things back down with a finger.
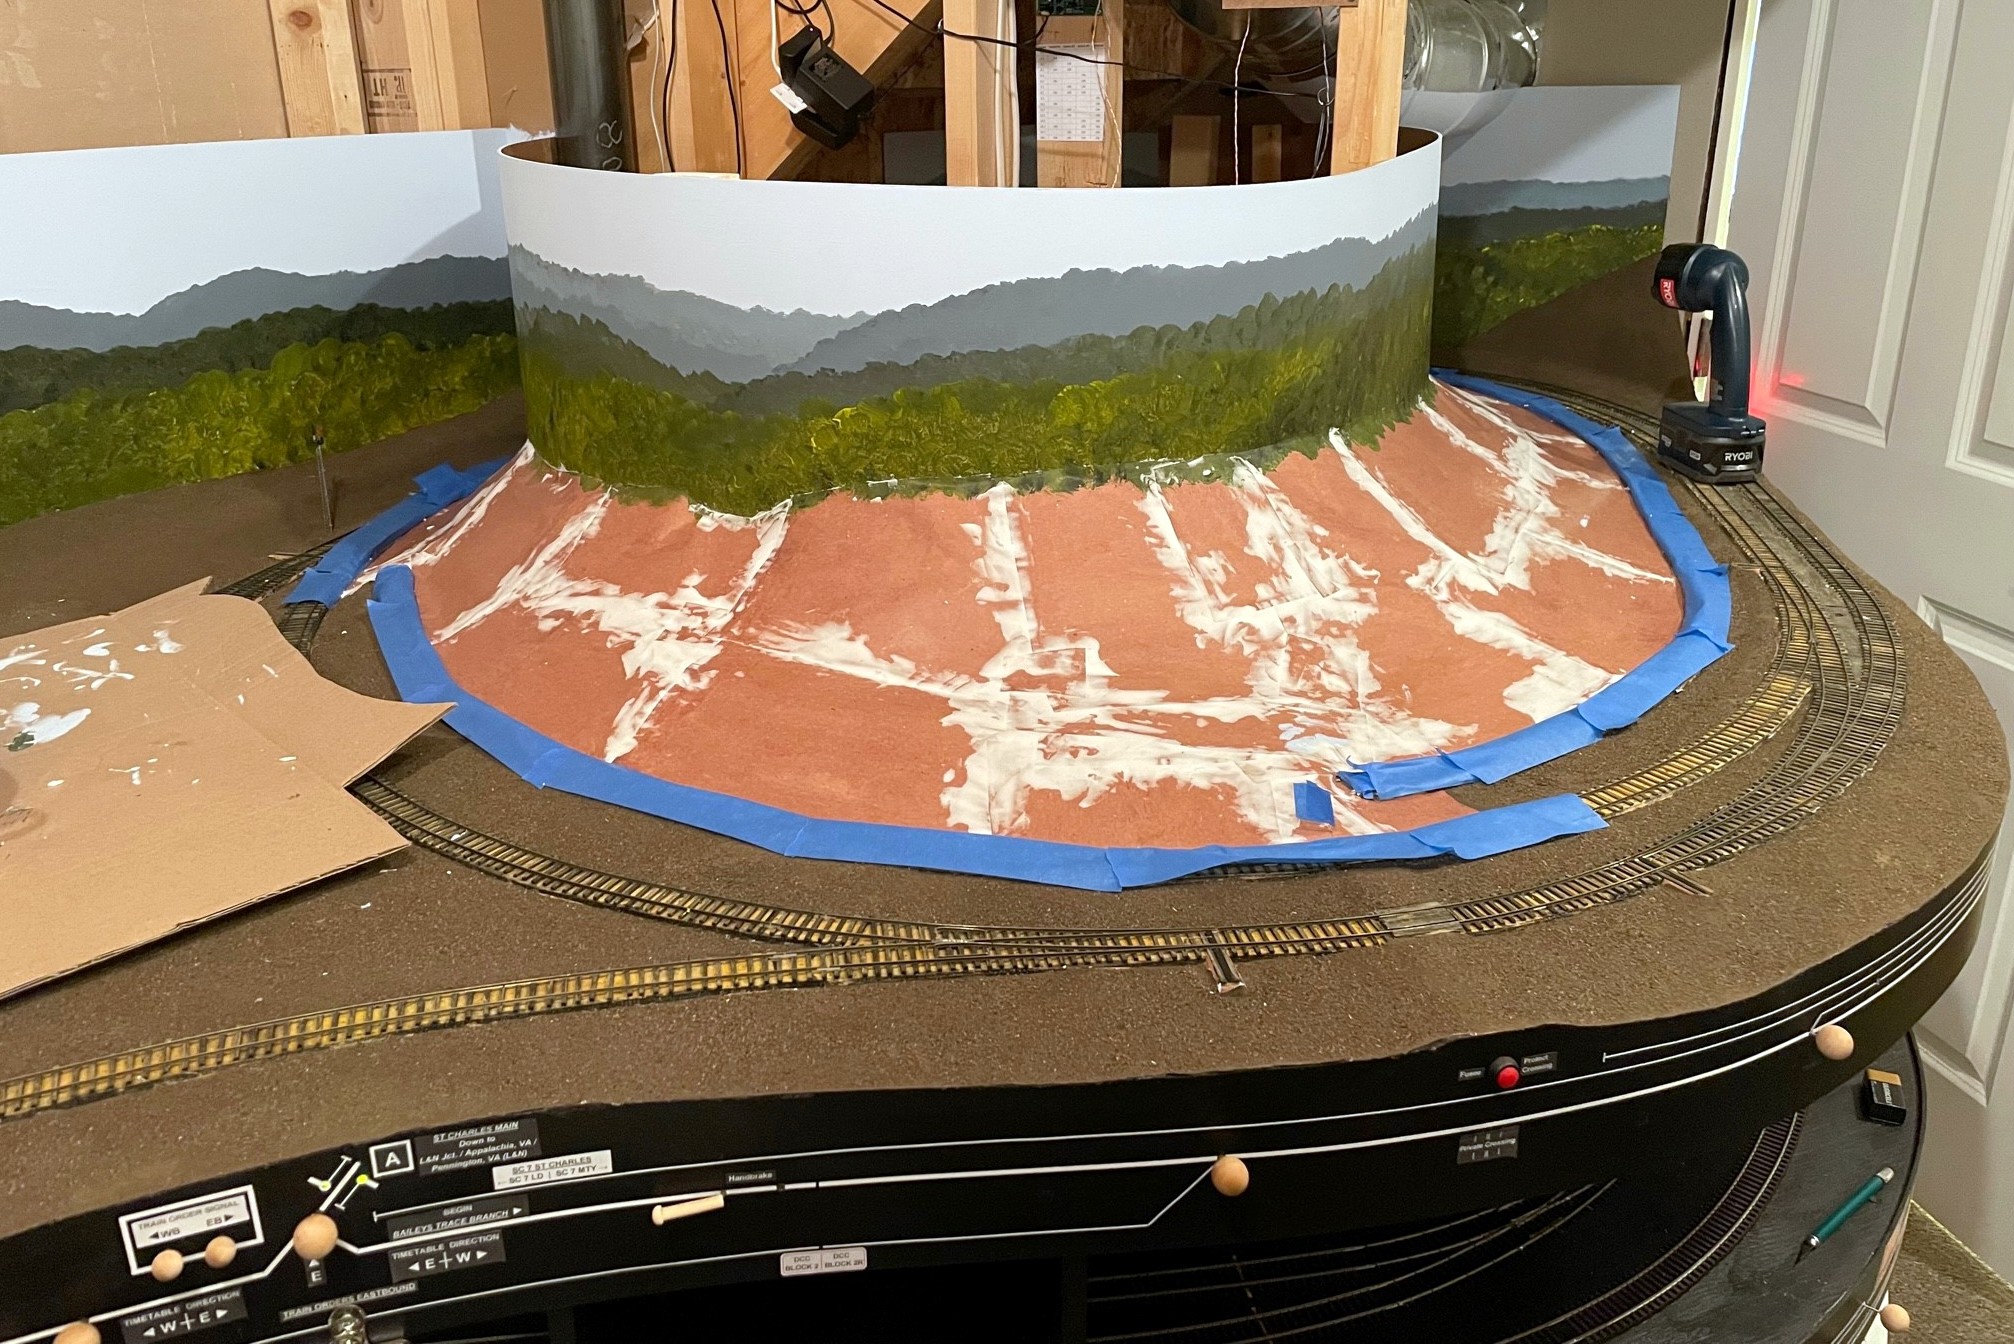
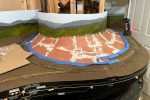
Once the glue dried completely, I added a step that Howard Zane does not: spackling the seams. I wasn’t happy with the edges of the paper as there were distinct lines that wouldn’t look natural with just paint. Additionally, there were a few areas that I needed to be completely flat, but they still had some undulations from the glue step. To fix this, I turned to one of my favorite materials: lightweight spackling compound that I picked up from the local hardware store. This is the same compound I use to cover screw holes and hide joints in masonite fascia and backdrops. It’s about the consistency of icing, and you just spread it on in batches using a plastic putty knife to smooth things out as best you can. Once it dried overnight, I used a wet washcloth to rub down the edges of the spackling compound and to taper it into the surrounding paper. This rewets the compound and allows you to get a smooth surface without sanding. Most of the seams were hidden after the first application, but a few areas required a second or third application to get the shape right.
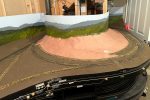
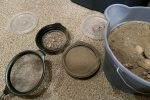
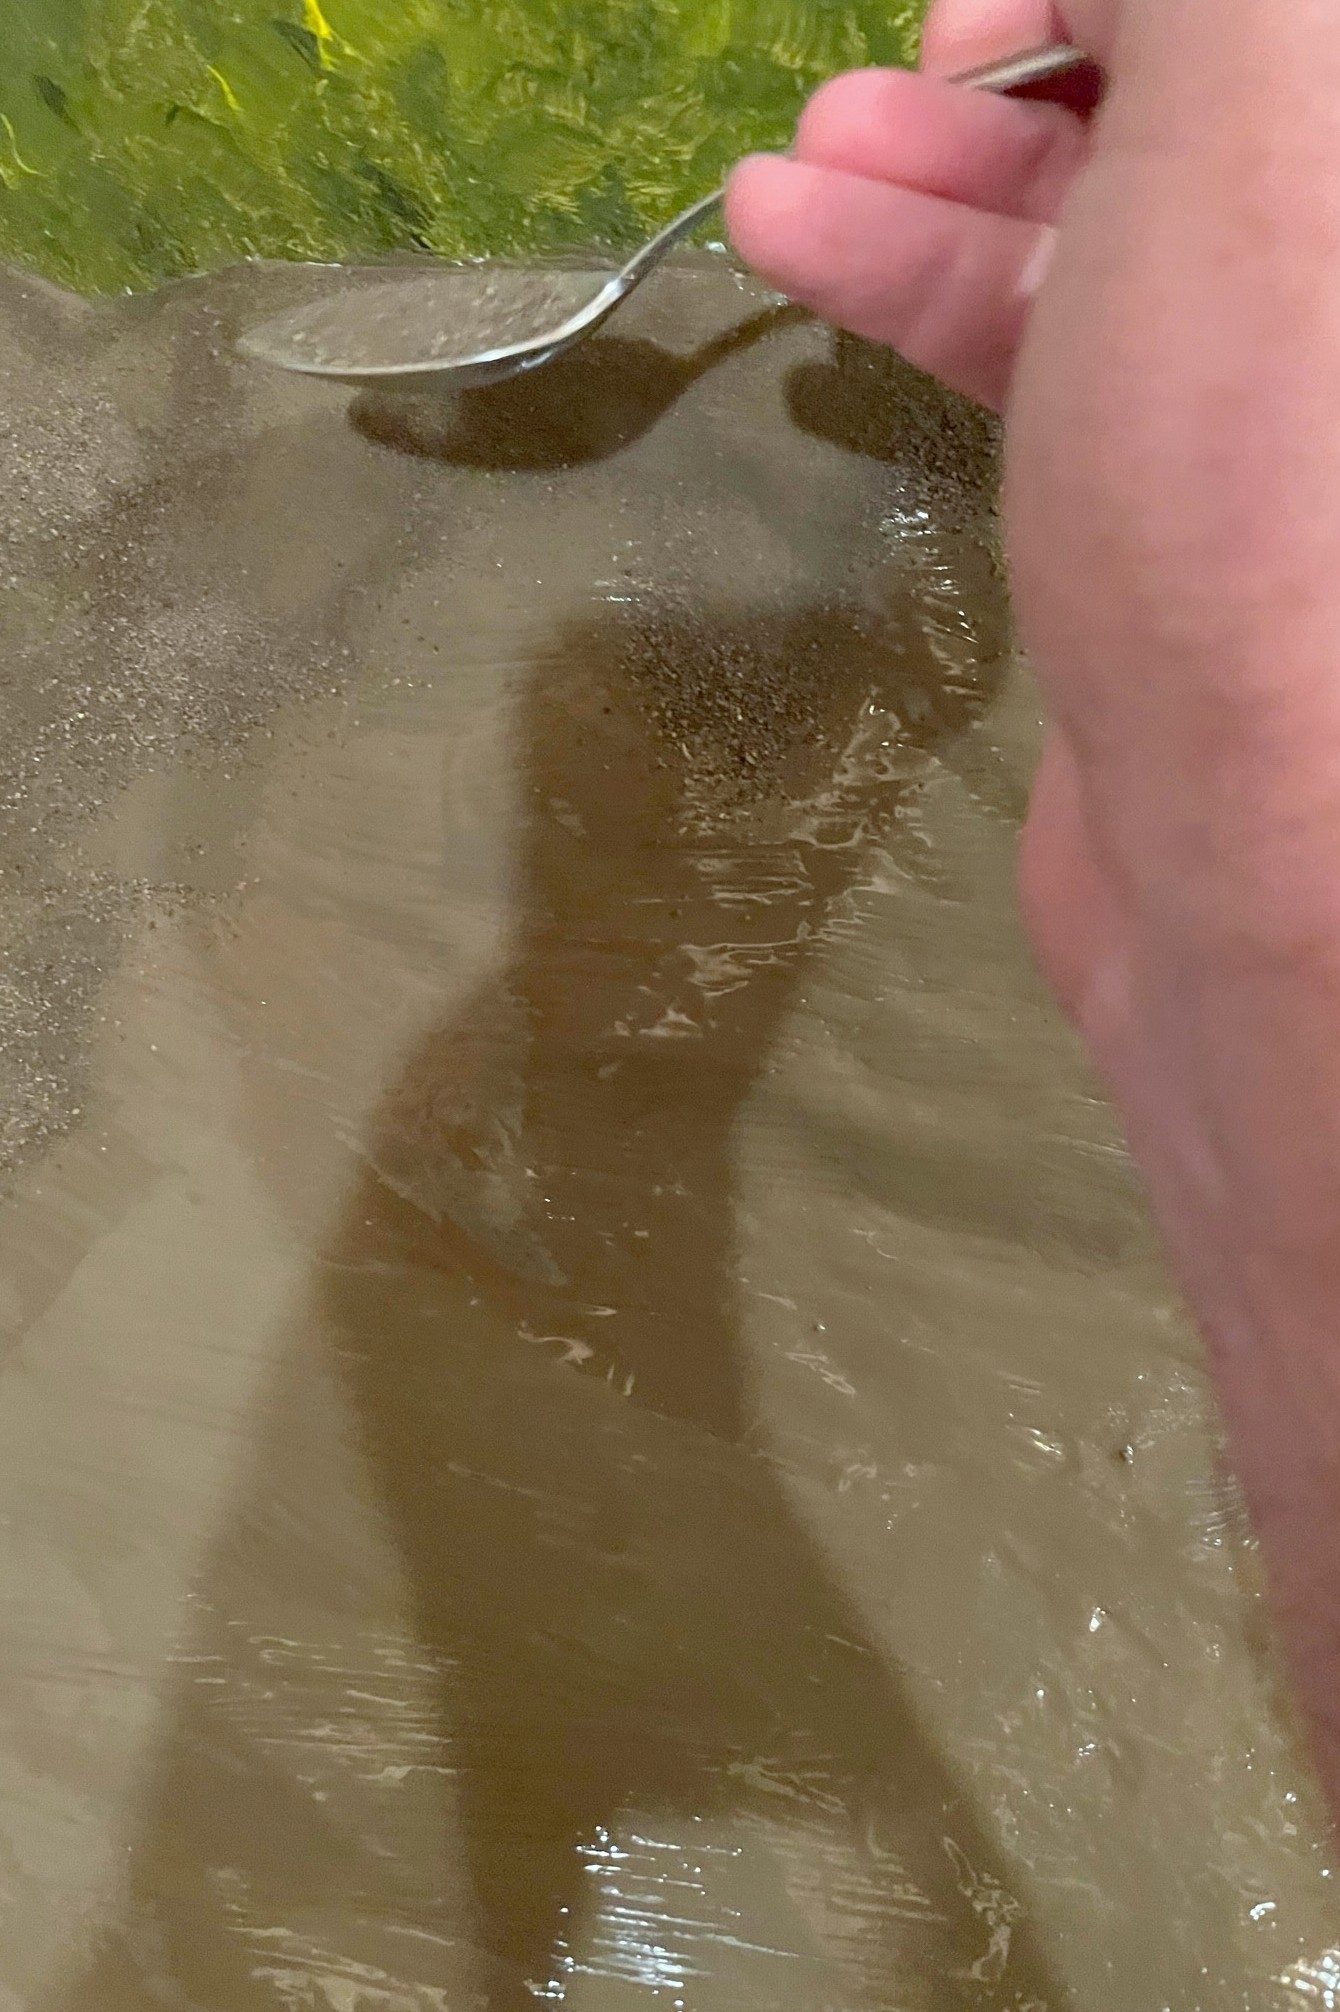
Now things were finally ready for some paint! A friend of mine graciously donated a fine bucket of dark Kentucky dirt to me a while ago (a kingly gift!). I went to the hardware store and found a paint color that matched the dirt color pretty closely and had a gallon made in flat/matte finish. Back on the layout, I applied some of this color thickly with a small brush to about a one square foot area. Using a spoon, I sprinkled some of the sifted dirt onto the paint to give the scenery a little base texture. I left about an inch of the paint uncovered to avoid getting dirt on the paintbrush. Quickly moving to the next section, I painted some more and added more dirt, starting with the seam between the areas as it was the closest to drying. Eventually, the whole surface was covered. Once the paint had dried a little, I gently sprayed a layer of wet glue (about 10 parts water, 1 part glue, with a little dish soap) on top of the dirt. In the few areas where it washed away the dirt, I simply added more to the soaked surface and sprayed again.
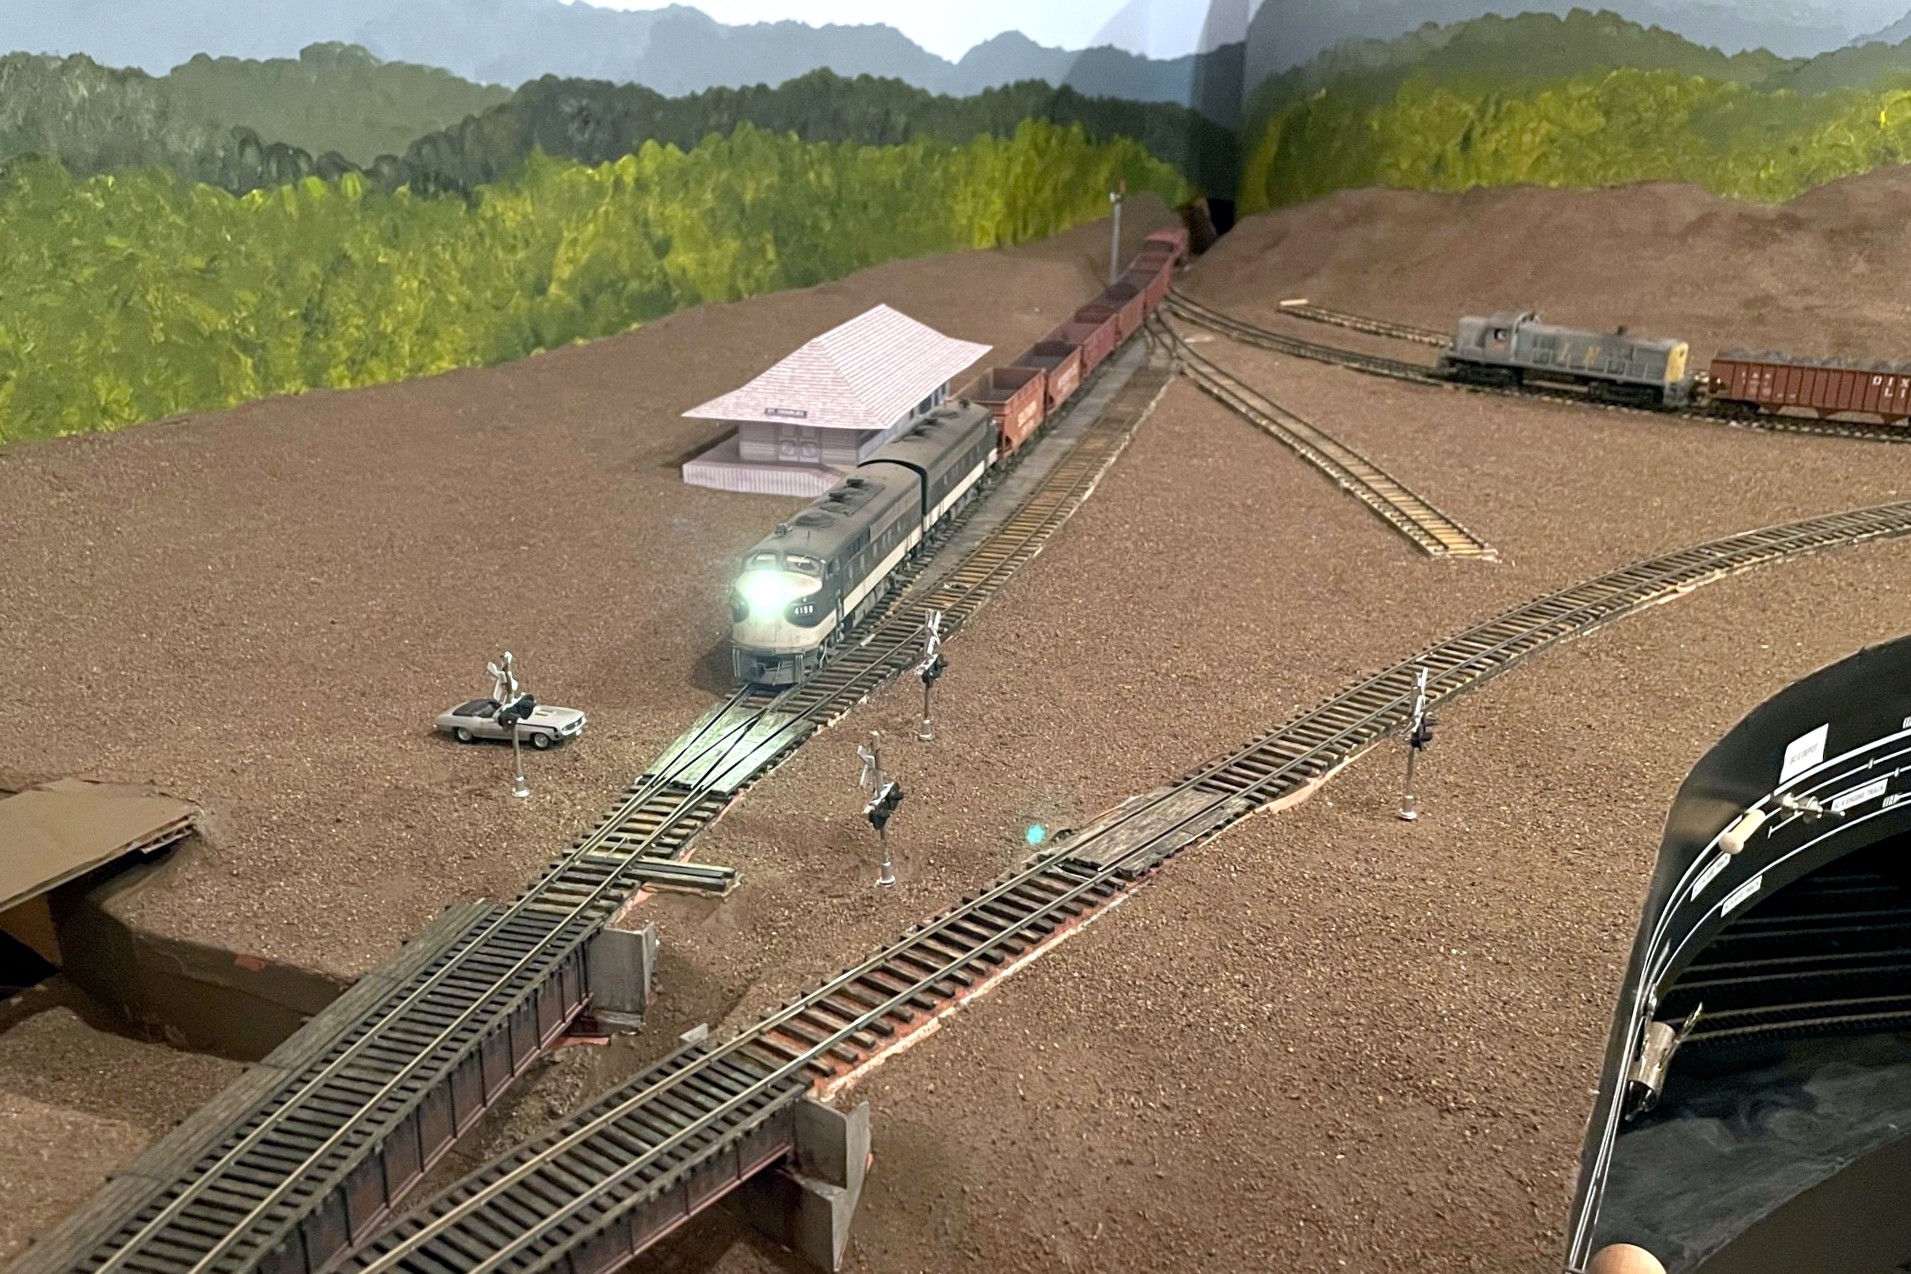
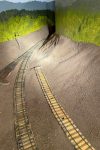
Once everything dried. I removed the masking tape and touched up any areas as needed. While there’s still a lot more work to go before the scenery is complete, I’m really happy with this technique to get to a good scenery base that looks a whole lot better than either plywood or raw red rosin paper! I won’t finish the scenery until the upper deck is complete to avoid ruining anything with sawdust and scenery materials raining down, but this current layer is resilient enough (and able to be vacuumed) to withstand the construction of the upper deck.