
Semaphores were a common way of signaling trains on the Southern Railway. Semaphores were often used at stations to indicate whether or not the train was cleared to proceed or needed to stop (or at least slow down) to pick up orders. Semaphores were also used to protect branches when trains were working on them, and these semaphores were usually set by the crews themselves. The St Charles Branch employed three such semaphores to protect the lines RR west of St Charles. Here’s the exact verbiage from the Employee Timetable:
“At points shown below, semaphore signals will govern the movement of trains and engines. When track is not occupied, signal will indicate proceed. When in either position, stop or proceed, signal will be fastened and locked with a switch lock. When indicating stop, position will not be changed until train or engine occupying the track clears it and the crew of same restores signal to proceed indication. West of St. Charles—located at the junction between Bailey Trace and Fawns Branch lines.”
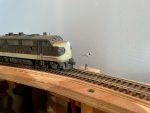
I definitely wanted to model this aspect of operations, and as a bonus, two of the locations of these semaphores correspond with long sections of hidden track on my layout, the hidden track between St Charles and Mayflower on the Bailey’s Trace Branch, and the helix between St Charles and Turner’s Siding on the Black Mountain Main. These would not only serve the purpose of adding more prototypical operations, but they would also serve a very practical function of protecting trains that can’t be seen without a dispatcher.
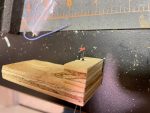
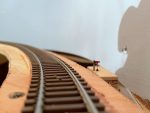
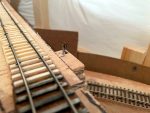
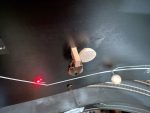
I learned from a former Southern employee who worked in this area that these were “dwarf semaphores.” I haven’t been able to find a picture of one of these exact devices near St Charles, so I Googled “dwarf semaphore” to see what they were all about. They operate just like the tall semaphores and come in both upper- and lower-quadrant designs, and most have lights. They only sit about 3-4 feet tall, though, and have a blade somewhere around 14″ long–that’s super tiny in HO scale! I picked a Union Switch and Signal upper-quadrant, two-light design. I didn’t see anything resembling this available in HO scale, so I set about building my own operating version from sheet brass and wire.
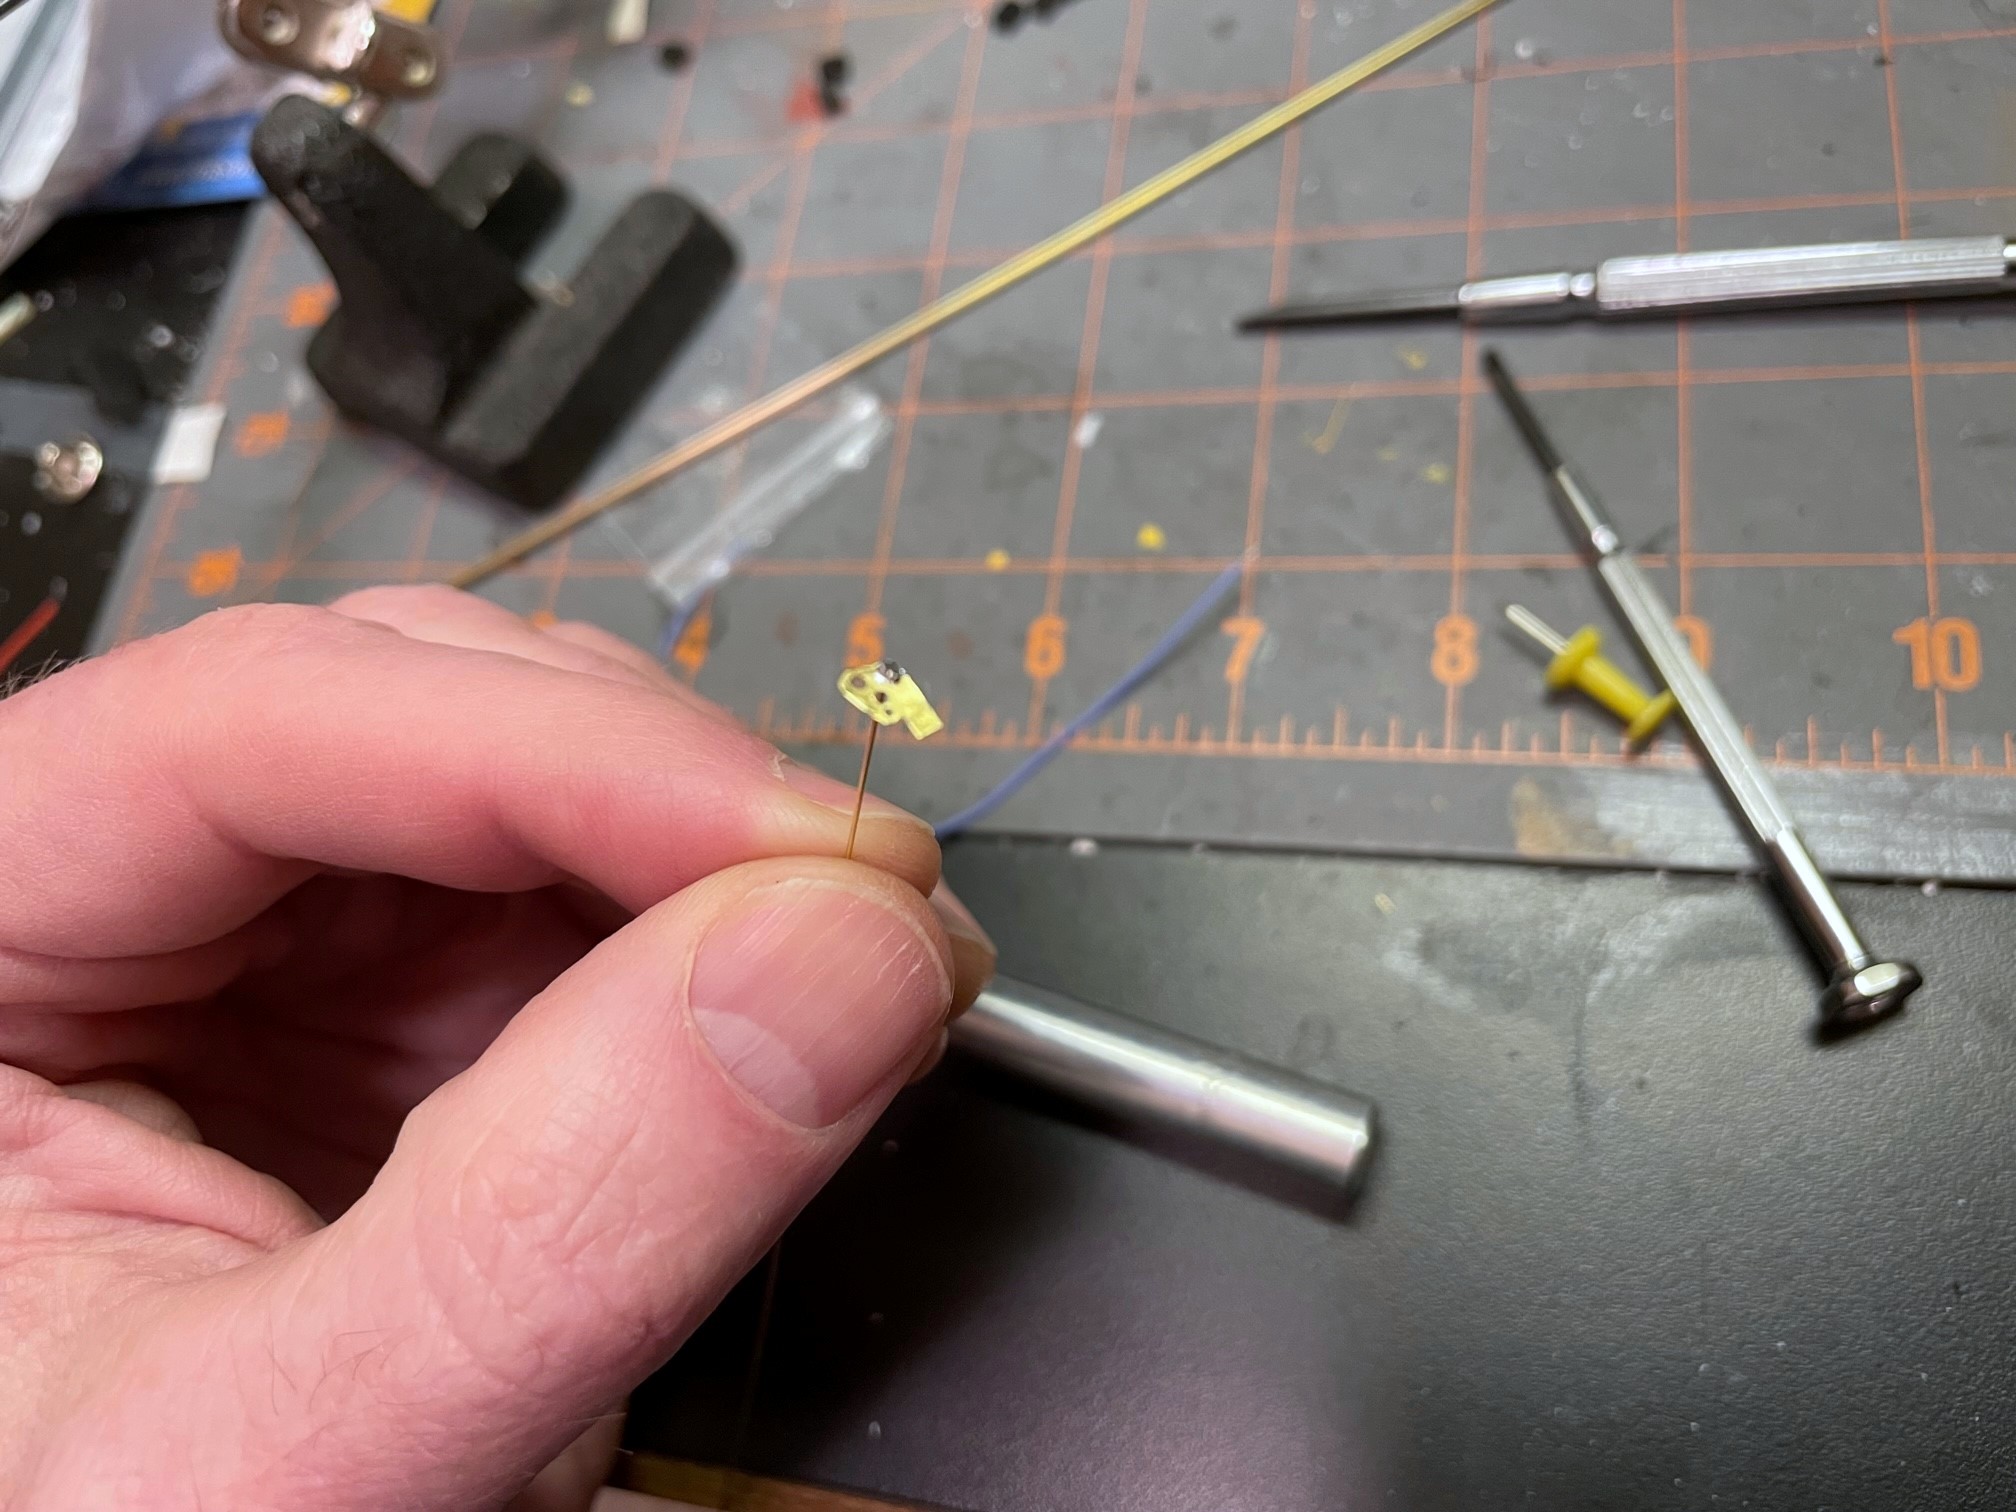
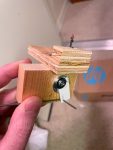
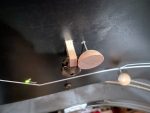
I made a drawing of the blade and faceplate with the lights, sized it down to HO scale, and printed it on sticker paper. After sticking it to a sheet of .005″ brass, I was able to drill holes for the lights, swivel and actuating arm and then cut it out with scissors. After cleaning it up with a file, I bent a piece of .015″ brass wire, inserted it through the swivel hole, and soldered it to the faceplate. I drilled a hole for the wire through a piece of 1/16″ brass tubing for the base. I wanted to use fiber optics for the lights, so I soldered a 1/16″ long piece of tube to the tall tube angling up to where the light would be to hold the fiber optic strand. I painted the faceplate and tubing black, then made lenses by melting the end of a piece of fiber optic into a mushroom shape holding it near a soldering iron. A little red for the blade and a white sticker stripe and the faceplate was complete.
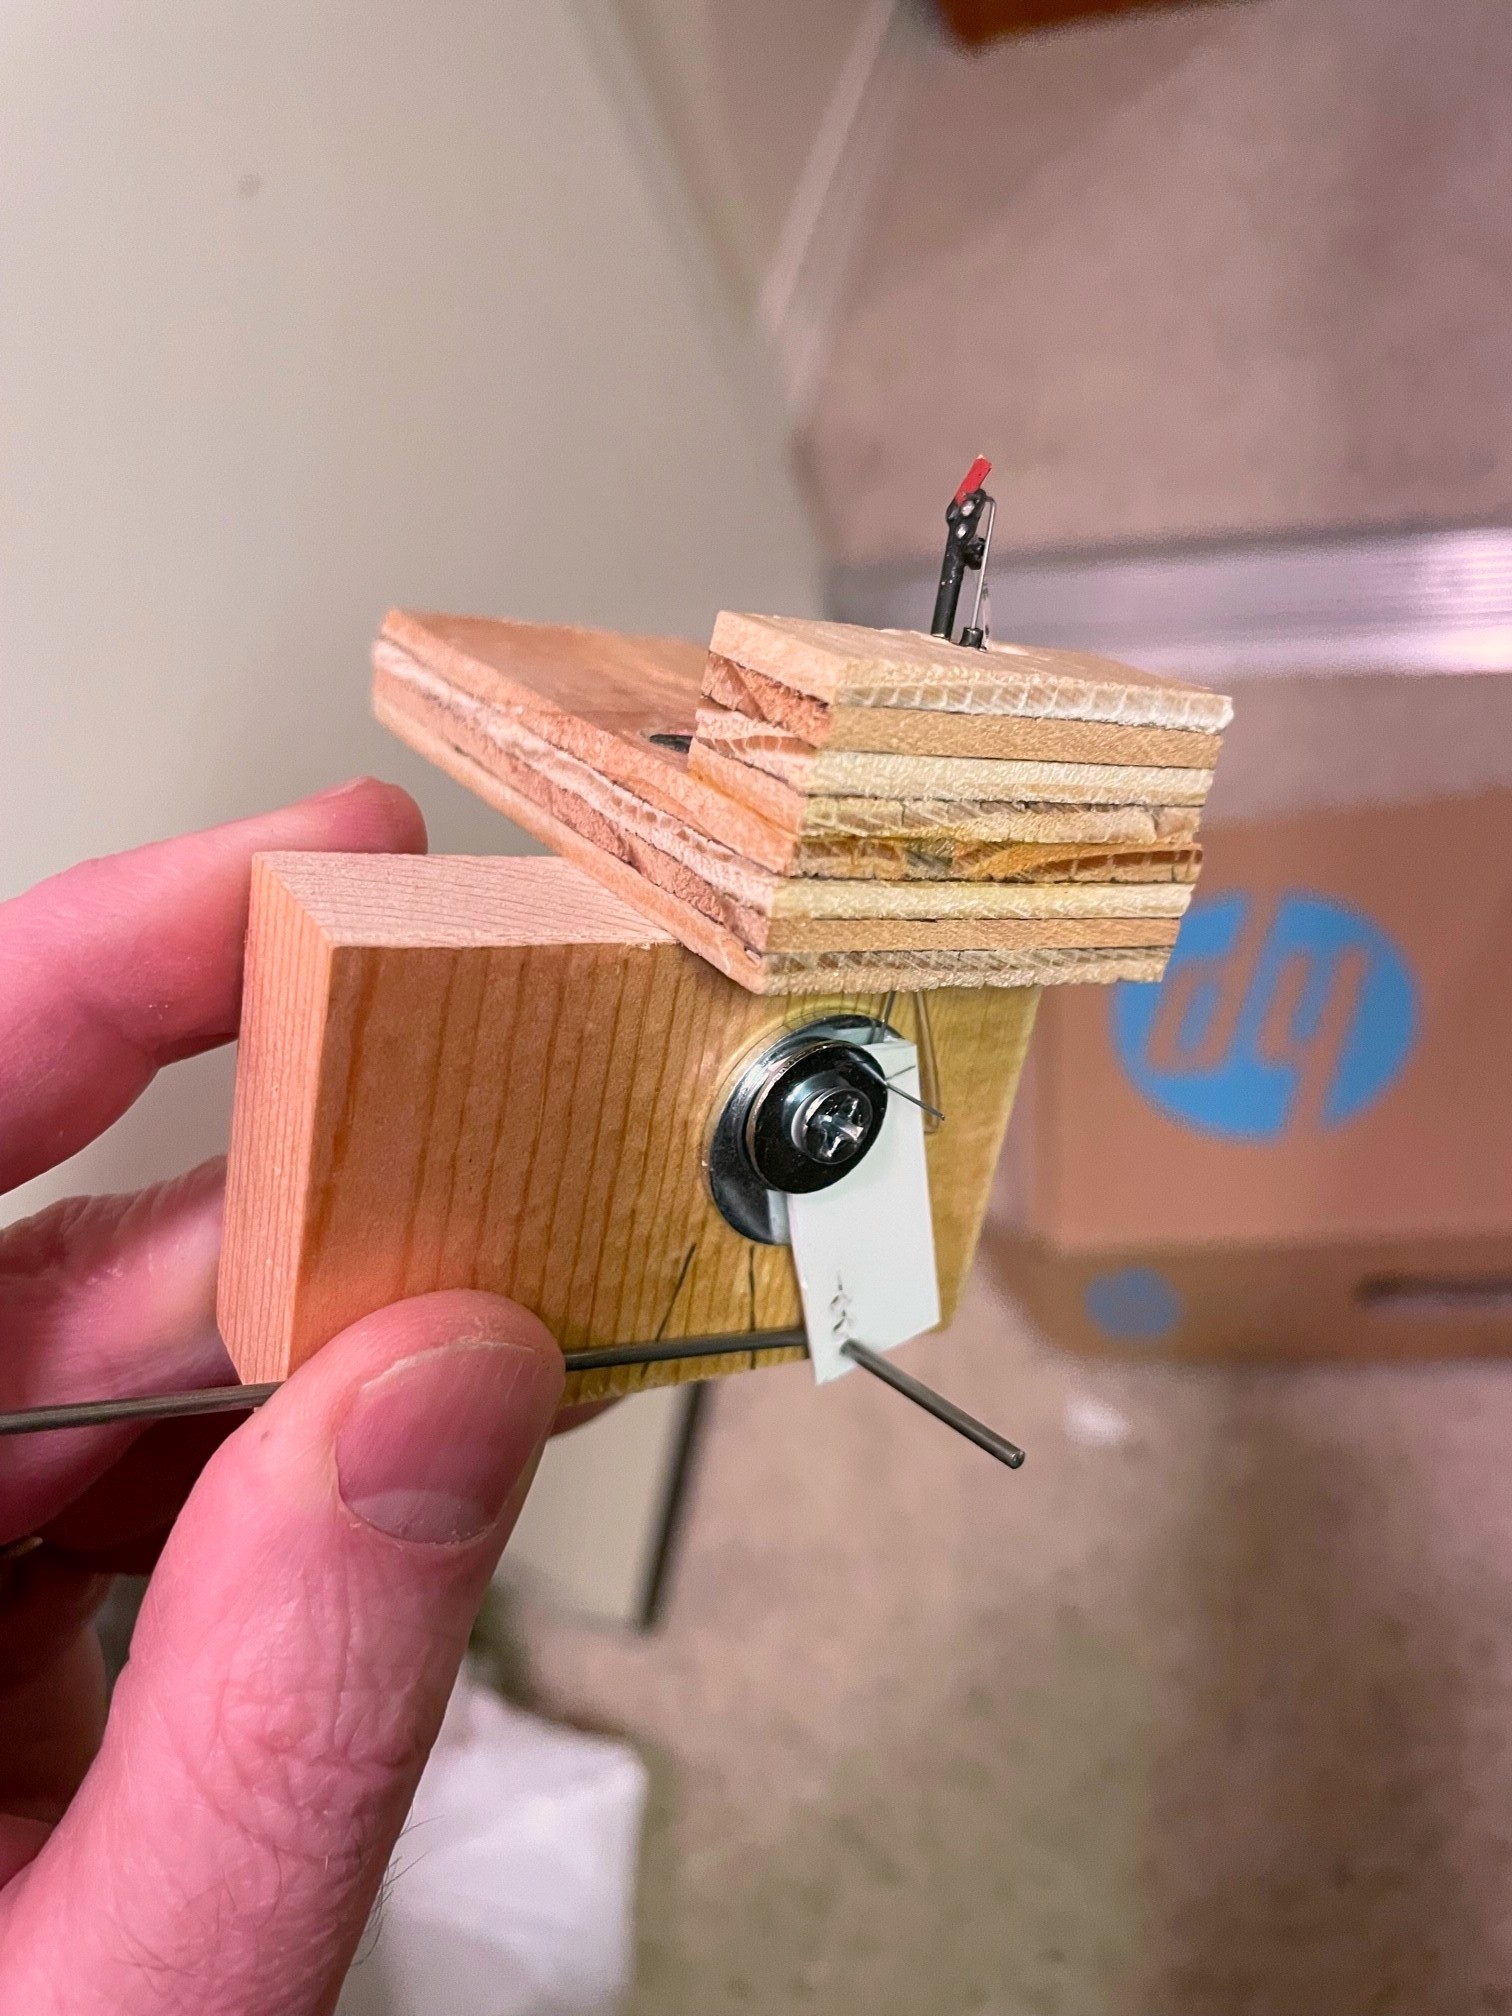
I mounted the base post in a piece of plywood and drilled a hole for a second piece of 1/16″ brass tube underneath the blade for the actuator arm. After inserting the faceplate and securing it with a bend on the back side of the tube, I had a faceplate that swiveled freely. A piece of .012″ steel music wire bent at a 90 degree angle at the end was inserted into the blade and the tube for the actuating arm. On the bottom, I made a lever for the actuator that raised the actuator just slightly while allowing for significant travel for the longer actuating rod connected to the fascia. I filed the end of a fiber optic strand so it would be parallel to the faceplate and inserted it into the little brass holder and through a hole in the base. A little silver paint for the post, and the tiny dwarf semaphore was complete!
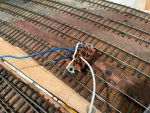
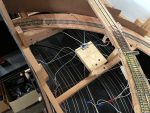
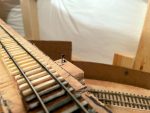
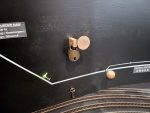
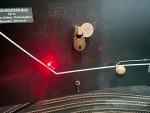
One of the things I wanted to model was the use of switch locks. I found some Miniature Locks on Amazon that suit this purpose perfectly! I decided to use a slide-switch mechanism like I use for all my switch controls, but I needed a longer slide to enable the lock to go in front of and behind the control knob to “lock” it into either position. I found some old three-position slide switches on eBay that did the trick! The slide switch serves two purposes–it “snaps” into position to hold the control and semaphore securely in position, and it allows for the routing of power to LEDs, in this case some bi-color red and green LEDs that change color when the polarity is reversed, something easy to do with a slide switch. After mounting the switch to the layout using a piece of 1×4″ board, I drilled two holes in the slide handle and used .o62″ steel wire to connect the slide to the lever under the semaphore and a separate rod through the fascia for the control knob, a 1/2 ball piece of wood.
For the lock mechanism, I used a bar of 1/4″ x 1/2″ basswood with a hole drilled for the lock and inserted it through a hole in the fascia and benchwork adjacent to and just touching the control knob. The hole sits just ahead of the control knob when it’s pressed in and just behind it when pulled out. I also connected two LEDs to the slide switch and a 12V DC power supply. One LED is mounted behind and just through the fascia to serve as an easy indicator for the full-size operators. The second was inserted into a hole drilled in the semaphore base where it can shine into the fiber optic strand.
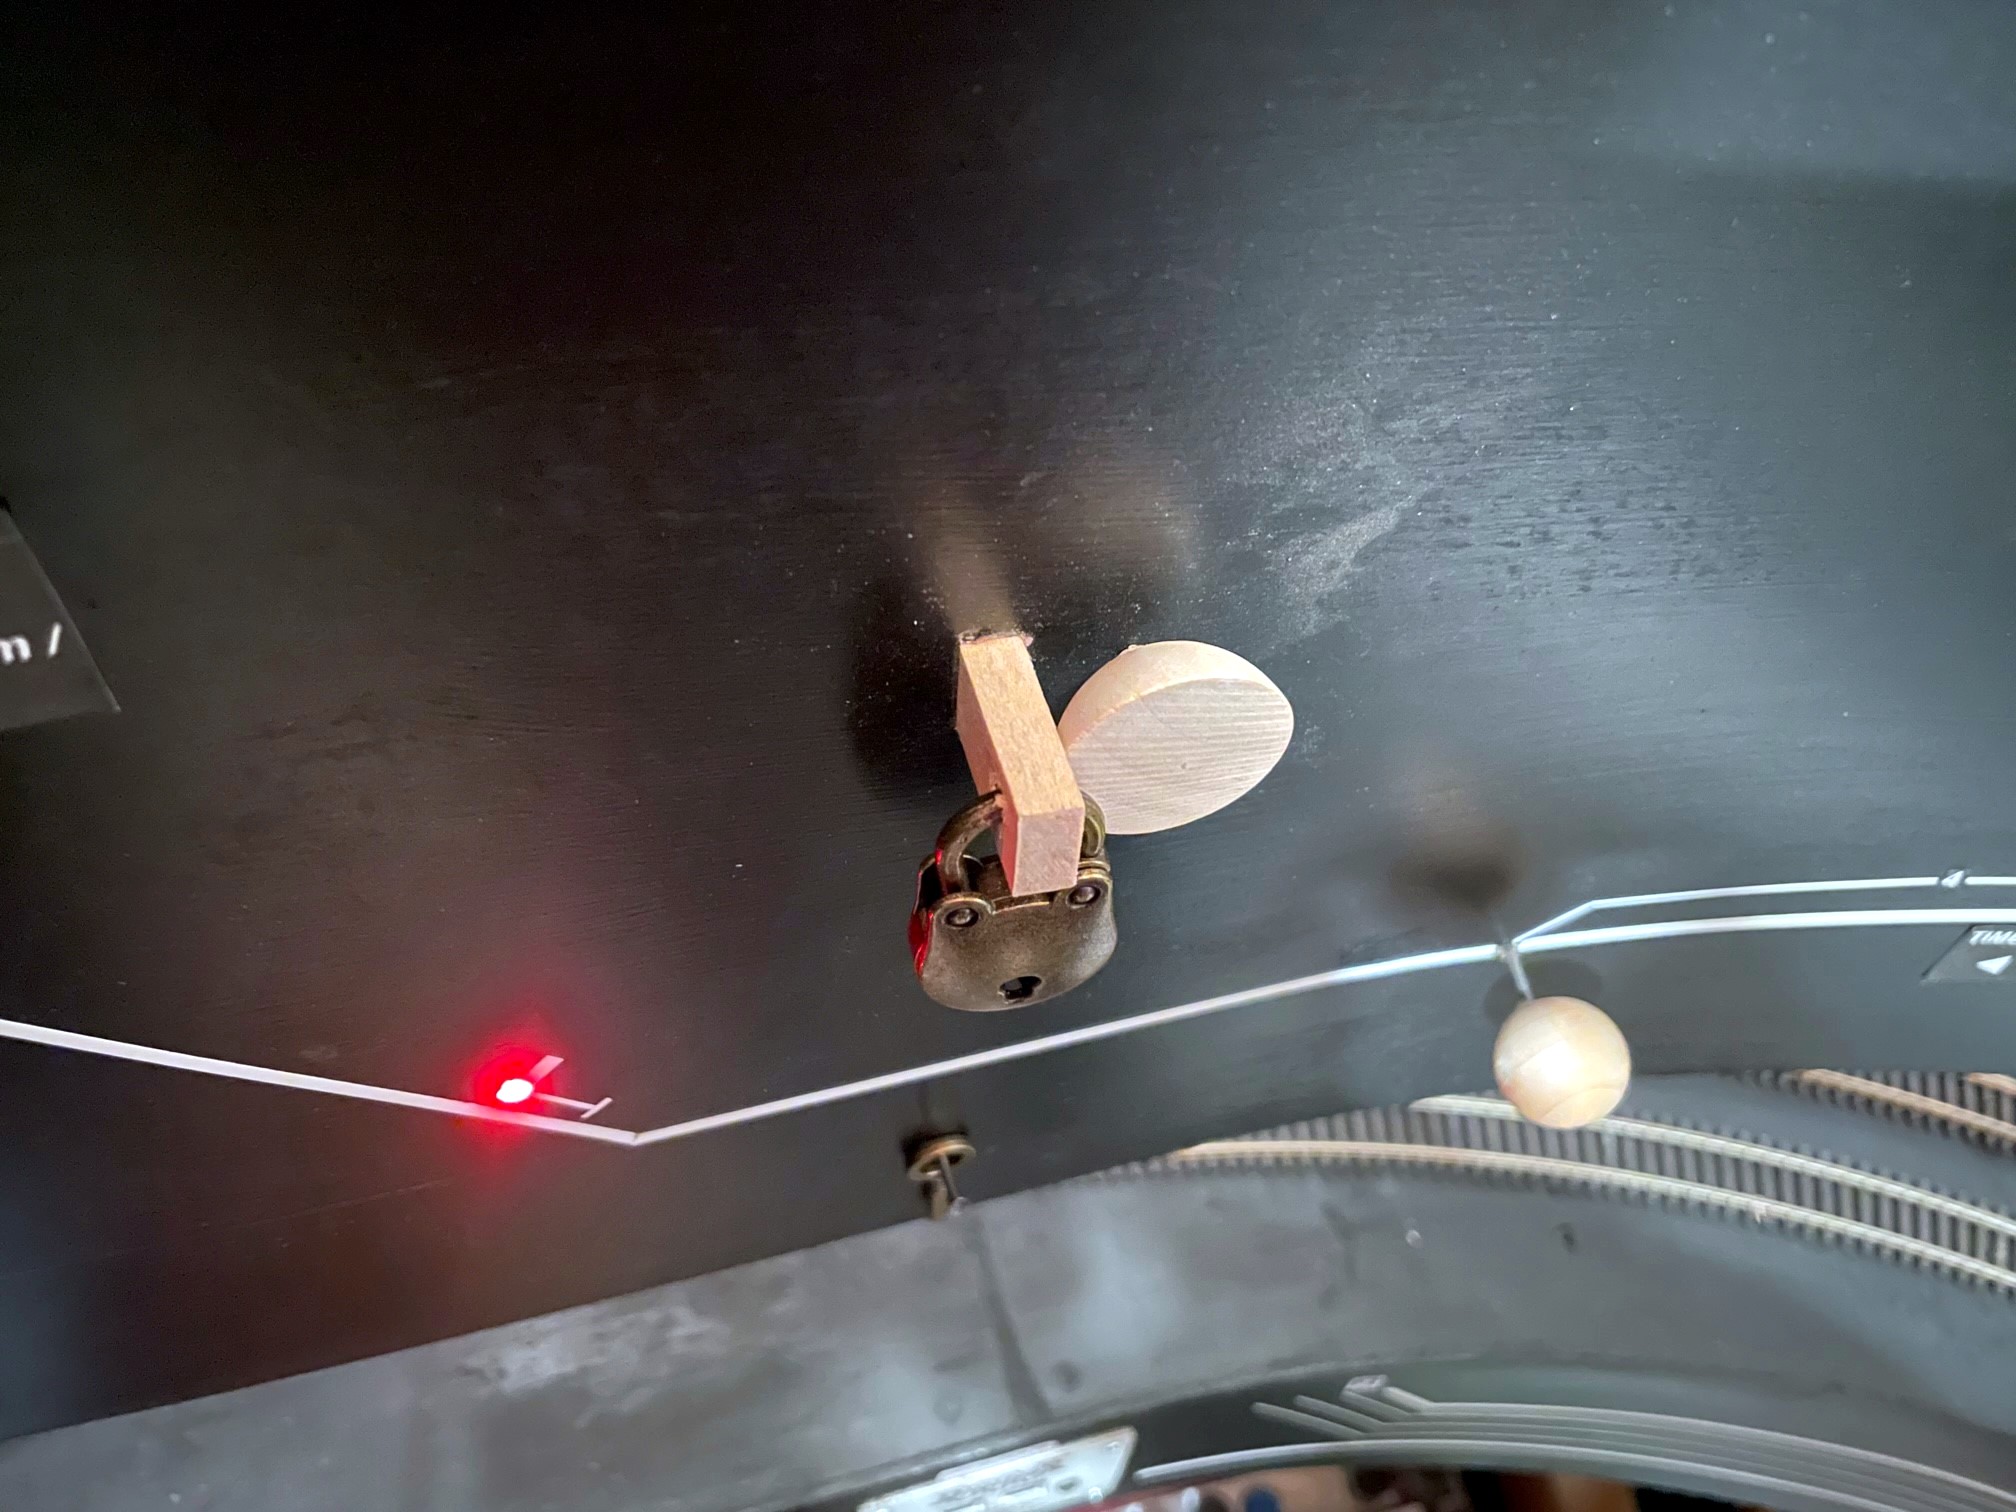
The result is a semaphore with working lights, blade and a switch lock. While the dwarf semaphore sits about 3′ from the aisle and is tough to see, it is pretty cool to have an operating model and a tiny little red or green glow that matches the indicator on the fascia. Now the operators on the St Charles Branch, just like their real-world counterparts, have to stop at the semaphore, unlock the lever, change the indication, and re-lock the lever before proceeding up the branch (and do the reverse on the way back). While I’m not sadistic enough to make operators lock and unlock every switch they need to throw, working with switch locks a couple times during a session is one more step toward replicating the actions required on the real thing, and it adds a little prototypical time to the work required. Oh, and it helps protect trains without a dispatcher which is pretty useful.
[Note: since I first published this post, I decided to reverse my control mechanism so “proceed” is pulled out and “stop” is pushed in. It just required me to reverse the lever used to lift the arm. I figured having the crew move the lock to the front of the pull knob where it’s more obvious makes more sense.]

Well, this changes things, Dan. Where before I had intended using a register book at the junction for crews to sign, informing any following crew that a train was up ahead, I may adopt this instead. It means only one train on the branch at a time, but the operational interest is quite compelling.
Now, pulling this off for a N scale Southern layout will be challenging, but doable, I think.
Thanks for the detailed article!
Dan, on page 84 of “Appalachia Coal Hauler,” there’s a photo of Southern 2182 on a mine run at Kent Jct. There’s a two-aspect signal to the right of the locomotive. I’m wondering if this is indeed another stop-proceed block signal protecting the Interstate branchline that began at Kent Junction? Instead of. dwarf, it’s a two-aspect color light signal atop a case.
Paul, it makes sense to me that the signal at Kent Jct. would be used for a similar purpose. Interestingly, though, I see reference to the semaphores west of St Charles in the 1970 Appalachia Division Employee Timetable, but I don’t see any references to the signal you’re referring to. Perhaps it was decommissioned before 1970 because of radios while the semaphores were kept due to L&N trackage rights through St Charles.
Good point, Dan, about pre-1970. The photo shows a Geep 7, so I can assume it was taken most likely in the mid to late 1960s.
Still, I think a little modeler’s license can still add operational interest and save my eyesight by adding a two-aspect CL rather than the dwarf semaphore.
Thanks for your reply.