
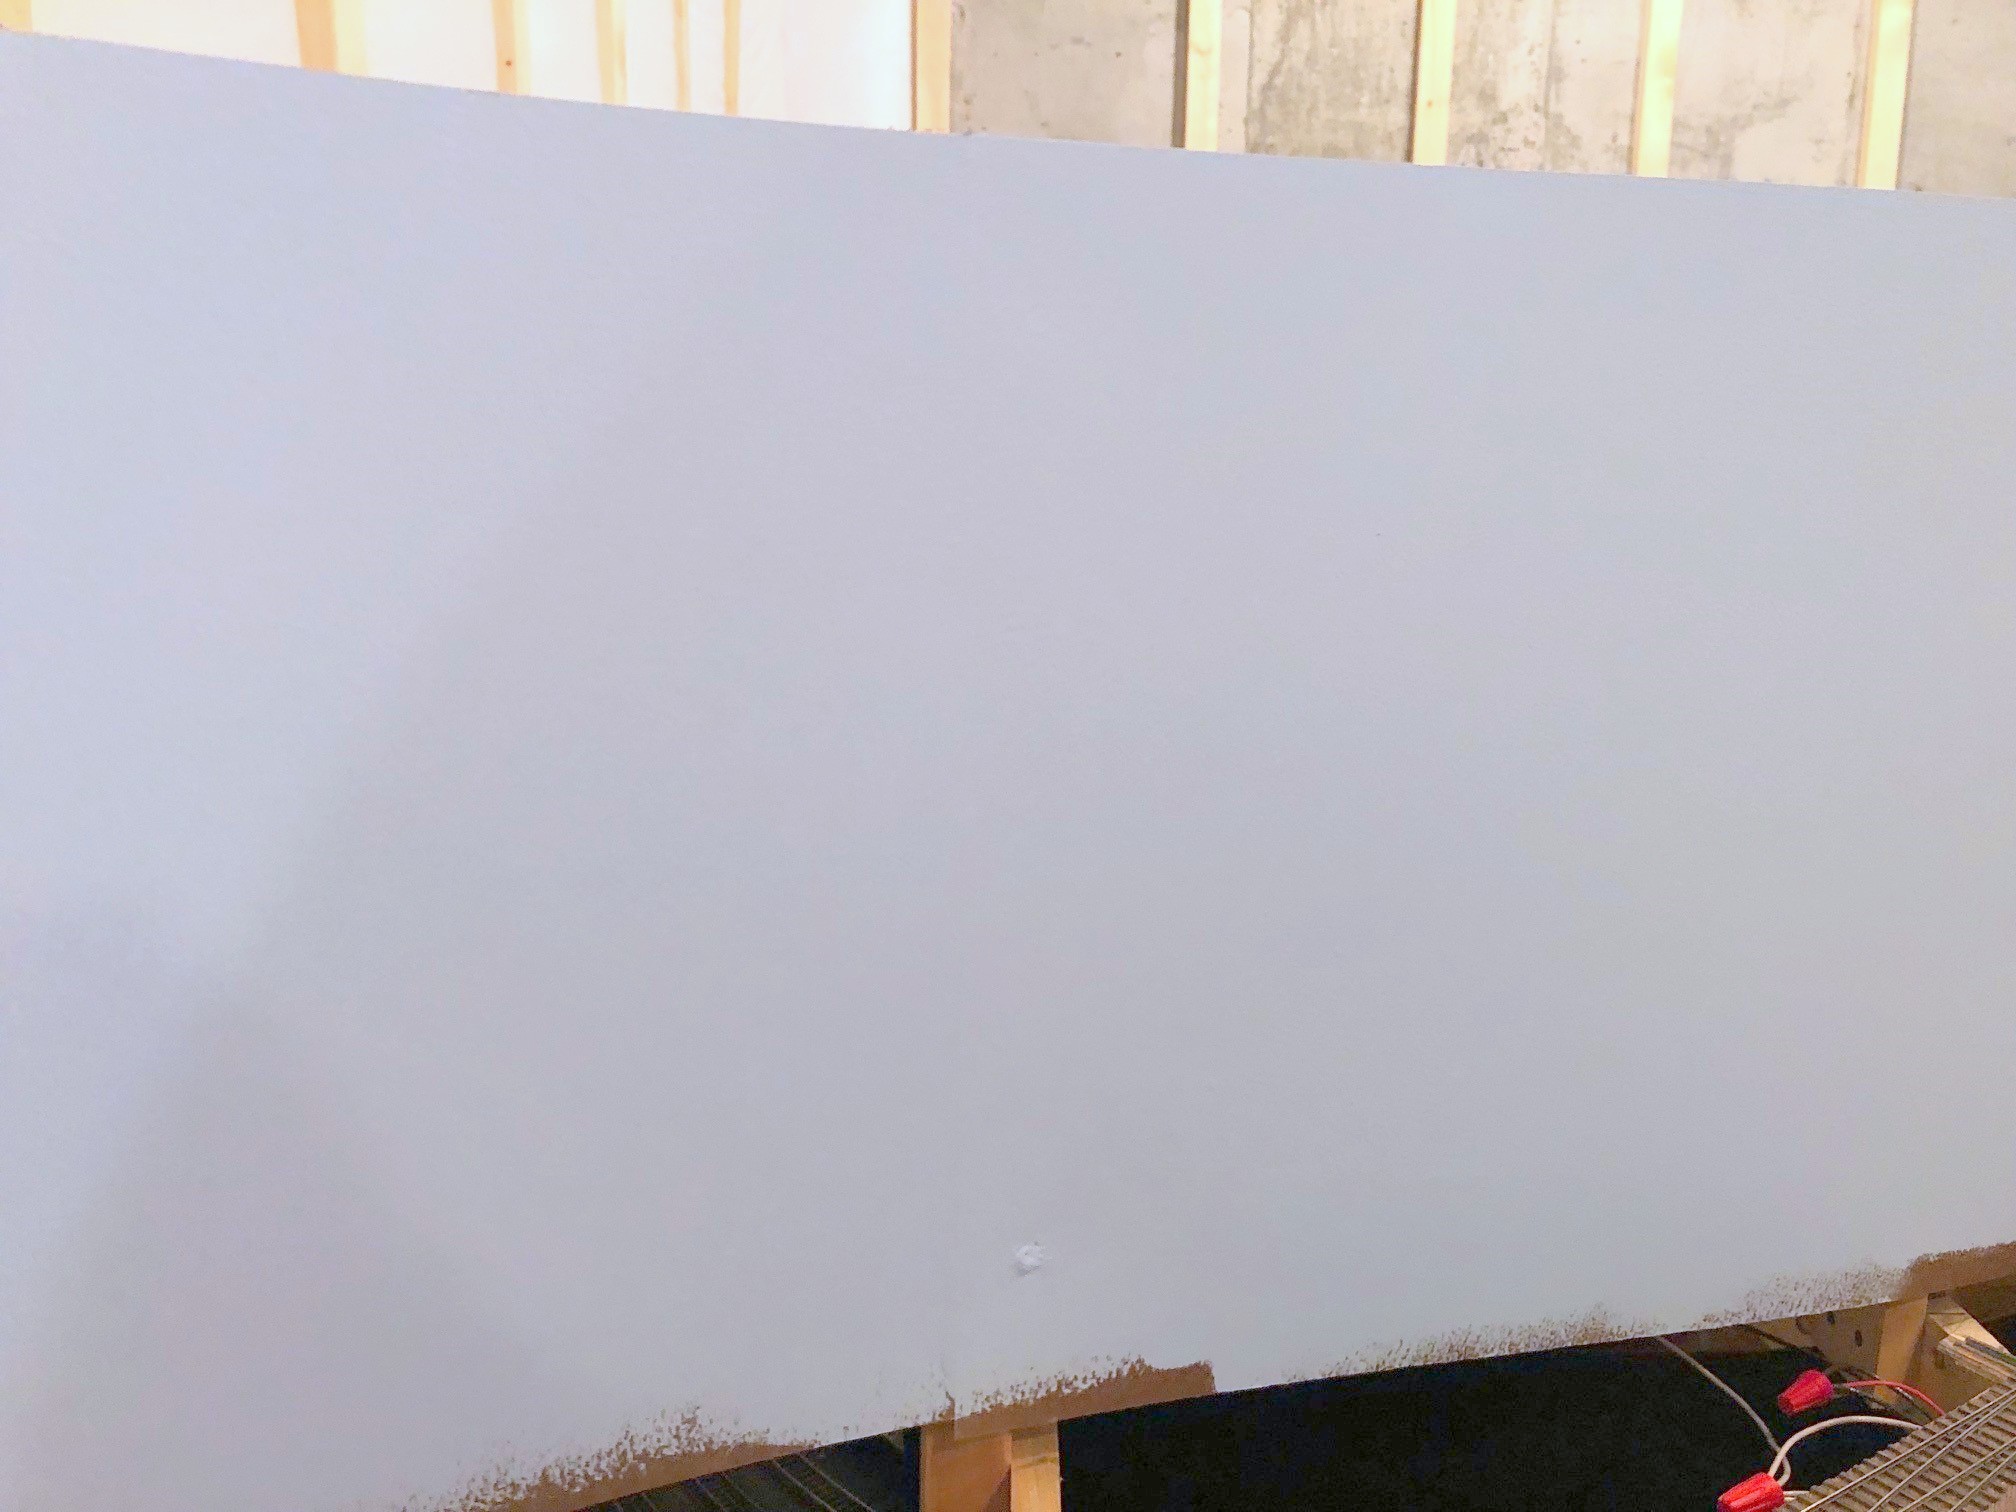
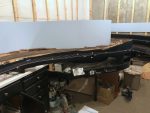
There is now a pale blue sky in St Charles, VA! This past week has been “backdrop week” on the layout, and today I finished sanding and painting the blue color on the backdrop. It’s amazing what a difference the backdrop makes in giving shape to the scenes. This is also a big step because it’s one step further than I got with my last layout before I had to tear it down–it’s good to surpass the progress of the previous effort.
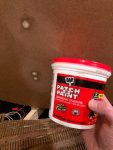
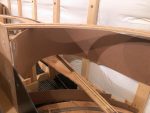
The backdrop, like the fascia, is 1/8″ Masonite (or “hardboard” at some stores). I know a lot of modelers like Masonite because of its smoothness and flexibility, but over the years I’ve heard one repeated complaint: “it’s nearly impossible to fill holes and cover seams because nothing will stick to it.” If you’re worried about this, worry no more! I find that lightweight spackling compound (I use DAP Patch-N-Paint) works perfectly on Masonite. A couple of tips. First, make sure you countersink the screw holes so the screw heads are at least 1/32″ below the face of the Masonite to give enough depth for the spackle to work–this is tough to do without going through the 1/8″ board, but don’t worry if you have to patch an extra hole. Next, I apply a layer of the spackle over the screws and across any joints with a plastic putty knife to avoid scratching the Masonite. I clean it up a little with the knife, but messy is ok. After it dries for about 1-2 hours, I use a damp washcloth to scrub off the excess spackle. This usually leaves a bit of a depression in the holes and seams, so I put on a second layer of spackle. After this completely dries, I sand it with 150-grit sandpaper until it’s even with the Masonite surface and wipe it once again with a damp washcloth. Once painted, I have to look very carefully to see the seams, and the screw holes all but disappear.
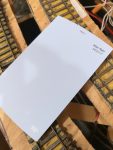
For the color, I wanted a very light sky blue, enough to look blue but that kind of whitish and hazy blue on the horizon. I stood in Home Depot for 20 minutes with pictures of Appalachian scenes on my phone comparing the color to all the options Behr had to offer. I finally decided on this color in a flat finish (Behr calls it “After Rain”), and I’m pretty happy with it. If anything it’s a little more blue than I’d hoped, but the hue looks pretty natural, and it’s not too dark. Two coats with a roller gave the backdrop a nice even look. The backdrops are all ready to support some scenery forms now.
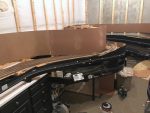
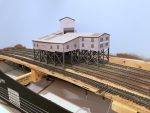
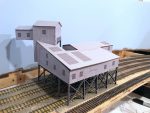
I must say, I’m going to miss taking pictures of the Mayflower Tipple mock-up with a nice white plastic insulation blanket as the backdrop… ok, no I’m not.

Looks great!
Well since no one will say it, I will
“Blue Skies, smiling at me! Nothing but blue skies, smiling at me!”
Congrats on this huge milestone
Dan
Looks great. Nice job on the backdrop. Can you imagine how that scene at Mayflower will look with scenery?
WOW
that was good timing, I am headed to the store today to buy paint, same objective, you just saved me 20 minutes!
I looks right on to me, thanks
Glad to help, Jeff! This is on the edge of “too dark” to me, so I would also recommend looking a shade lighter and a shade more gray before finalizing your choice.