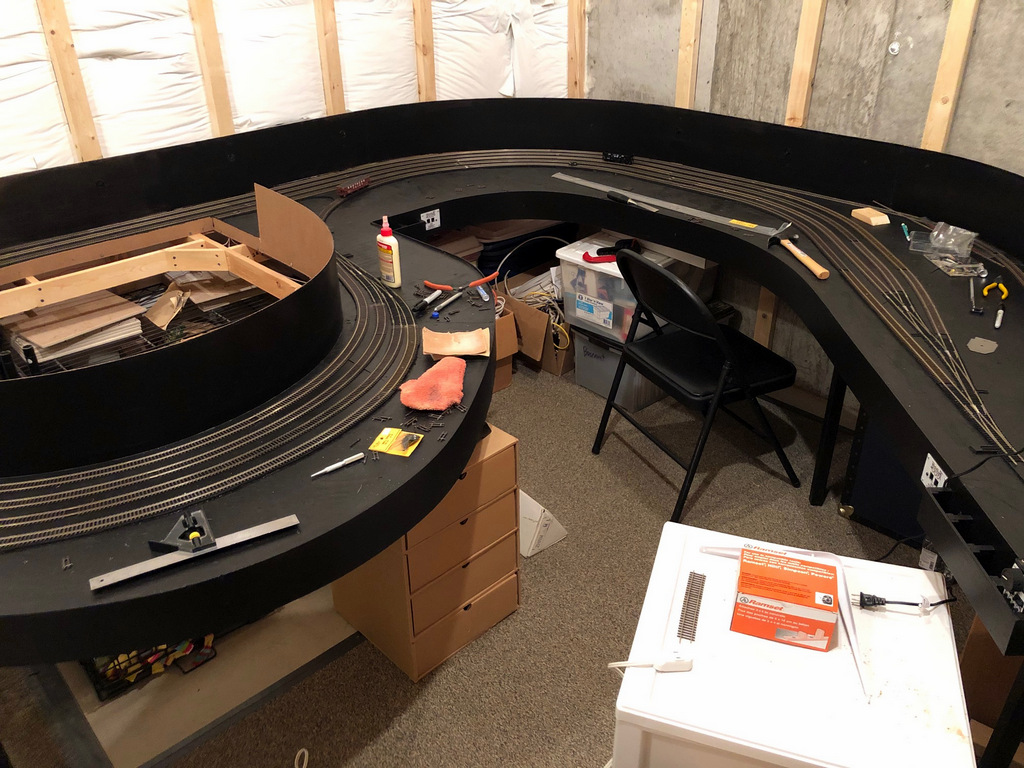
Another milestone today–the Southern Railway staging yard tracks are now complete! The yard, representing Appalachia, Virginia, consists of 8 hand-laid switches and about 40 pieces of flex track. The yard is three tracks on a reversing loop, one through track for mainline running (which can be used as a fourth staging track), and two short storage tracks for extra locomotives.
The Southern railway staging tracks representing Appalachia are now complete. The tracks form a reversing loop under the main helix.
The shortest staging track is about 21 feet long–that’s long enough for three locomotives, a cab, and 35-45 hoppers. . . should be plenty. A second, 4-track stub-ended staging yard with shorter tracks will help with L&N trains and holding excess cars.
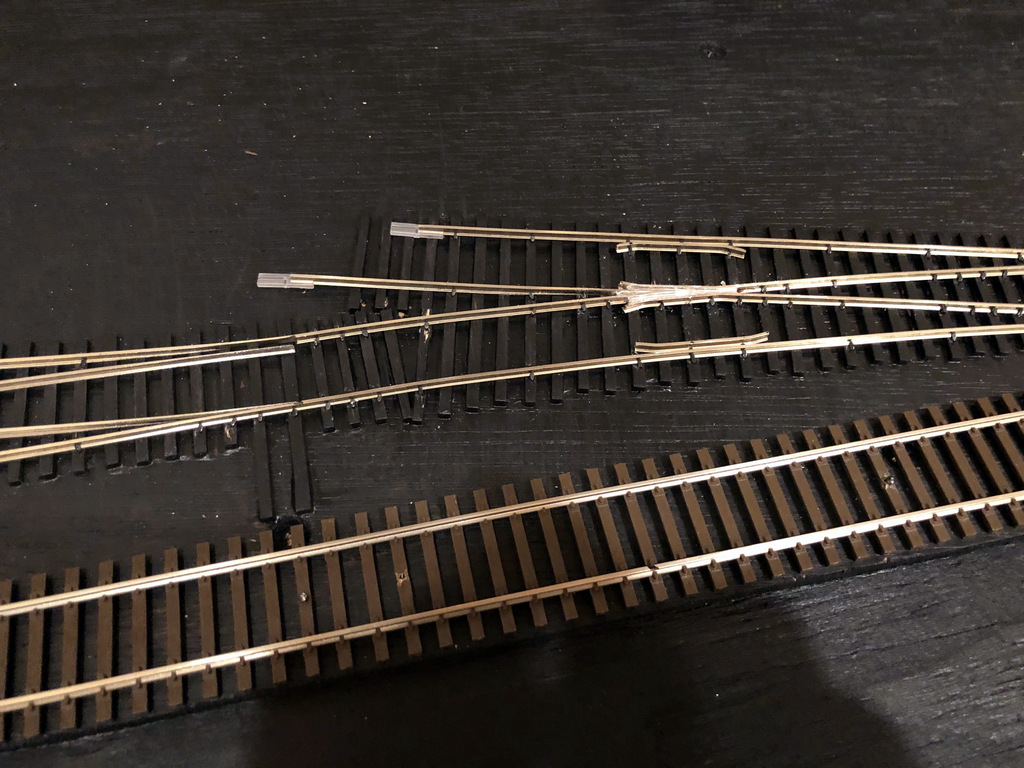
Here’s one of the insulated joints going from the yard lead to a staging track on a reversing loop. I offset the joints about 1″ which is recommended for better performance of the auto-reverser.
I also fixed a problem with this website where the smaller images weren’t linked to their full-size cousins–that’s remedied now if you’d like to get a closer view of previous post pictures. Thanks to Stuart Thayer for pointing that out!
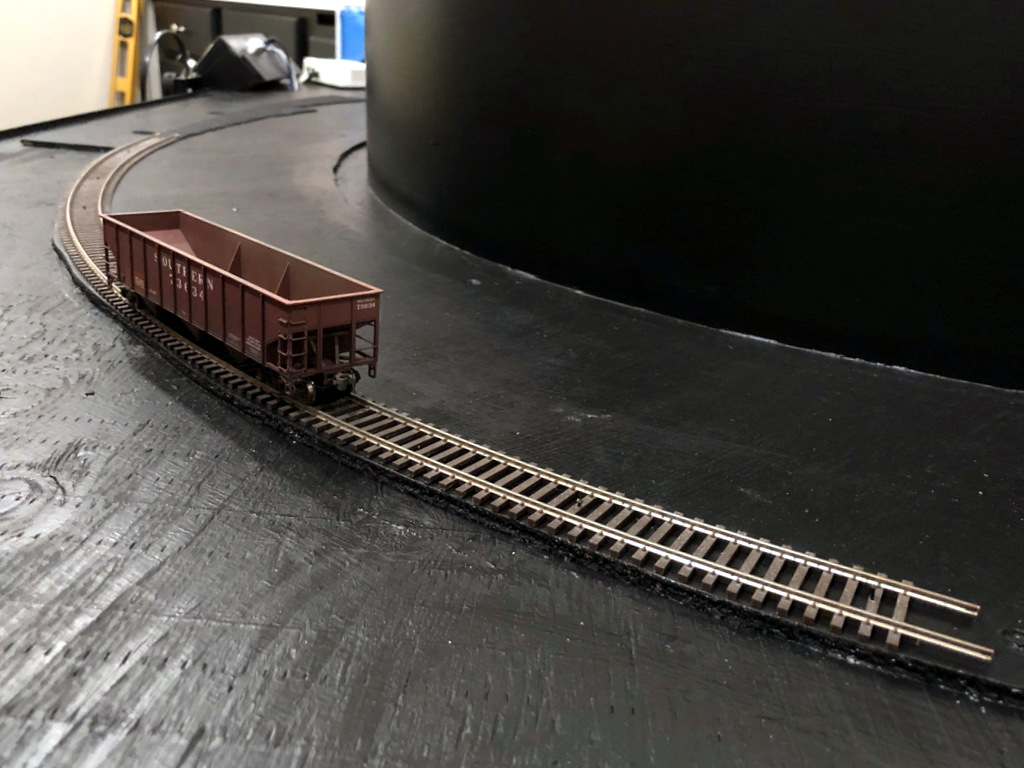
This is the first section of track on the St. Charles Branch layout. It’s a part of the Southern Railway staging yard representing Appalachia, Virginia.
Yesterday was an eventful day in two ways. First, it was our first day under “stay at home” orders for COVID-19 in Colorado. Second, the extra time gave me a chance to hit a major milestone on the St. Charles Branch–the first sections of track!!!
The first piece was a section of flex track for the Southern Railway staging yard representing Appalachia, VA. I’m hand laying all the track on the visible section of the layout, but I’ll be using Atlas Code 83 flex track for the staging yards, helices and hidden track. The flex track is recycled from my former layout representing the Interstate Railroad’s Dixiana Branch, and I’ve got plenty!
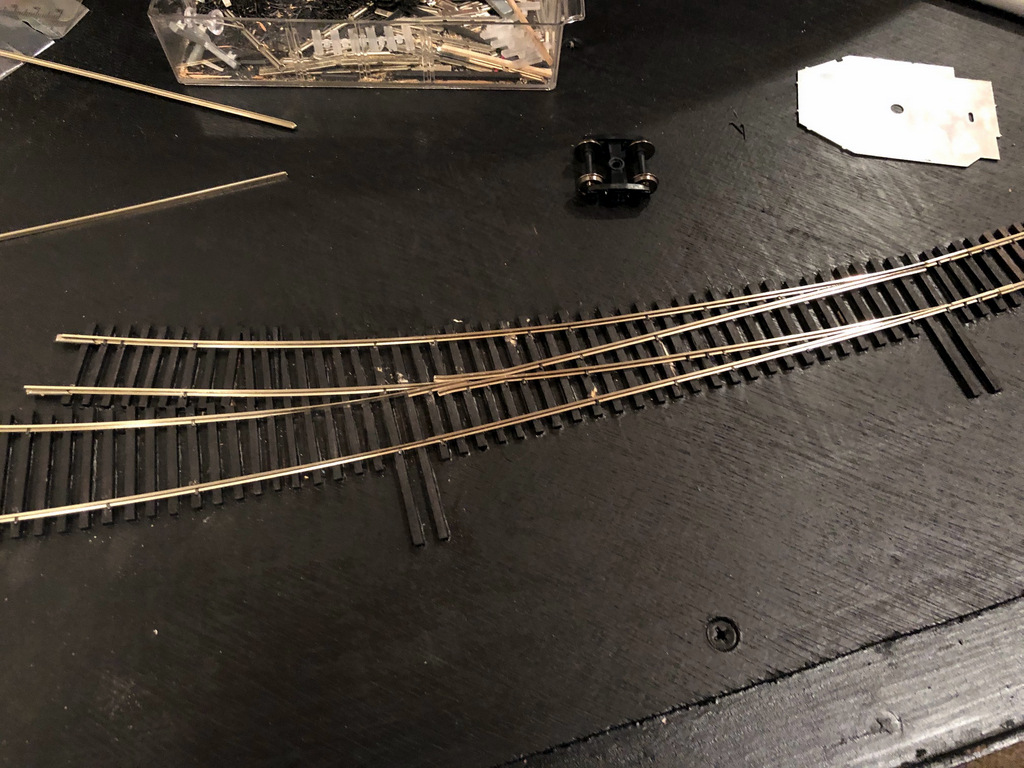
Here’s the start of the first switch in staging. This one leads to two engine tracks alongside the staging. I’m using Tony Koester’s method which is outside-in.
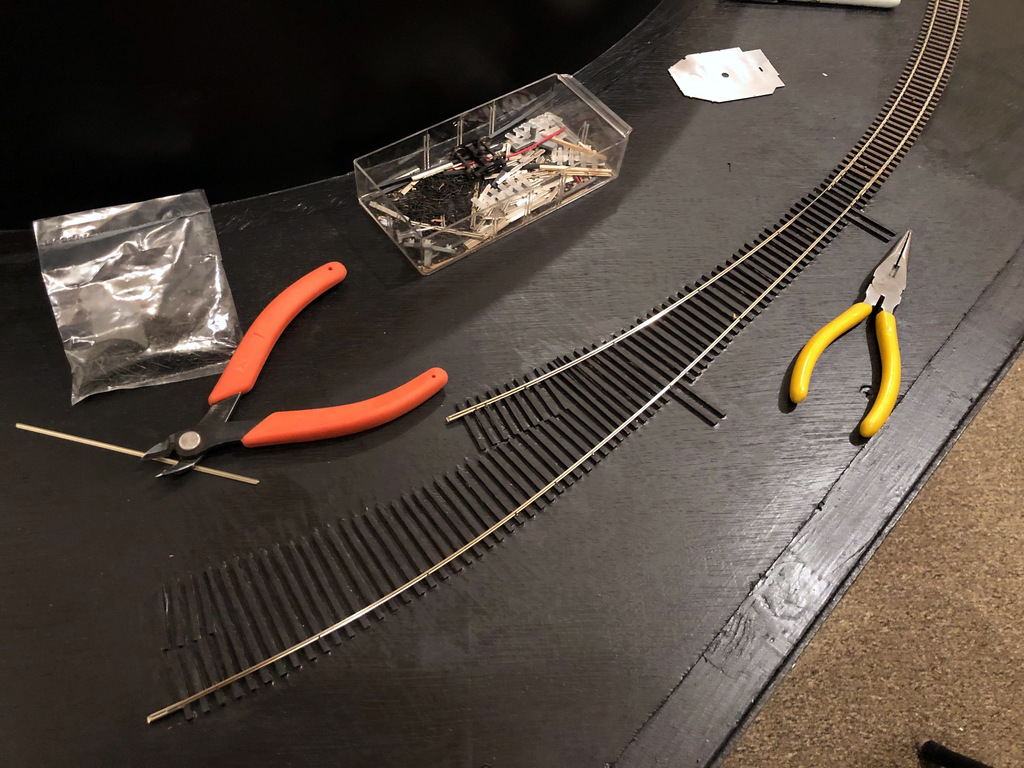
I am hand laying the switches in the staging area, and I started the first two switches yesterday. I’m using the method Tony Koester outlined in Model Railroader a couple decades ago. As you can see, it’s an outside-in method and requires no fancy tools, just rail nippers, needle-nosed pliers, a flat file, a triangle file, a bench vise, soldering iron, and an NMRA track gauge. I’m using Micro Engineering Code 83 rail and small spikes here. The tool set is rounded out with a freight car truck to check things as you go.
First switch mostly completed. This shows one of the things I like about hand-laying: I can stack the points of the second switch right on top of the frog from the first switch.
It’s been more than 5 years since I hand laid a switch, but I’ve found it’s like riding a bike (I looked but couldn’t find where I’d put Tony’s article, so it was all from memory). One lesson I carried over from my previous layout is to pay special attention to two things on the frog: 1) make sure the track is at the tightest acceptable gauge at the frog, and 2) take extra time to make the rails line up perfectly with the point of the frog.