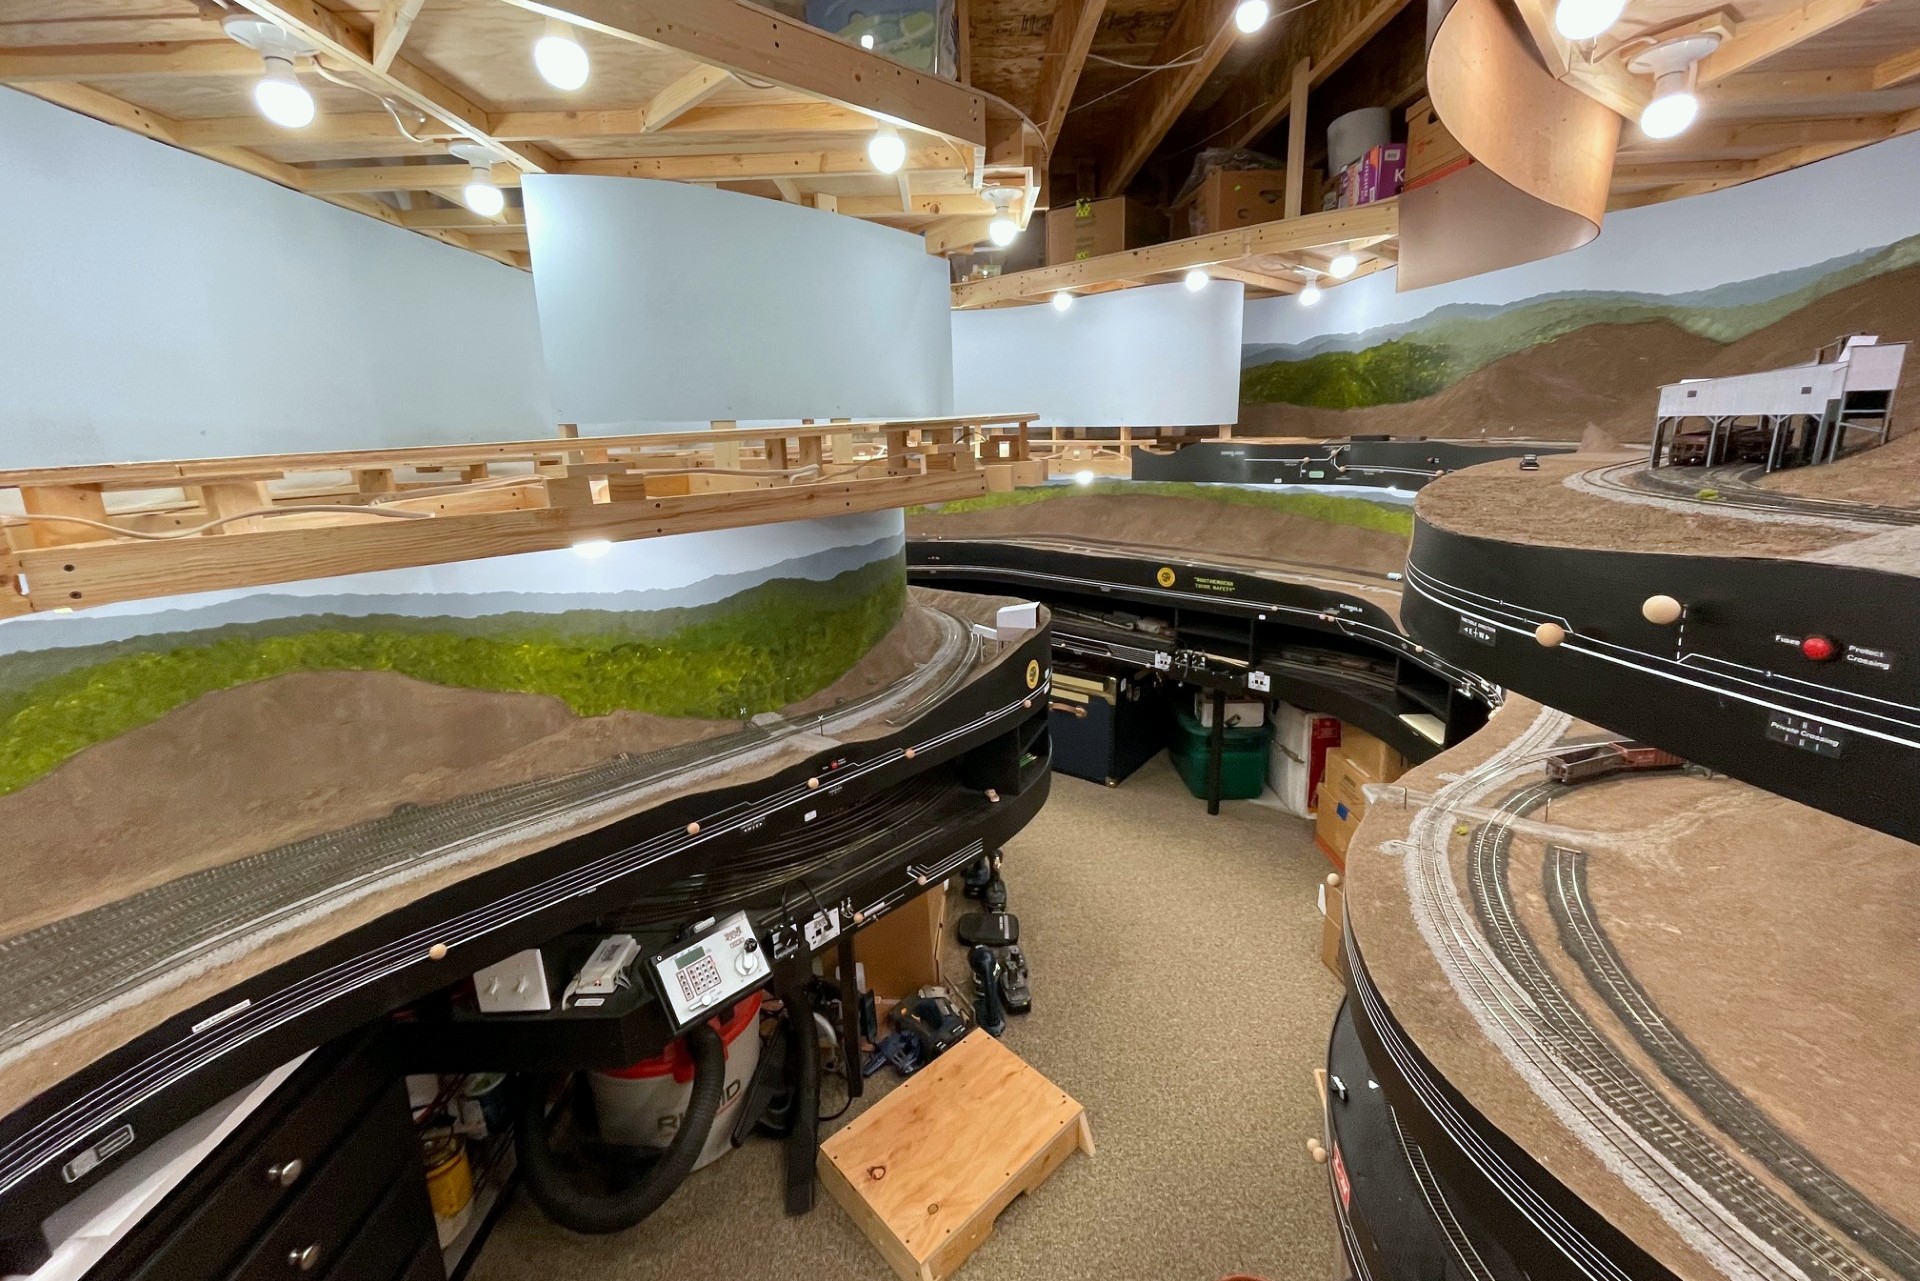
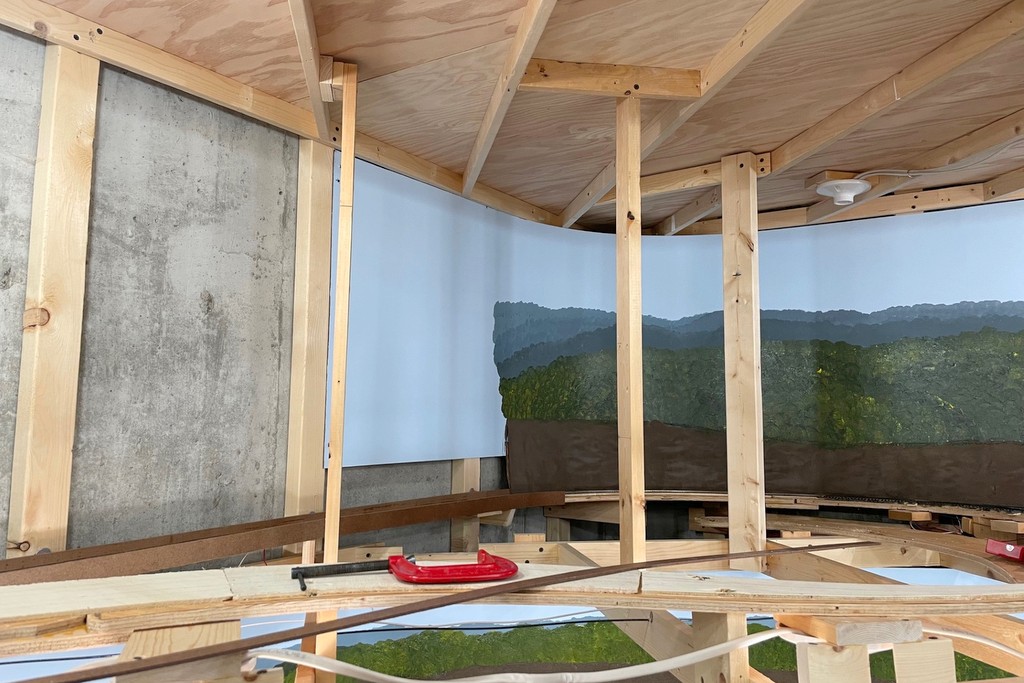
The layout room now looks very different because I’ve finally installed all the backdrops on the upper level. All unfinished areas are now covered (except the ceiling), and the sky blue paint makes the room look very bright. In addition to the backdrop around the walls, there’s a short backdrop atop the helix that forms the backdrop for the Benedict loader reached via switchback. I underestimated how much this would change the feel of the layout. Because it blocks the view across the layout, it makes the layout feel a little deeper because you can’t see it all from any one spot anymore.
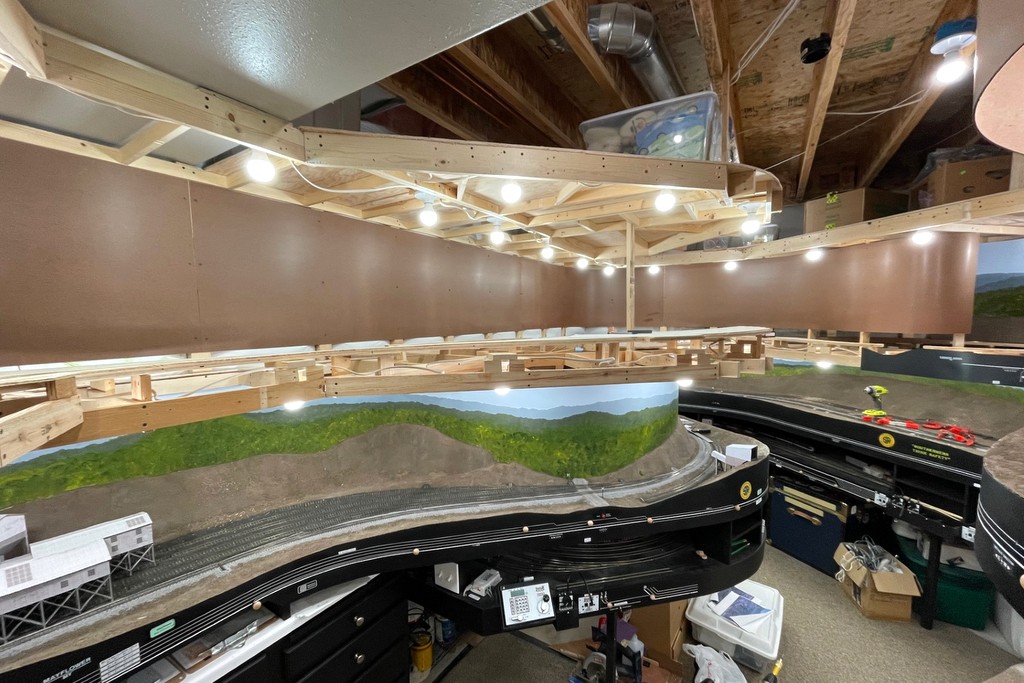
I learned a trick for hiding seams in the hardboard by accident. Like all my other seams, I covered them the best I could with lightweight spackling compound sanded smooth, but it’s nearly impossible to get everything perfectly flat and even across both boards. It just so happened that all three joints in this section were right behind lights–with a light shining directly only the seam, there’s no shadow on any of the uneven joints making the seam a lot more difficult to spot.
The next step is to build the last four bridge sections and put some DCC bus wires in place so I can start laying track in the final section. Exciting!
Hello Dan, I hope all is well. I’ve been following your progress on the St. Charles Branch. Great progress in what, six years? It’s really coming alive!
What I’m contacting you about is to see if you might consider contributing some of your modeling posts reformatted as articles for the Southern Railway Historical Association’s TIES magazine. Bill Schafer is retiring as editor, and SHRA members David Lester and I will be co-editing the magazine going forward. The board would like to revive a “modeler’s corner” (not sure what we’ll call it yet), and yours was the first name that came to my mind as someone who’s done some really excellent modeling of the Southern in HO scale.
Articles such as your caboose rebuilds, hopper conversions, and locomotive detailing and upgrades are exactly what I’m looking for as content. I’ll be contributing too, especially with new products such as Tangent’s excellent caboose.
The goal will be to augment, not overwhelm, TIES historical purpose in keeping the memory of the Southern Railway alive.
Please give it some thought and let me know. You’re “keeping the green light shining” in your modeling, and you’d be a great fit.
Paul, email sent–thanks!