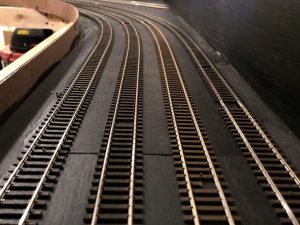
I’m all about simple but effective solutions to construction challenges. One of those challenges is laying multiple tracks (like a yard) on a set spacing quickly. In my case, I have staging yards designed on 2″ spacing between track centers. There are several methods for spacing the tracks: I could just measure between them with a ruler every time I put in a nail, I could mark out spaces and draw a line for the edge of the next track, or I could make a really simple tool to make this process effortless.
Enter my fancy homemade track spacing tool! It’s a piece of 1×3″ lumber about 4″ long and cut 45 degrees on one end. . . I literally pulled it out of my scrap pile. Using a combination square, I penciled in a mark exactly 2″ from the edge on the bottom of the 45 degree face, then drew a second mark one rail’s width in from the first (closer than 2″); then I repeated this from the other side so it can be used in either direction.
To use the tool, put the first track into place and secure it. When it’s time to lay the second track, simply place the tool along the inside edge of the outer rail of the first track, move the second piece of track so the inside rail lines up with the pencil marks, and secure it. Move the tool down to the next spot, line up the second track, and secure it–too easy. I’ve found using the inner rail of the first track works better than a smaller spacer between outer rails, especially on curves.

You can make the tool work for whatever spacing you need just by using different marks and different sizes of lumber. It sure ain’t fancy, but it’s elegant in its simplicity.
