Tag Archives: ISE

Proto Throttle and an Old Friend

Dave O on the Proto Throttle
This is Dave’s first time on the layout, and he’s operating the Proto Throttle like a pro!

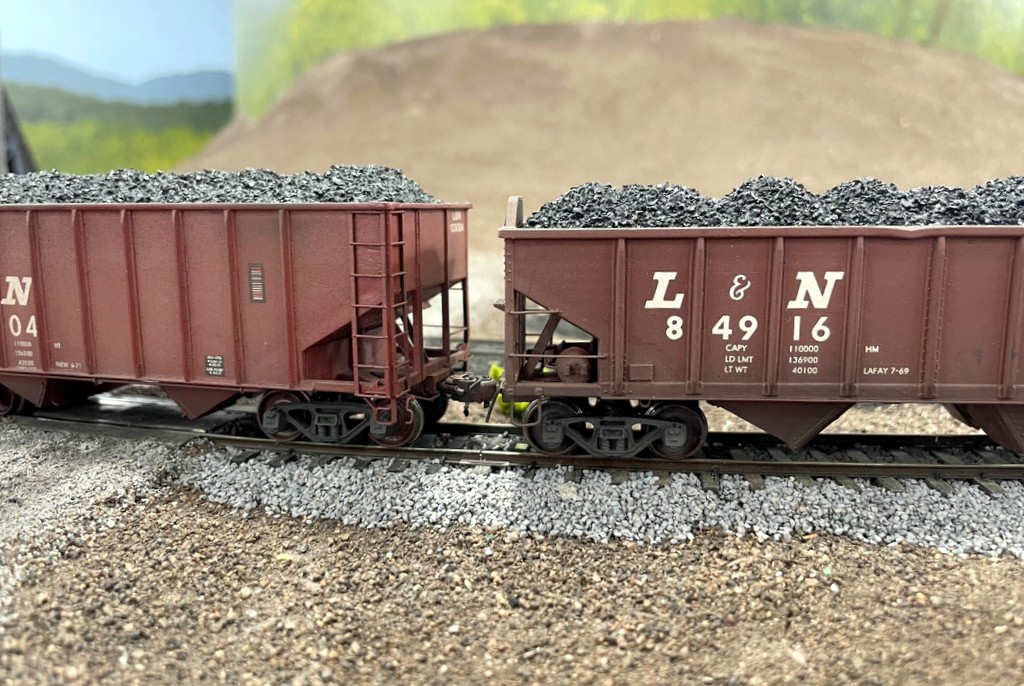
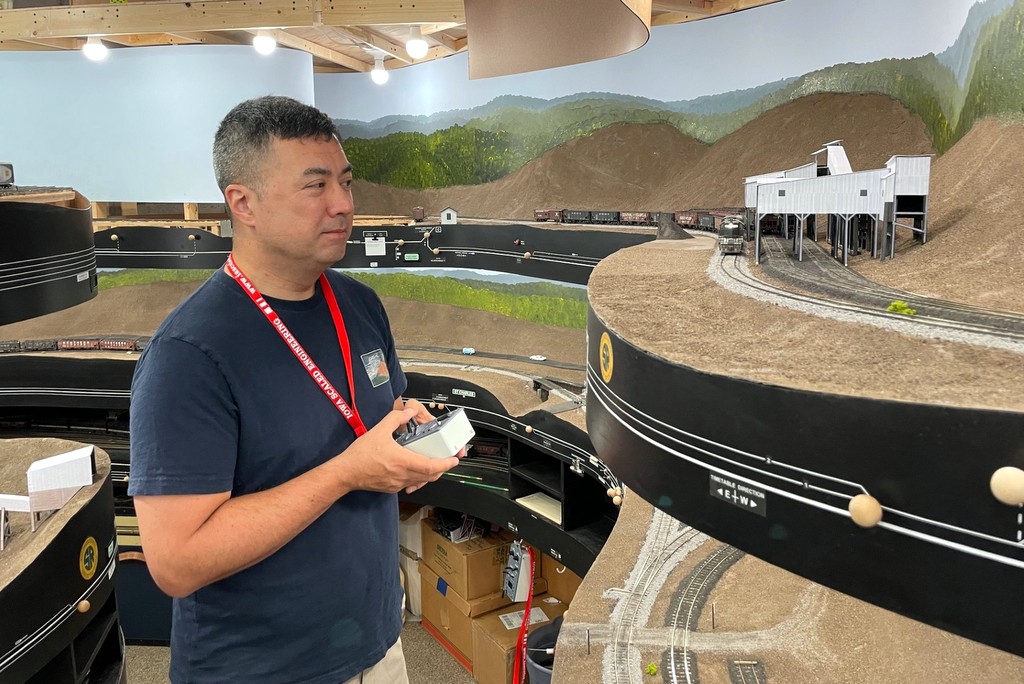
In my last post, I mentioned that we were unable to run all the trains in our ops session. Well enter Dave O. to the rescue! Dave is a great modeler and friend from nearly 2 decades ago when he used to live in Colorado. Dave was out here for a couple days, so he stopped by for some catching up and running of trains. Dave got to run the second half of the St Charles Switcher working Kemmergem and the Gin Creek Branch and pick up the slack from the last crew ;-). This was also an historic moment for the layout as I finally received the two Iowa Scaled Engineering “Proto Throttles” I’ve been waiting on for several weeks. These things, while not cheap, are awesome!

The Proto Throttle is laid out like an older diesel locomotive control stand with a throttle, direction lever, and brake lever along with a horn handle, light switches, and a few other programmable buttons. The good news is I didn’t really need to change many of the settings in my locomotive decoders (SoundTraxx Tsunami2s) as I’ve already been working with lots of momentum and a button for brakes. The Proto Throttle makes braking a whole lot better because it can pulse the brake command to get more or less braking as you slide the lever instead of a one-size-fits-all with a braking function button. They’ve also got some other cool features that I’ve already incorporated into my ops. For example, there’s an air pressure screen on the Proto Throttle that simulates building air in the train line before you can move the train that adds a little bit more realism.

The Proto Throttle
So happy to have a couple Proto Throttles to make operations just one step closer to reality

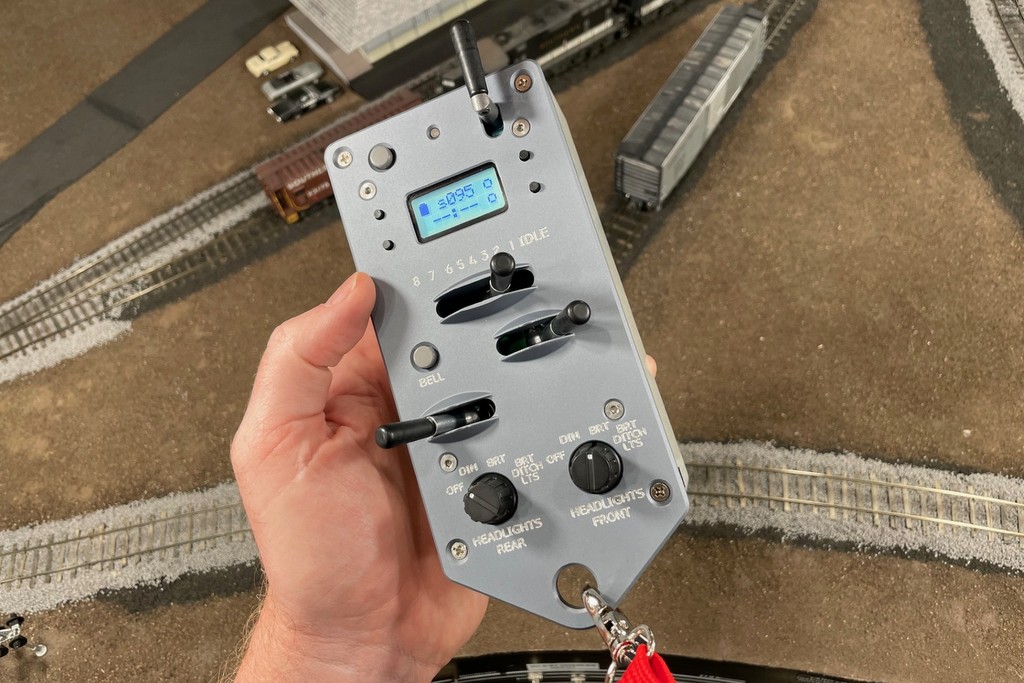
Here are some other things I’ve programmed into the Proto Throttle:

  • Programmed my Tsunami2s to disable auto start and programmed the RPM+ and RPM- functions into the Proto Throttle’s “engine on / engine off” screen to produce startup and shutdown sound sequences
  • Programmed the prominent “auxiliary” button on the throttle face as “emergency stop” which may save the day with all the momentum in the decoders
  • Programmed the small up/down buttons next to the screen for the “coupler” and “coupler release” sound effects for crews that want to include those
  • Reprogrammed the notching on the Proto Throttle to start slower (speed step 1) and have fewer speed steps between notches 1 and 5–this allows finer slow-speed control, and my speed curves above 15 mph are flat, so notches 5-8 are really just for increased engine RPMs rather than speed (big steps are fine)

I’m sure I’ll tweak some settings as I learn more, but they’re already a lot of fun! One thing I also learned is it’s not enough to just remap the functions in the Tsunami2 decoders. I’m using “advanced consisting,” so you also have to program these newly remapped functions to respond to the CONSIST ADDRESS and not just the unit address. This caused a little puzzlement until I finally figured out why my changes weren’t working.

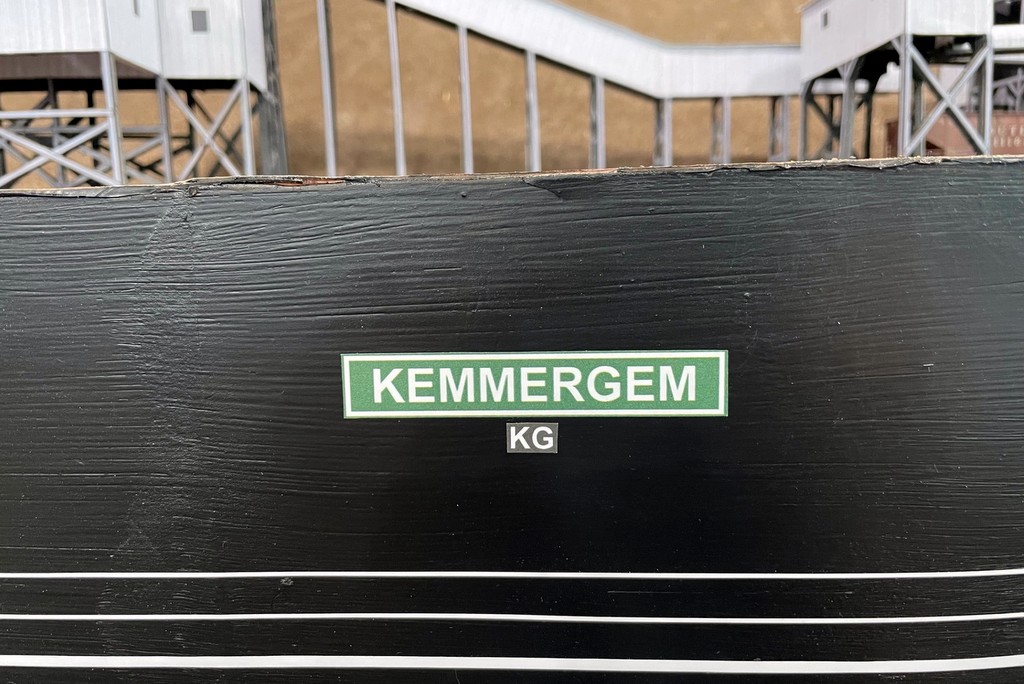
One final very minor update I made since the last ops session is to change the town names on the fascia to resemble Southern-style station name boards. These stand out a lot better than the old dry transfer lettering I had before, and they give the layout a little more Southern Railway flair. Of course, the town name for Pennington (L&N staging) is done in black with yellow serif lettering after the L&N’s preference for station signs.

New Station Signs
Another smaller addition to the layout are these green station signs at each town replacing some plainer dry transfer text

First “Squealer” on the Layout

ISE Squealer Installation
A pair of L&N hoppers cross the ISE Squealer sensor

Last week I picked up a “Squealer” from Iowa Scaled Engineering at the Colorado RPM meet. I’ve been eyeing one of these for a while, and I’m so glad I finally took the plunge! If you’re not familiar with it, the Squealer is a static system installed at a curve on the track that detects the motion of a passing train and emanates recordings of high-pitched flange squeal sounds. While this may strike some like the torture of nails-on-a-chalkboard, I find the sound to be very prototypical and not annoying at all. In fact, now that I can hear my train going over a Squealer, when it’s not going over it, things sound a little empty which tells me this is a GREAT product!

Installation was very simple and took me about an hour from start to finish, to include testing. The basic Squealer consists of a sensor (about the diameter of a pencil and around 2″ long), a speaker with a ~1″ cubed souknd enclosure, and a circuit board with terminals for connecting power and sensors, a spot for a micro SD card (in case you want to load your own sounds… I find the built-in sounds to be great), and two buttons for volume control. It supports multiple sensors, so I also picked-up an extra “TrainSpotter – Motion Detector” for an adjacent track. The trickiest thing about my installation is it was into finished track with no way to drill a hole from underneath as the instructions recommend. Instead, I had to drill downward through the ties. The instructions recommend a 3/8″ drill bit–I used this on my first sensor install and found it to be overly large. For the second sensor install, I used an 11/32″ bit and found it to be just right. I wrapped my sensors in a couple layers of electrical tape to help them fit snugly and to mitigate moisture from ballasting getting to the circuit board. Per the instructions, I lined the sensor up in the correct orientation and set it about even with the ties.

ISE Squealer Installation
The Squealer box and the first over-sized hole… it was a little painful to drill through finished trackwork

I hooked up the sensors per the instructions. Since the white and blue wires each go to a common terminal on the board for all sensors, I found soldering the two white wires together and blues together made it much easier to install them (and keep them) in their respective slots. ISE recommends cutting a 3/8″ hole into the scenery for the speaker sound to escape. It was easy to cut a hole into my red-rosin-paper scenery and install the speaker to the adjacent sub-roadbed using a piece of 3M double-sided foam tape. I covered the speaker hole with a little piece of green clump foliage. For power, the Squealer can take a wide range of DC, so I hooked it up to my 14V DC accessory bus which works just fine. That was it for installation, and it worked as advertised right off the bat. The only adjustment I made were dropping the volume to a level that sounded right in comparison to my locomotives. I was able to carefully add and glue some ballast over the top plate of the sensor to hide all but the silver portion on top, and I noticed no decrease in performance.

ISE Squealer Installation
I wrapped my sensors in electrical tape to make them fit snug and water resistant for the re-ballasting
ISE Squealer Installation
The speaker hole can be pretty small, but it helps and should be close to the sensors

My only complaints (a very strong word for it) are very minor regarding the sensors: 1) they’re pretty big, so if you can’t drill the hole from underneath, you’re tearing up some ties, and 2) the sensors are very reflective and create a bright glint when viewed from certain angles. It’s a pretty complicated sensor for its size, so I don’t anticipate this can be easily fixed at a reasonable price point, and the benefit is far greater than these drawbacks.

ISE Squealer Installation
Here’s the second sensor hole drilled with an 11/32″ bit which fit more snugly

If you haven’t already, you should check out the video to hear what it sounds like with a train. To me, it now makes it sound like all my cars have sound decoders… at least in that one spot. That means I’m now plotting to put a series of Squealers all around the layout on all major curves (probably 3-5 per deck) so you can enjoy the extra ambiance no matter where you’re working. It’s not cheap, but now that I’ve experienced, I am a huge fan, and it would sound flat to go back, just like I could never go back to locomotives without sound. Install these at your own risk… if you install one, you’re likely to want several!

ISE Squealer Installation
A small clump of foliage covers the speaker hole nicely