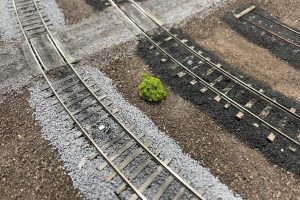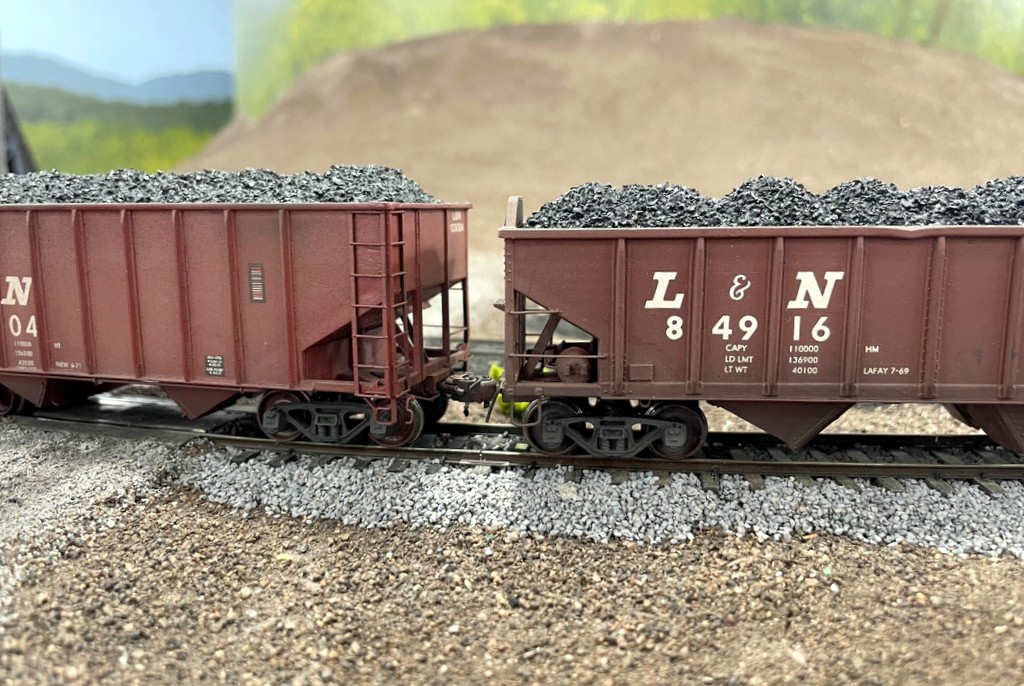
Last week I picked up a “Squealer” from Iowa Scaled Engineering at the Colorado RPM meet. I’ve been eyeing one of these for a while, and I’m so glad I finally took the plunge! If you’re not familiar with it, the Squealer is a static system installed at a curve on the track that detects the motion of a passing train and emanates recordings of high-pitched flange squeal sounds. While this may strike some like the torture of nails-on-a-chalkboard, I find the sound to be very prototypical and not annoying at all. In fact, now that I can hear my train going over a Squealer, when it’s not going over it, things sound a little empty which tells me this is a GREAT product!
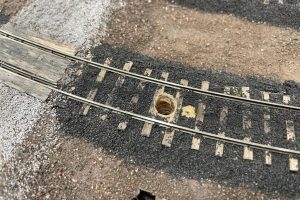
Installation was very simple and took me about an hour from start to finish, to include testing. The basic Squealer consists of a sensor (about the diameter of a pencil and around 2″ long), a speaker with a ~1″ cubed souknd enclosure, and a circuit board with terminals for connecting power and sensors, a spot for a micro SD card (in case you want to load your own sounds… I find the built-in sounds to be great), and two buttons for volume control. It supports multiple sensors, so I also picked-up an extra “TrainSpotter – Motion Detector” for an adjacent track. The trickiest thing about my installation is it was into finished track with no way to drill a hole from underneath as the instructions recommend. Instead, I had to drill downward through the ties. The instructions recommend a 3/8″ drill bit–I used this on my first sensor install and found it to be overly large. For the second sensor install, I used an 11/32″ bit and found it to be just right. I wrapped my sensors in a couple layers of electrical tape to help them fit snugly and to mitigate moisture from ballasting getting to the circuit board. Per the instructions, I lined the sensor up in the correct orientation and set it about even with the ties.
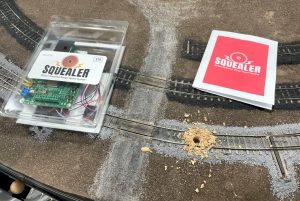
I hooked up the sensors per the instructions. Since the white and blue wires each go to a common terminal on the board for all sensors, I found soldering the two white wires together and blues together made it much easier to install them (and keep them) in their respective slots. ISE recommends cutting a 3/8″ hole into the scenery for the speaker sound to escape. It was easy to cut a hole into my red-rosin-paper scenery and install the speaker to the adjacent sub-roadbed using a piece of 3M double-sided foam tape. I covered the speaker hole with a little piece of green clump foliage. For power, the Squealer can take a wide range of DC, so I hooked it up to my 14V DC accessory bus which works just fine. That was it for installation, and it worked as advertised right off the bat. The only adjustment I made were dropping the volume to a level that sounded right in comparison to my locomotives. I was able to carefully add and glue some ballast over the top plate of the sensor to hide all but the silver portion on top, and I noticed no decrease in performance.
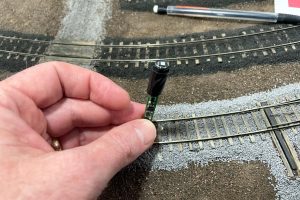
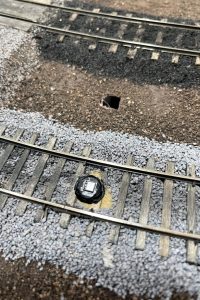
My only complaints (a very strong word for it) are very minor regarding the sensors: 1) they’re pretty big, so if you can’t drill the hole from underneath, you’re tearing up some ties, and 2) the sensors are very reflective and create a bright glint when viewed from certain angles. It’s a pretty complicated sensor for its size, so I don’t anticipate this can be easily fixed at a reasonable price point, and the benefit is far greater than these drawbacks.
If you haven’t already, you should check out the video to hear what it sounds like with a train. To me, it now makes it sound like all my cars have sound decoders… at least in that one spot. That means I’m now plotting to put a series of Squealers all around the layout on all major curves (probably 3-5 per deck) so you can enjoy the extra ambiance no matter where you’re working. It’s not cheap, but now that I’ve experienced, I am a huge fan, and it would sound flat to go back, just like I could never go back to locomotives without sound. Install these at your own risk… if you install one, you’re likely to want several!
