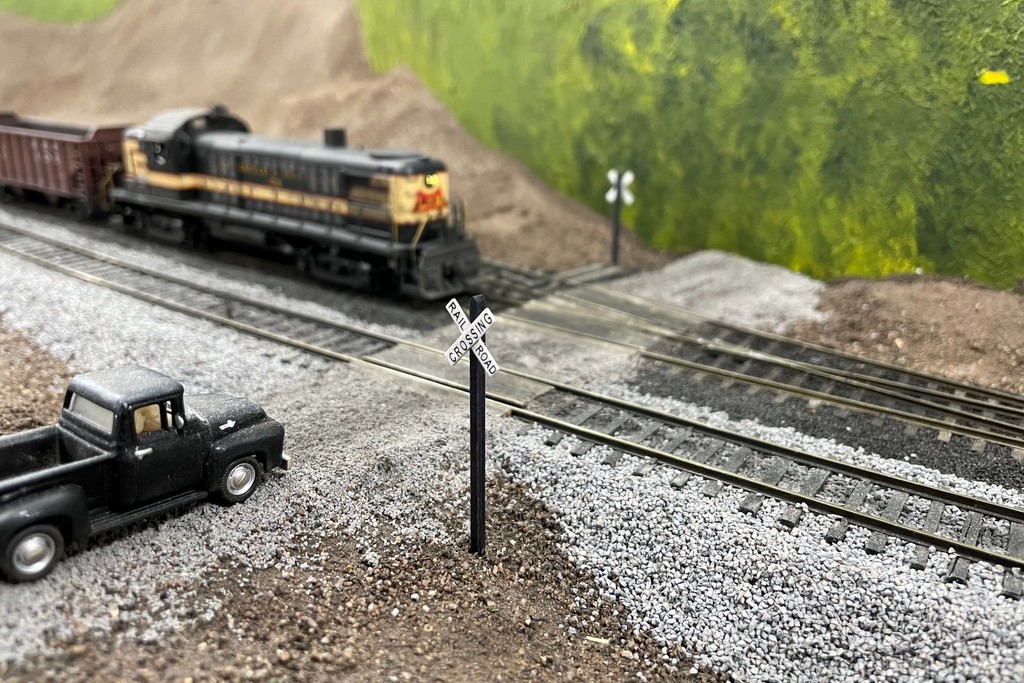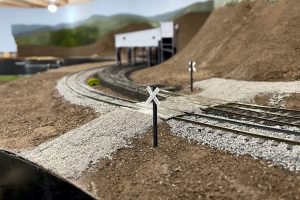
Added some more details to the layout. I’ve put in most of the grade crossings, but the only one that had any signs until now was the one with flashing grade crossing signals. The rest of the grade crossings represent private crossings or low-traffic roads that didn’t warrant flashing signals. For these, I made some simple RR crossing signs.
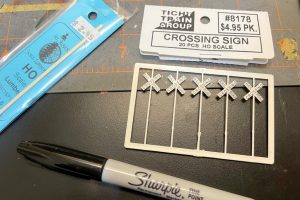
I had picked up some Tichy #8178 crossing signs probably 15 years ago for my previous layout but never got far enough into scenery to install them. They’re pretty basic, but the signs look similar to the Southern Railway signs I could find pictures of. The plastic posts, however, are way undersized as the Southern’s appear to be mounted to 6×6″ wooden posts. I didn’t have any 6×6″ scale lumber, but I did have some 3×6″, so I just glued two pieces together and let it dry. The Southern’s posts look nearly black – very similar to ties – so to save time, I used a Sharpie to color the wood posts black. I cut them to about 1 3/4-2″ lengths, used an X-Acto blade to cut a 45-degree point into the top of the post, as several of the pictures I found had this feature. To finish up the posts, I went over them lightly with some fine sandpaper to allow a little bit of the wood to show through–this helped them look a little more weathered.

For the signs, I simply cut the Tichy signs off their plastic posts and used an X-Acto No. 17 chisel blade to clean the remnants of the post off the back of the sign. Next I used a drop of CA to secure the sign to the post and set them aside to dry. The final step was to go over the signs twice with a dark gray-brown wash I made with water, flat black paint, and dark tan paint. At least on my signs, the “RAILROAD CROSSING” print was centered on 3 of the 5 signs and a little off on the outside two on each sprue. No worries, I just used the ones that were a little off on the far side of the tracks where they’re pointed toward the backdrop.
On the layout, my red-rosin paper isn’t quite thick enough to hold a sign, so I hot-glued a small square of corrugated cardboard under the scenery shell where the signs would go. To mount them, I just drilled a vertical hole slightly smaller than the post diameter. The placement of these signs seems to vary a bit, but I found that 6 scale feet from the road and 10 scale feet from the track looks about right. Finally, I pressed the signs into the cardboard until they stuck up about 10 scale feet from the road height which seems to be about where the Southern put them based on photos. Simple enough project, but they really do add a lot visually to the developing scenes.
