The layout is going into an unfinished space, and I don’t want it to look so unfinished when everything is done. Most of the walls will be covered with layout, but there’s one corner by the entrance that will be exposed. I’ve never done any framing or drywalling, so I figured “how hard could it be?”
The studs along the wall were already in place, so all I had to do was build a frame around the steel beam (pretty straightforward. Now for the drywall. I watched a lot of YouTube which helped, but nothing can quite prepare you for heaving a full sheet of drywall over your head and holding it while you try to put enough screws through the board into wood to keep it there. Despite my best efforts at marking the studs, I missed enough to have the drywall ignore the screws that were secure and come dropping back down on my tired arms–I came up with some pretty creative non-cuss words to share my joy! Thankfully the walls were MUCH easier!
YouTube was again my friend when it came to taping and mudding the drywall. If nothing else, it at least helped me get the right tools for the job, and I found it a moderately soothing chore. A little sanding, a little spray texture and a little gray paint, and the corner mostly looked like it was finished with the rest of the house.
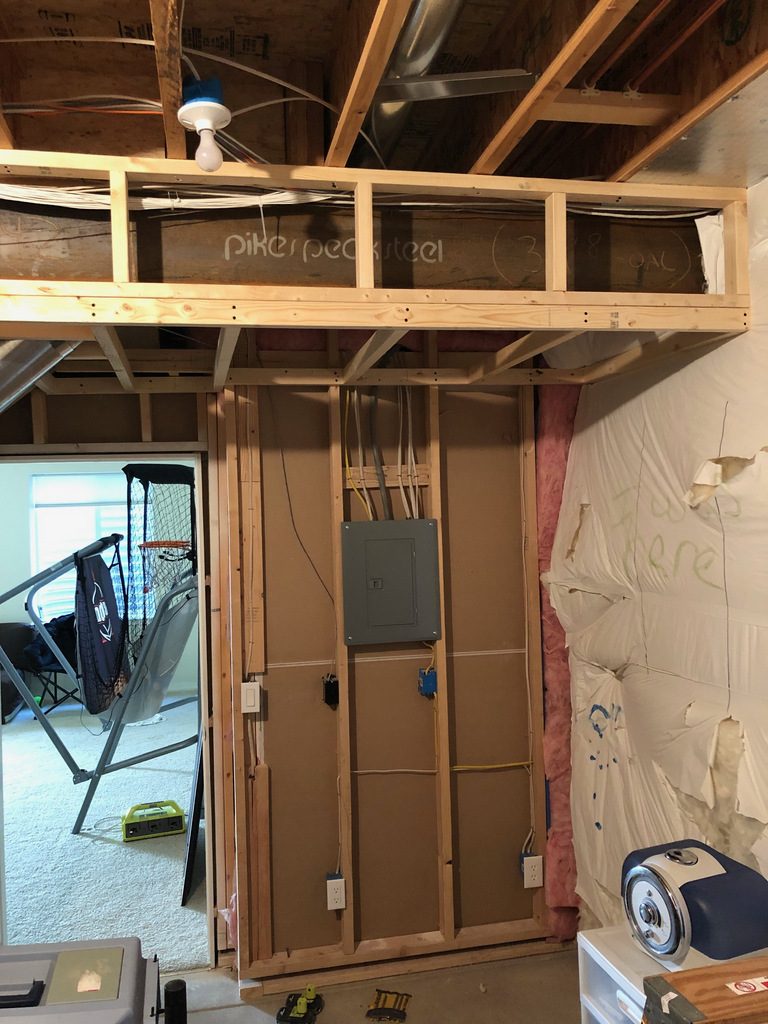
I added a frame around the steel beam in preparation for drywall 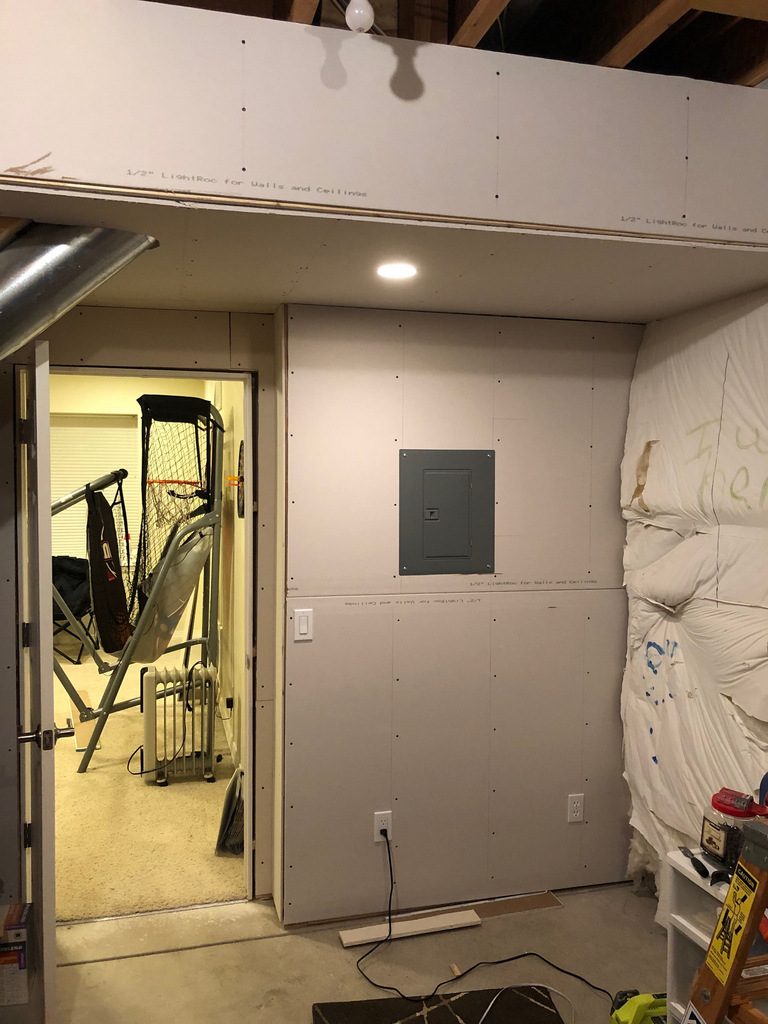
After the drywall installation but before the mud and tape 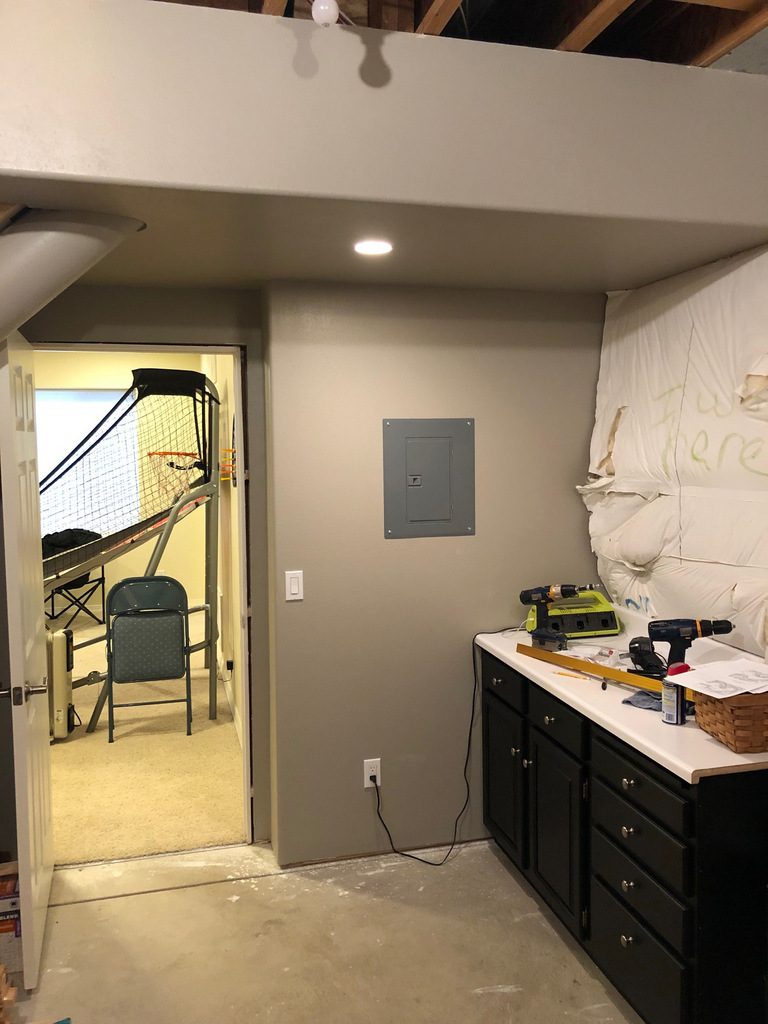
The corner is nearly finished–just need some trim and carpet
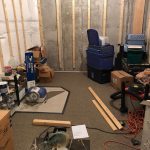
I also needed a way to anchor the layout to the concrete wall that made up about 2/3 of the room. I decided to use 2x3s spaced about 18″ apart and set into the wall with nails fired from a Ramset. They’re quite secure!
The final pre-layout touches included installing a couple of cabinets and a counter top I’d picked up from a local recycling store and adding some carpet. For the carpet, I just used a roll of surplus industrial carpeting 4′ wide and laid it down with some carpet tape in the areas where the aisles would be. There’s still some trim work to do, but the room is ready for some benchwork!
Dan
Great start.
Ed
Thanks, Ed!