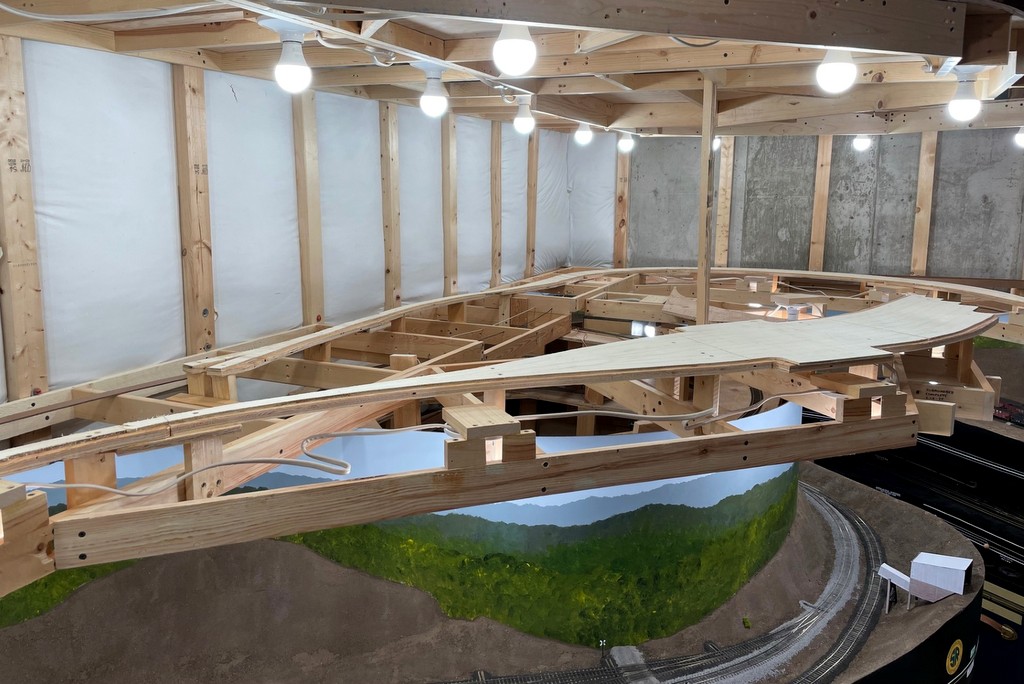
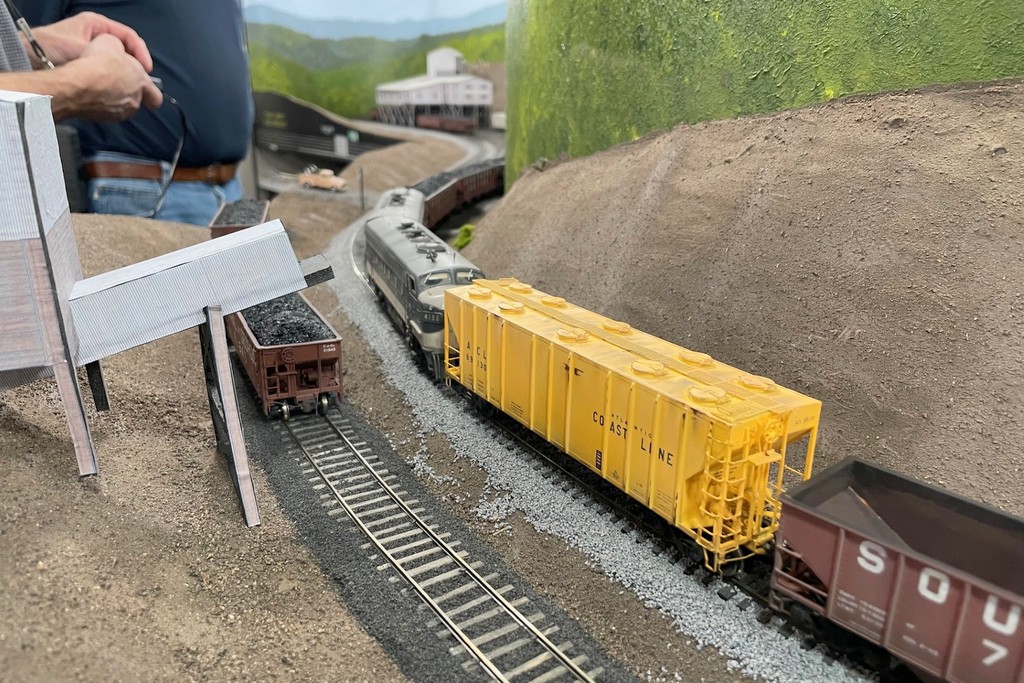
Here’s the last piece of subroadbed to be installed on the layout–it will hold the large Benedict tipple
Shortly after the last ops session I went back into layout construction mode. Today I finished the last of the subroadbed! I completed the subroadbed from Turners Siding all the way to Monarch and Benedict. Sadly, in the process I lost one of my planned tipples due to research. In a 1969 aerial photo there’s what looks like a small truck-dump loader on the tail track for the Benedict switchback–this is the end-of-the-line for the St Charles Branch. While the track in the 1969 photo is fuzzy, the loader looks like it’s along the track if you look at the track’s location in later photos, so I included a siding for it since my tail track isn’t quite long enough to do both the switchback tail track and loader. Alas, when I looked at some photos from the ’90s, it’s clear that the tail track was extended, so the original tail track in my era didn’t quite reach the structure. I could still include it, but after the last ops session, I’ve decided I have MORE than enough work for the crews to do!
This is where the Monarch tipple will go
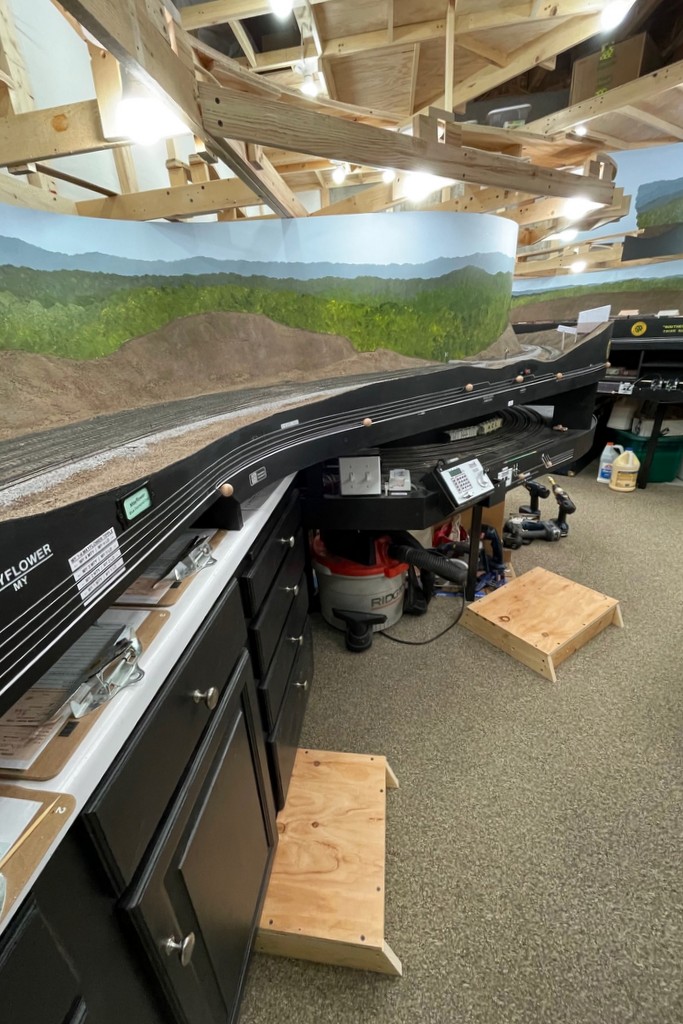
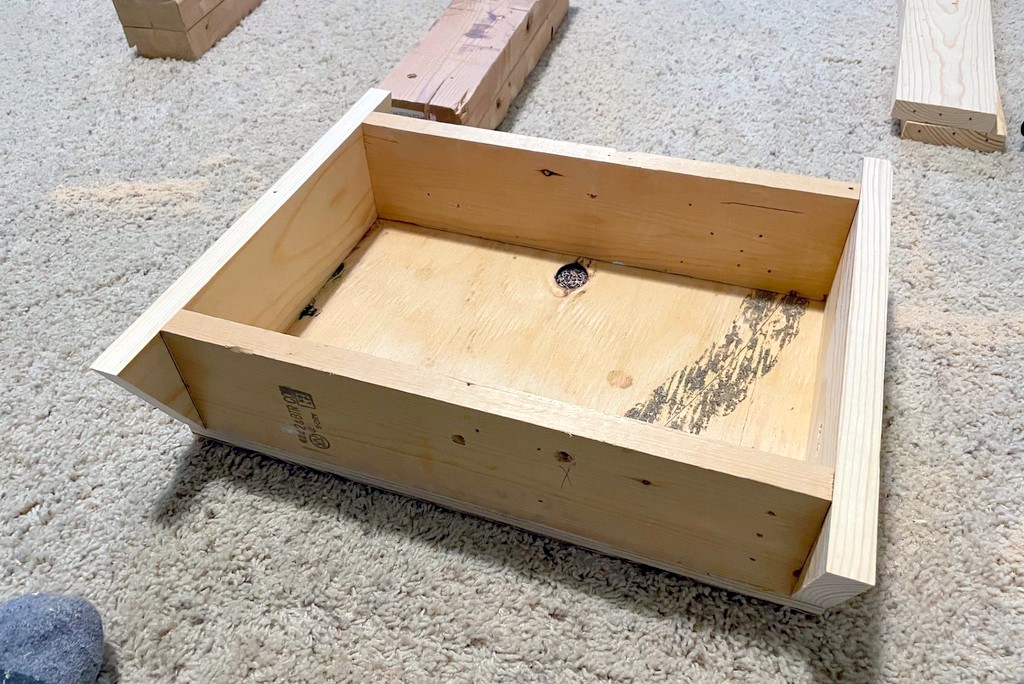
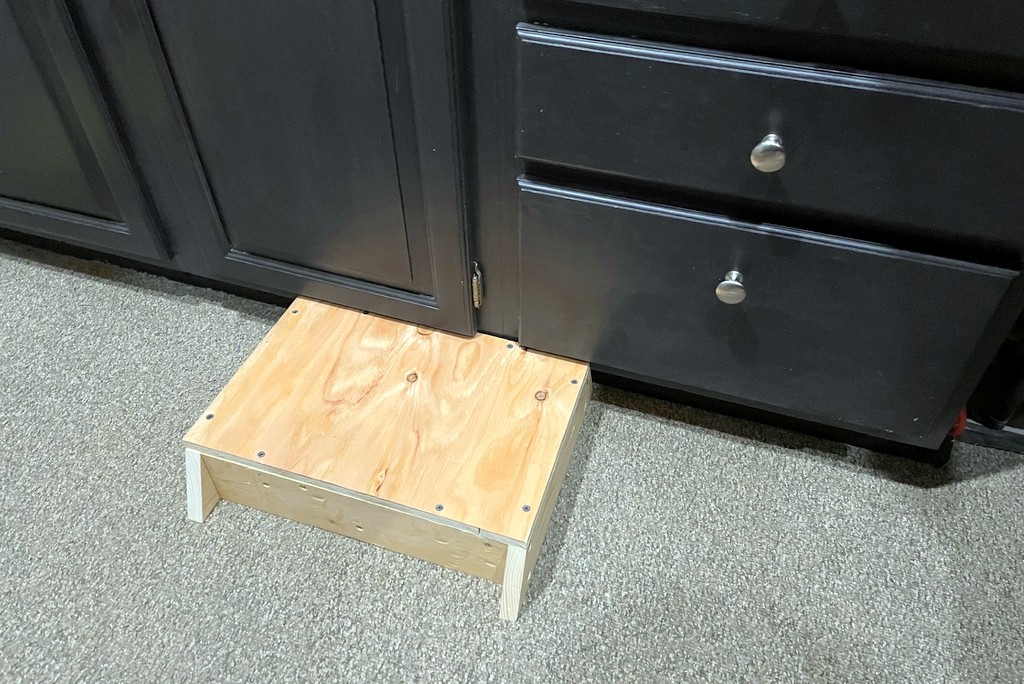
In addition to the subroadbed, I also built two movable platforms for accessing the upper deck. In the new section, some of the tracks reach 67″ high, which is at my eye level (and I’m over six feet tall). I took some lumber recycled from a friend’s old layout and built two platforms, a larger one that’s 14×20″ and a small one that’s 10.5×16″. Both are 4″ tall which is enough to see and reach all the tracks for someone a few inches shorter than me. Even though they sit pretty low, I added some angled sides to increase the stability and ensure they won’t tip when you step on them. Very simple design but plenty strong and most useful!
Both the small and larger platforms in place alongside the layout
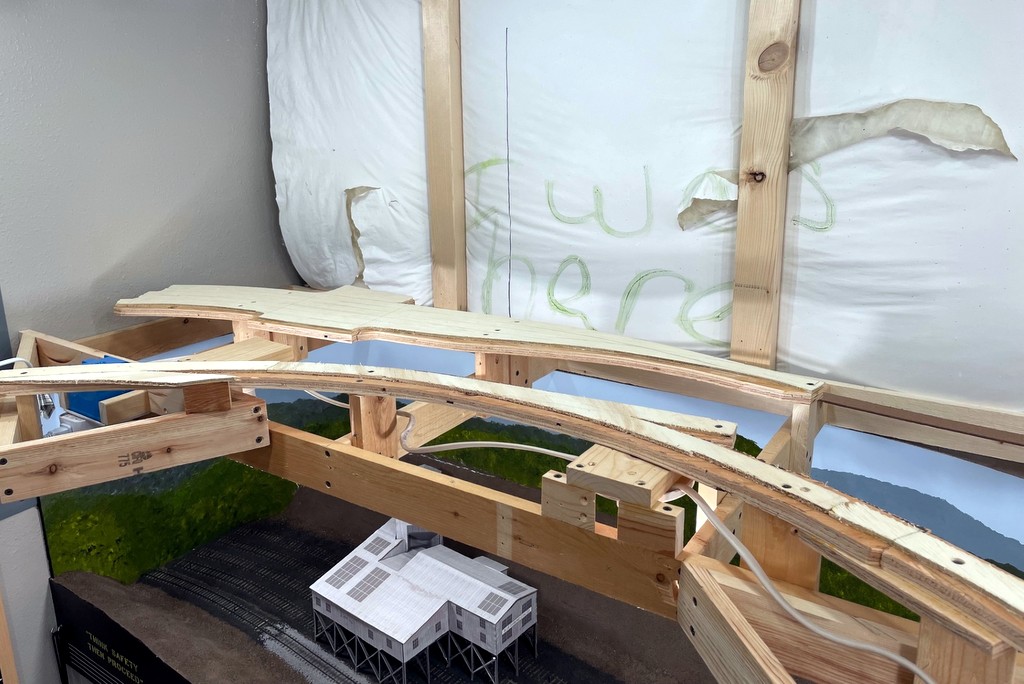
Next step is putting in the backdrops (I can finally hide the “I was here” artwork on the insulation…). Then it’s on to laying some ties and building some bridges–I’ve got two plate girder bridges and two trestles to build before I can finish the trackwork in this last section. Getting excited, though, because I’m almost to the point of being able to operate the entire layout as it was designed!
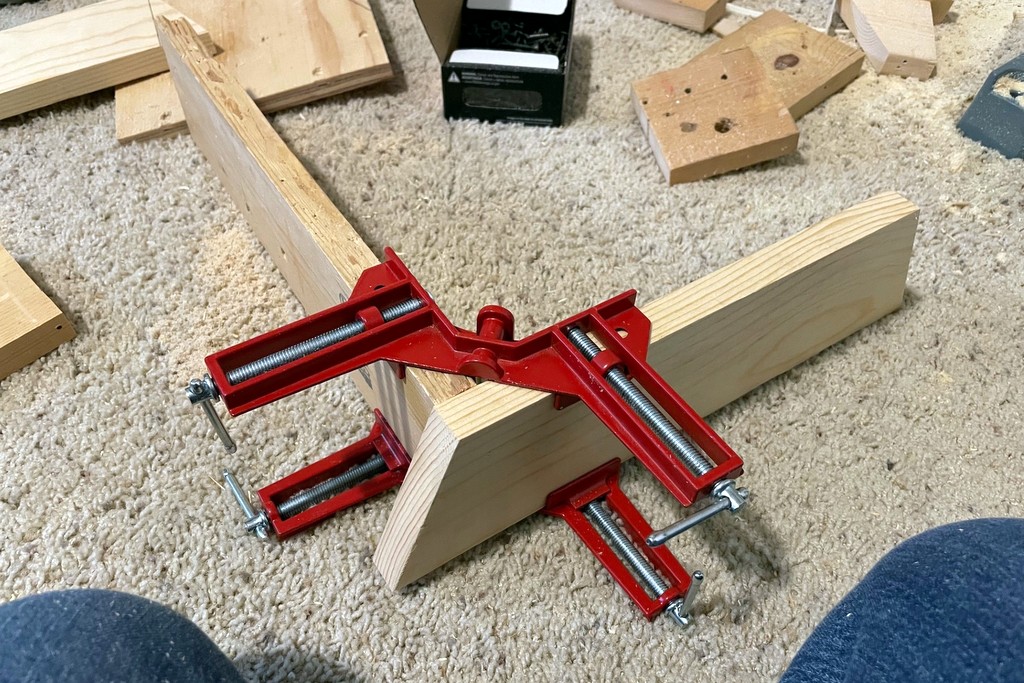
Starting to assemble the platforms. The ends are cut at 22.5 degrees to add stability
Finished platform as seen from the underside–very simple
The small platform is just the right height to allow the cabinets and drawers to open
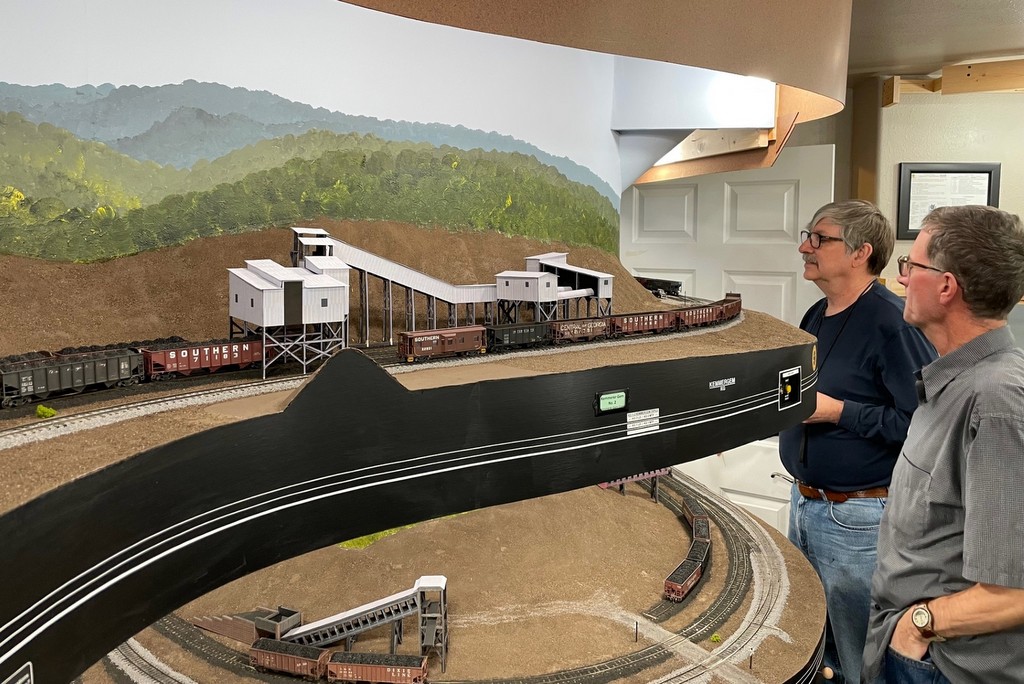
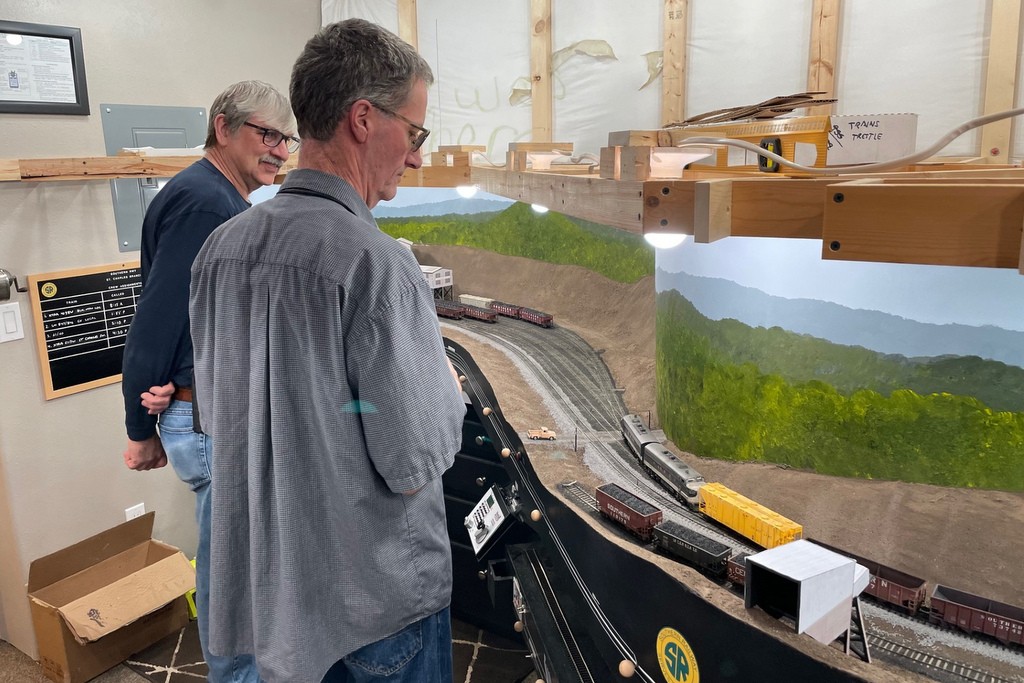
This post is overdue, but I thought I’d give an update on the last ops session. We had three operators for this session, me and two “rookies,” Rich and Jeff. Rich and Jeff sure aren’t rookies to ops and both have operating layouts, but this was their first time running on the St Charles Branch. As such it was a good learning experience for me because I saw a few instances where my instructions, switch lists, and fascia markings aren’t as clear as I’d thought. The one-sheet “master switch list” was new to both, but after working with it for a while, it was well received. One new addition to the master switch list was a column marked “00:00” between “orig” and “dest” that marks where the car was at midnight (start of the session). This allows operators to build switch lists from the master switch list again. Before this addition, there would be two sets of cars for each destination–the one in the yard at the start of the session, and the one in staging at the start of the session. With this new column, a conductor can quickly see which cars should be in the yard and include only those on the switch list.
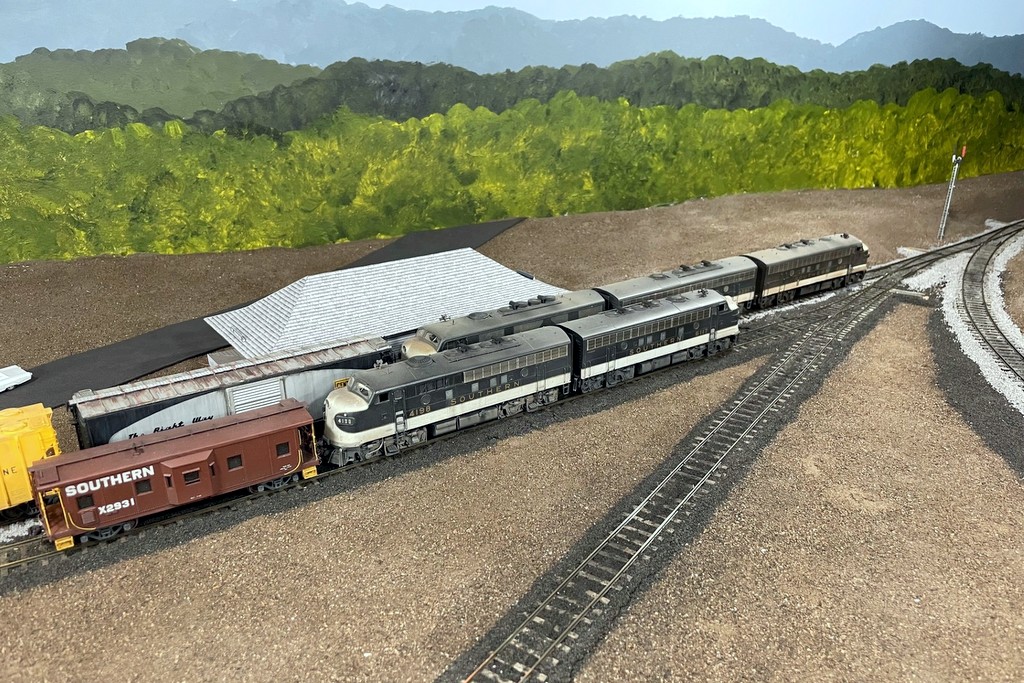
Five F-units congregate in front of the St Charles depot. Train 61 is a rare sight with two non-coal-hoppers on the front end today
I also updated my “crew training” page, and at least one of the operators read through everything beforehand. While the other caught on quick, the instructions did seem to help with some basics. By and large the railroad behaved, though an F-unit split a switch in St Charles on some of my most “mature” track, and one loco stalled in a spot on the upper deck despite having a keep-alive… grrr… still not perfect. Thanks to the latest hopper class, I had enough weathered hoppers to fully outfit all four trains we ran–just the L&N caboose was still unpainted.
First operational run for a “rescued” PS4000 covered hopper–the most colorful car on the railroad!
I ran a full session with four trains, all tipples open, and a few non-coal cars moving to and from other sidings. I only jumped in on one train leaving Rich and Jeff to run three trains each (using two-person crews for all but one train). I think it was a little too much! Due to all the work required for each train, I think two trains is just about right for each operator. This works with four operators, but it means two operators are sitting for about an hour at the beginning, and two operators are sitting at the end… I’ve got some books and snacks, but that’s still a bit long to be sitting, I think. I’m going to at least try it, and maybe I’ll let people know beforehand if they’re “early crew” or “late crew” so they can choose not to sit around.
Notable “firsts”:
First time with a crew of two paired “rookies”–it was fun watching them mentally think through Kemmergem!
First amendment of the timetable via orders during a session–I’ve seen a few times now where the L&N CV Local is waiting on Train 61/60 to finish up in St Charles, so I made some preplanned orders amending Train 60’s return schedule to after the CV Local and found this session was a perfect opportunity to play “St Charles Operator” and give them to both crews
First use of a Digitrax LNWI allowing Rich to use his own wi-fi throttle
First use of QR codes on the fascia to allow operators to quickly access the crew training if needed (I don’t think they were used)
Learning points and observations:
The crew instructions handed to the crews seemed to help considerably with newer operators to the layout
I think operators appreciate that each section of the railroad offers very different switching moves and challenges
High momentum settings worked well and kept the crew engaged–only a few missed spots and hard couples, but no disasters
My numbering conventions for some of the tracks are counter-intuitive (Mayflower goes track 0-4, but spot 5 is on the end of track 0, then it goes 1-4… confusing), so I’ll need to come up with a few new designators to fix this
Most people are used to looking at the paperwork first, then looking at the cars in front of them–the “master switch list” makes this a bit overwhelming–my instructions now includes “work the cars in front of you using the switch list as an aid, not vice-versa”
Rich directing the movements with Jeff at the throttle working Mayflower