Monthly Archives: September 2024

First “Squealer” on the Layout

ISE Squealer Installation
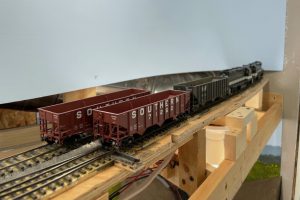
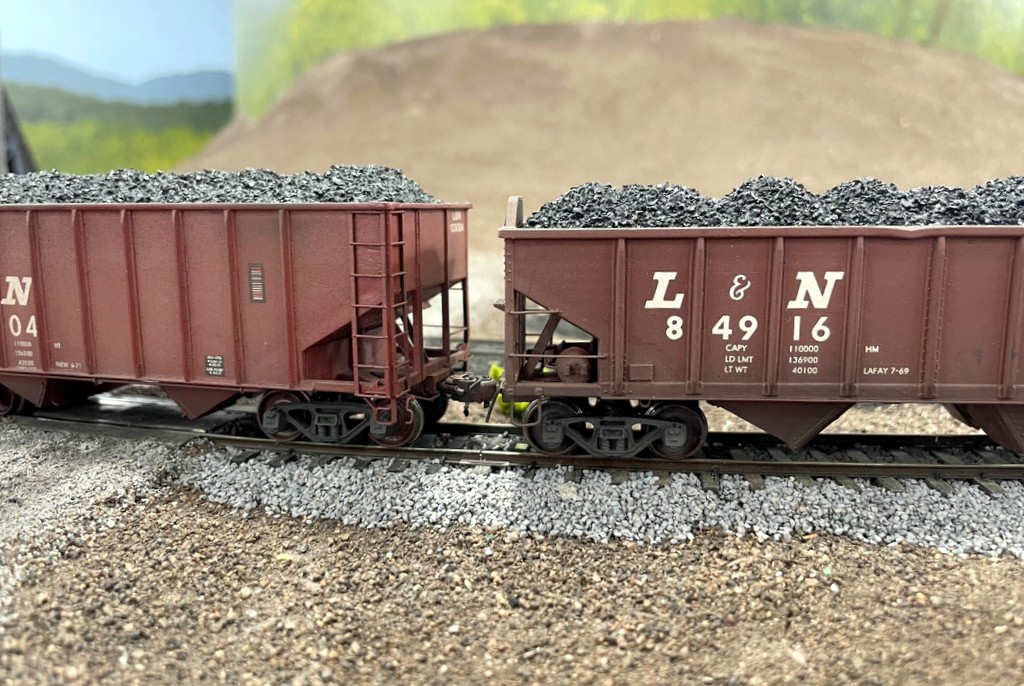
A pair of L&N hoppers cross the ISE Squealer sensor

Last week I picked up a “Squealer” from Iowa Scaled Engineering at the Colorado RPM meet. I’ve been eyeing one of these for a while, and I’m so glad I finally took the plunge! If you’re not familiar with it, the Squealer is a static system installed at a curve on the track that detects the motion of a passing train and emanates recordings of high-pitched flange squeal sounds. While this may strike some like the torture of nails-on-a-chalkboard, I find the sound to be very prototypical and not annoying at all. In fact, now that I can hear my train going over a Squealer, when it’s not going over it, things sound a little empty which tells me this is a GREAT product!

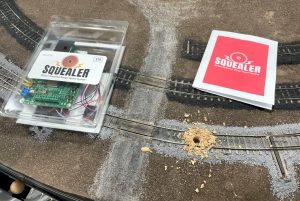
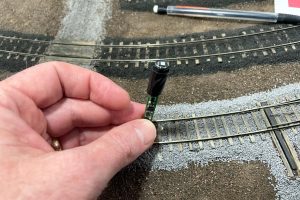
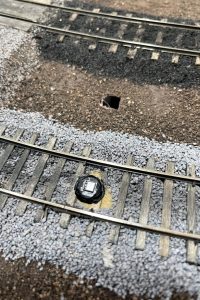
Installation was very simple and took me about an hour from start to finish, to include testing. The basic Squealer consists of a sensor (about the diameter of a pencil and around 2″ long), a speaker with a ~1″ cubed souknd enclosure, and a circuit board with terminals for connecting power and sensors, a spot for a micro SD card (in case you want to load your own sounds… I find the built-in sounds to be great), and two buttons for volume control. It supports multiple sensors, so I also picked-up an extra “TrainSpotter – Motion Detector” for an adjacent track. The trickiest thing about my installation is it was into finished track with no way to drill a hole from underneath as the instructions recommend. Instead, I had to drill downward through the ties. The instructions recommend a 3/8″ drill bit–I used this on my first sensor install and found it to be overly large. For the second sensor install, I used an 11/32″ bit and found it to be just right. I wrapped my sensors in a couple layers of electrical tape to help them fit snugly and to mitigate moisture from ballasting getting to the circuit board. Per the instructions, I lined the sensor up in the correct orientation and set it about even with the ties.
ISE Squealer Installation
The Squealer box and the first over-sized hole… it was a little painful to drill through finished trackwork

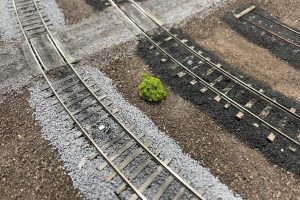
I hooked up the sensors per the instructions. Since the white and blue wires each go to a common terminal on the board for all sensors, I found soldering the two white wires together and blues together made it much easier to install them (and keep them) in their respective slots. ISE recommends cutting a 3/8″ hole into the scenery for the speaker sound to escape. It was easy to cut a hole into my red-rosin-paper scenery and install the speaker to the adjacent sub-roadbed using a piece of 3M double-sided foam tape. I covered the speaker hole with a little piece of green clump foliage. For power, the Squealer can take a wide range of DC, so I hooked it up to my 14V DC accessory bus which works just fine. That was it for installation, and it worked as advertised right off the bat. The only adjustment I made were dropping the volume to a level that sounded right in comparison to my locomotives. I was able to carefully add and glue some ballast over the top plate of the sensor to hide all but the silver portion on top, and I noticed no decrease in performance.
ISE Squealer Installation
I wrapped my sensors in electrical tape to make them fit snug and water resistant for the re-ballasting
ISE Squealer Installation
The speaker hole can be pretty small, but it helps and should be close to the sensors

My only complaints (a very strong word for it) are very minor regarding the sensors: 1) they’re pretty big, so if you can’t drill the hole from underneath, you’re tearing up some ties, and 2) the sensors are very reflective and create a bright glint when viewed from certain angles. It’s a pretty complicated sensor for its size, so I don’t anticipate this can be easily fixed at a reasonable price point, and the benefit is far greater than these drawbacks.
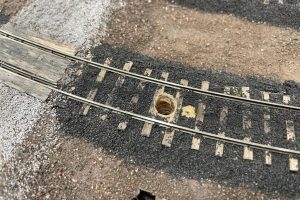
ISE Squealer Installation
Here’s the second sensor hole drilled with an 11/32″ bit which fit more snugly

If you haven’t already, you should check out the video to hear what it sounds like with a train. To me, it now makes it sound like all my cars have sound decoders… at least in that one spot. That means I’m now plotting to put a series of Squealers all around the layout on all major curves (probably 3-5 per deck) so you can enjoy the extra ambiance no matter where you’re working. It’s not cheap, but now that I’ve experienced, I am a huge fan, and it would sound flat to go back, just like I could never go back to locomotives without sound. Install these at your own risk… if you install one, you’re likely to want several!
ISE Squealer Installation
A small clump of foliage covers the speaker hole nicely

Operating Session – Sep 14, 2024

Working Kemmergem
The Black Mountain Local spots a pair of empties at the Kemmerer Gem No.2 tipple

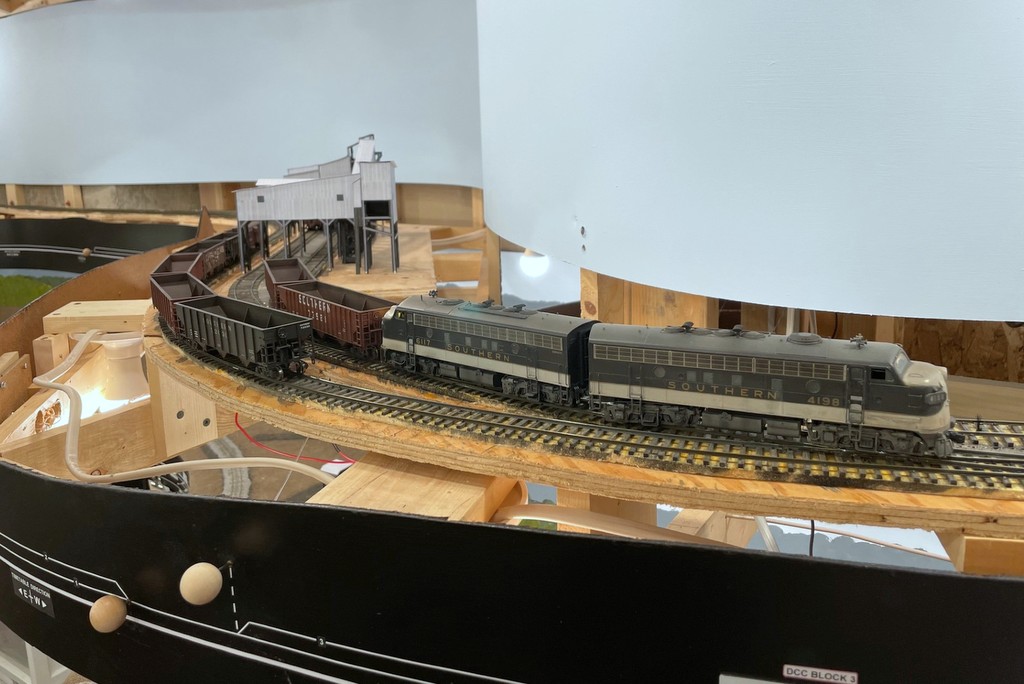
Yesterday was a great operating session on the St Charles Branch full of old friends and some new milestones! First, my good friend Stuart was in town, so he and local good friend Patrick came over for a 3-person ops session. We ran three of four scheduled trains, including the Black Mountain Local which made a run to the new Gin Creek Branch and Kemmerer Gem No.2 tipple on the upper deck–this was the first use of the upper deck in an ops session which is exciting. The branch is a blast to switch because the only run-around is the tipple track at Kemmergem, the tail track is short (but not annoying short… it’ll hold 2 locos and 2 hoppers), and there’s a small loader on a facing-point stub switch at the end of the branch. It means placing the caboose and cars for the small loader behind the empties on the tipple track, moving the locos to the other end, and using the string of loads and empties to work the stub tracks and push the caboose and small tipple loads onto the main where the train has to back up the branch to get them. Takes some thinking. It’s also awesome to work the tracks at eye level where you really get a railfan’s perspective! I also finally have enough tipples to justify two Southern mine runs plus the L&N’s mine run which means there’s really no “bad job” on the layout–you’re doing switching no matter what, and you’re either working the tipples or handling long cuts of hoppers around S-curves and wyes with a trio of units and too few yard tracks (also challenging).

Working Kemmergem
Stuart has just backed up the Gin Creek Branch to collect a couple loads and his caboose and is now passing the Kemmerer Gem No.2 tipple on the way back to St Charles.


CV Local at Mayflower
The sounds of an Alco 244 prime mover fill the air as Patrick and the L&N CV Local work the Mayflower tipple at the end of the Baileys Trace Branch

We cut the ops session short to head over to an open house for Bob Bandy who lives nearby and has an enormous and beautifully done western-themed layout. While there, I ran into a couple more old friends who used to operate on my previous layout, Nathan and Seth. They came over after we were done at Bob’s and ran the last train (St. Charles Switcher to Mayflower). I think a good time was had by all.

Seth and Nathan
Seth and Nathan worked the last train of the session, the St Charles Local to Baker and Mayflower

Notable “firsts”:

  • First use of the upper deck!
  • First official use of “yard limits” to control movements in St Charles–the rule on the fascia simply says “yard limit: proceed at restricted speed–coordinate movements with other train crews”
  • First “meet” of two trains during an ops session. The schedule is designed to avoid having two trains in the same area at the same time. However, the yard limit came in handy when Train 61 (St Charles Local) was a little long working St Charles. Using one of the yard tracks as an impromptu passing siding, 61 cleared the main and enabled the L&N’s CV Local to get back to Pennington without too much delay after completing its work at Mayflower
  • First use of a Digitrax UT6 during an ops session. It’s got some great features that make it more capable than a UT4 (my normal throttle), but having no “stop” point on the knob is tricky with so much momentum built into the decoders–not a show stopper, but it will take some getting used to

Learning points and observations:

  • The 3:1 fast clock continues to work well and keeps crews from rushing
  • I tried to give the St Charles Local a single tipple to switch to keep things more interesting, but there really isn’t time in the timetable (based on the real-world timetable)–I’ll probably stick with just drop offs and pick ups for future runs which still makes for an interesting train due to the wye and limited yard tracks available
  • The Gin Creek Branch on the upper deck still needs some refinement of the trackwork. One switch was causing one locomotive to consistently derail–this was remedied with the installation of a guard rail mid-session, but there was still a bit more “clicking” over certain sections of track that I want fixed before installing scenery

This session left me super motivated to keep extending the tracks on the upper deck, though I may pause to rough in the scenery around Kemmergem first. But first, I’ll be off to the Colorado Railroad Prototype Modeler’s meet (RPM meet) in Greely, CO next week where I look forward to taking over at least a chunk of the modeling area with Appalachian coal field models… I hope Patrick brings some of his Chessie and early CSX hoppers so we can complete the infiltration.

New Branch Up-and-Running

Kemmergem Tipple Mock-Up
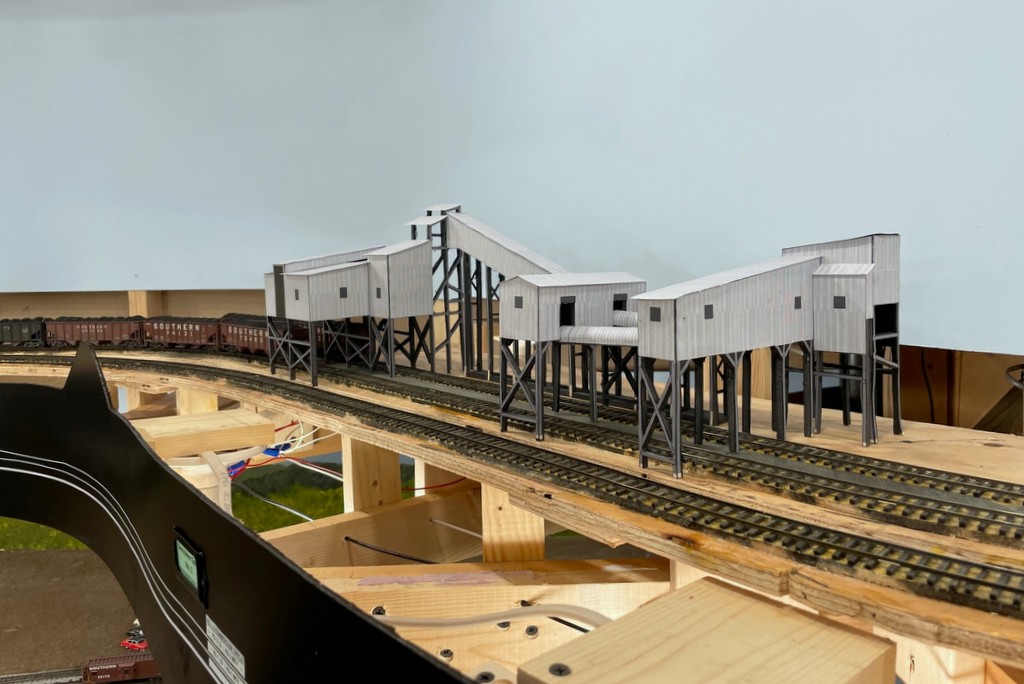
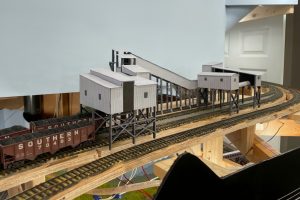
Newly completed Kemmerer Gem No.2 tipple mock-up on the Gin Creek Branch

I’ve been working feverishly on the Gin Creek Branch which served the distinctive two-track loader at Kemmergem, VA. This branch occupies about 1/3 of my upper deck and is the first piece of the upper deck to be operational. I went out of my way to make the trackwork look like a well-used and minimally maintained branch with some crooked ties and rail. This branch is also laid out on an S-curve where you can look all the way down the straight portion where the loader will lie between the curves, and because of this curve, I think this might become the “signature scene” for the layout.

First Train on Upper Deck
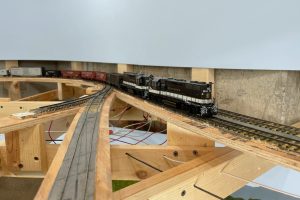
Here’s the first train on the upper deck rolling through the junction onto the Gin Creek Branch at Turners Siding


First Train on Upper Deck
The tail track just barely holds two GP38s and two triple hoppers

To get things operational, I had to run the DCC bus wires and install manual switch mechanisms. At this point, I was able to run the first train to the upper deck and make sure everything worked. It’s a cool arrangement with double-ended loader tracks but a short tail track that barely holds two GP38s and two triple hoppers. I’ve also installed a stub track alongside the tail track for the Ralph Baker coal company that built a truck dump here in the late ’70s / early ’80s. Since I’m currently running the ’60s, I decided to use the track to house a small ramp-style loader (which will be replaced by Ralph Baker in late ’70s ops sessions). Switching the track arrangement is a lot of fun and requires some extra thinking since the spur to Ralph Baker is a facing-point stub track, and the only run-around is under the Kemmerer Gem No.2 tipple. You’ve got to place the cars for Ralph Baker and the cab behind the empties for the big tipple and then push them into the right tracks using the loads and empties under the big tipple.

Kemmergem Tipple Mock-Up
View of the south end of the loader at Kemmergem

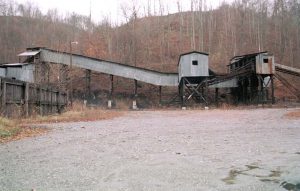
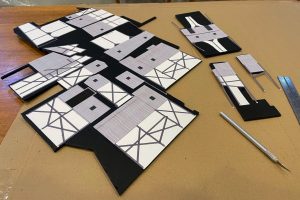
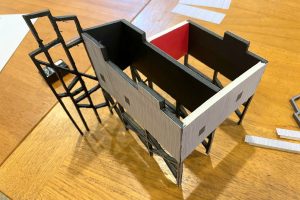
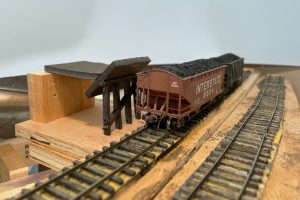
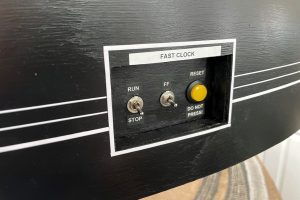
While it was “operational,” there was still no tipple, and the switches had to be thrown by reaching far under the layout. With an upcoming ops session, I was motivated to give it a bit more finish, so I cut and painted the fascia and put in the switch controls. I also took the opportunity to install my fast-clock controls in their permanent place, a little cut-out in the fascia. What’s a mine run without a loader, so I created another temporary “paper doll” mock-up from cardstock prints and foamcore for the Kemmerer Gem No.2 tipple. This is a really cool looking loader that has two loading points with a long covered conveyor between them making the thing look a bit like a corrugated diplodocus dinosaur. I created some drawings of a slightly compressed version based on a series of photos from the ’50s-’90s (it didn’t change too much) including some great detail shots by Robby Vaughn. While I was at it, I created a little temporary dock for the Ralph Baker spur (which I’m calling “Darbyville Dock” for the ’60s sessions). A couple of paint brush handbrakes on the steeper spotting locations, and the branch was ready for an ops session!

Kemmerer Gem 2 1998
The prototype Kemmergem tipple shot by Robby Vaughn in the late ’90s


Kemmergem Tipple Mock-Up
Gluing the prints onto foamcore for the tipple


Kemmergem Tipple Mock-Up
Mock-up for one of the two loading points waiting for a paper roof


Darbyville Dock
Mock-up of “Darbyville Dock” at the end of the Gin Creek Branch–note the gnarly trackwork on the tail track to the right


Fast Clock Controls
Here’s the finished fast-clock control panel recessed into the upper deck fascia.