(Note: for a more complete, step-by-step process, read ARRM’s more recent article on weathering coal hoppers as well)
Coal hoppers endure some heavy use and exposure to the elements. The loading process and constant scraping of coal on the slope sheets and sides during unloading quickly wears these cars down and produces some neat weathering that begs to be modeled. Younger steel cars tend to show bare metal slick spots, especially on the slope sheets. These metal spots tend to show a bit of rust around the edges, but over time, the whole interior can turn to rust that continually regenerates through the loading and unloading process. Here’s my process for detailing and weathering old “rust bucket” hoppers using a combination of pretty basic techniques.
My starting point here was a 3-car set of factory painted Atlas Trainman offset hoppers. These are nice kits for building “layout models” – models that will run well in a fleet but won’t win any beauty contests. I’m modeling the ’70s when these cars belonged to the L&N and had already seen decades of service. Looking at photos online, many of these cars survived into the ’80s with beat-up sides and barely readable lettering, so I wanted to model one in this rougher condition but not quite at the end of its life.
Layout-Model Detailing
The biggest detailing improvement I did on these cars was to narrow the factory molded grab ladders using an X-Acto No 11 blade. The trick is to make thin, angled cuts on the backside and to alternate between top and bottom until the grab is roughly round/square in shape instead of a long rectangle. I only replace the grabs on the bottom sill adjacent to the couplers with wire. From a foot away, you don’t even notice the body-mounted grabs are just molded on, and it’s free! Other details include home-built wire coupler cut bars, bits of plastic for tack boards, and train line hoses made from copper from salvaged Cat 5 ethernet cables. The only decals added are the ACI labels.
Weathering
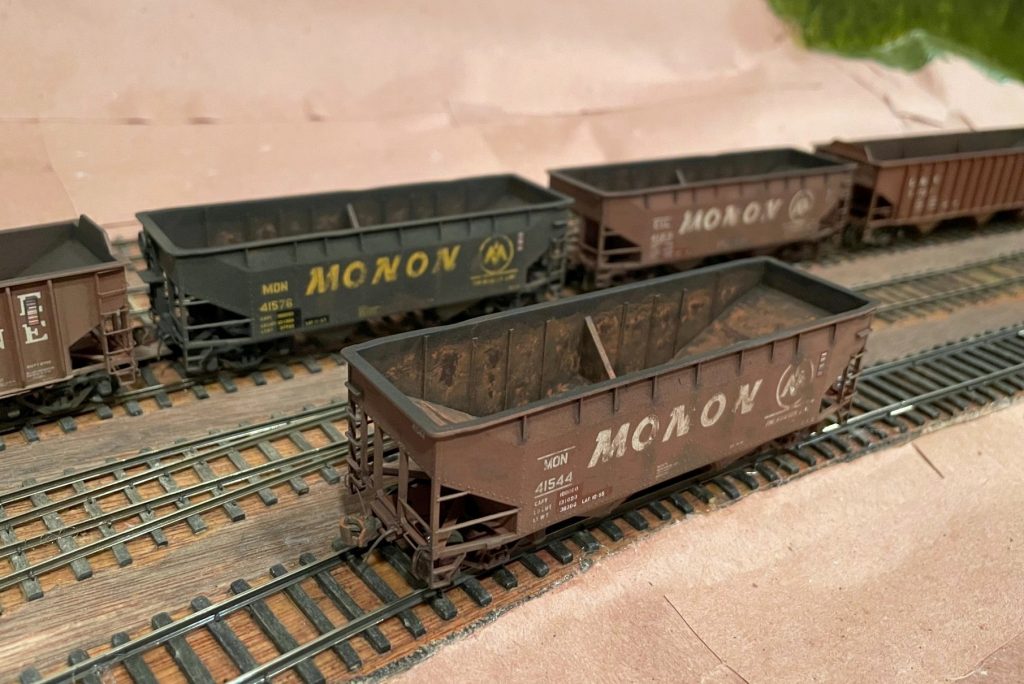
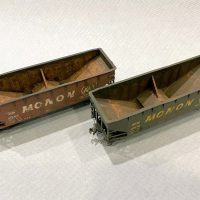
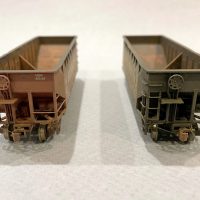
Since I’m modeling cars a few decades old, they got the full “rust bucket” treatment, especially on the interior. When I model younger cars, it’s generally the same steps but less rust. My first step in weathering offset hoppers is usually a 100W lightbulb. I hold the car’s top sill against the lightbulb for several seconds, then use the round metal handle of an X-Acto knife to warp the top sill down a little between a couple of the ribs on each side. Next I dry-brushed a color similar to the car sides to get the faded paint and rust streak areas over the lettering. I followed this with a few dry-brushed light rust areas on the sides and filled them in with dry-brushed dark rust to create the look of a rust spot expanding on the edges.
Before airbrushing, I cut strips of masking tape to go over the weight data and shop markings to give the impression these have been freshly painted on top of a dirty car (a common look in the ’70s). I use three colors in the airbrush. First is a little flat black on the trucks, bottom, lower sides, and insides. Next a little dark tan to fade the sides a bit and add grime to the trucks and lower areas. Third is a little light rust, mainly for the inside of the black car.
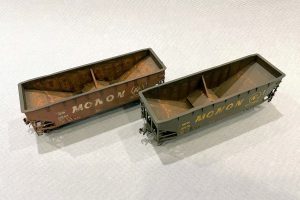
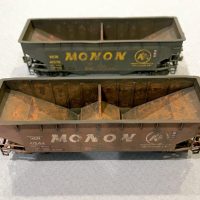
Next I used a wash of flat black and water on everything to darken up the rib detail and get some rain streaks–wiping the wash off vertically is the key to this. I then made a wash of orange rust and water and did a couple coats on the inside of the hoppers which left varying degrees of rust in the corners and on the surfaces. Finally, I dry-brushed more light rust along panel lines, edges, and between ribs and followed this with some dark rust to fill in the largest areas of light rust.
They’re not the world’s most detailed cars, but I think they hold their own mixed in with strings of more expensive and detailed cars. Not bad for ~$15 cars!
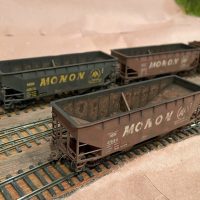
- The finished Monon cars hold their own well in a string of more detailed cars like the Tangent 2750 PS3s
- Three finished Monon hoppers from a factory painted Atlas set
- Note the dented top sill areas achieved through slight melting with a 100W lightbulb
- View of the rusty insides achieved through a combination of washes and dry-brushing
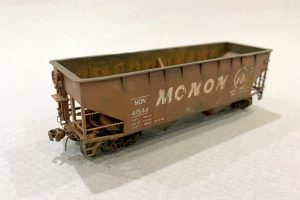
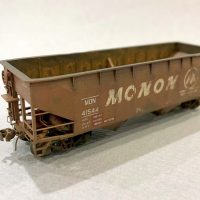
- Overall view of one of the finished cars
- End details of the finished Monon 50T hoppers


