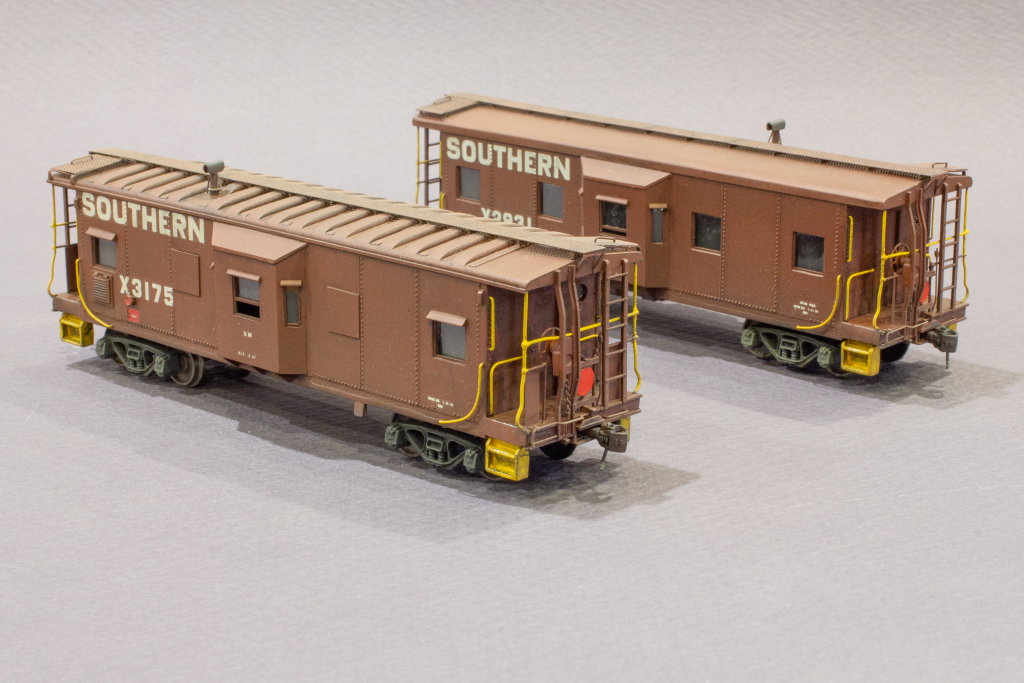
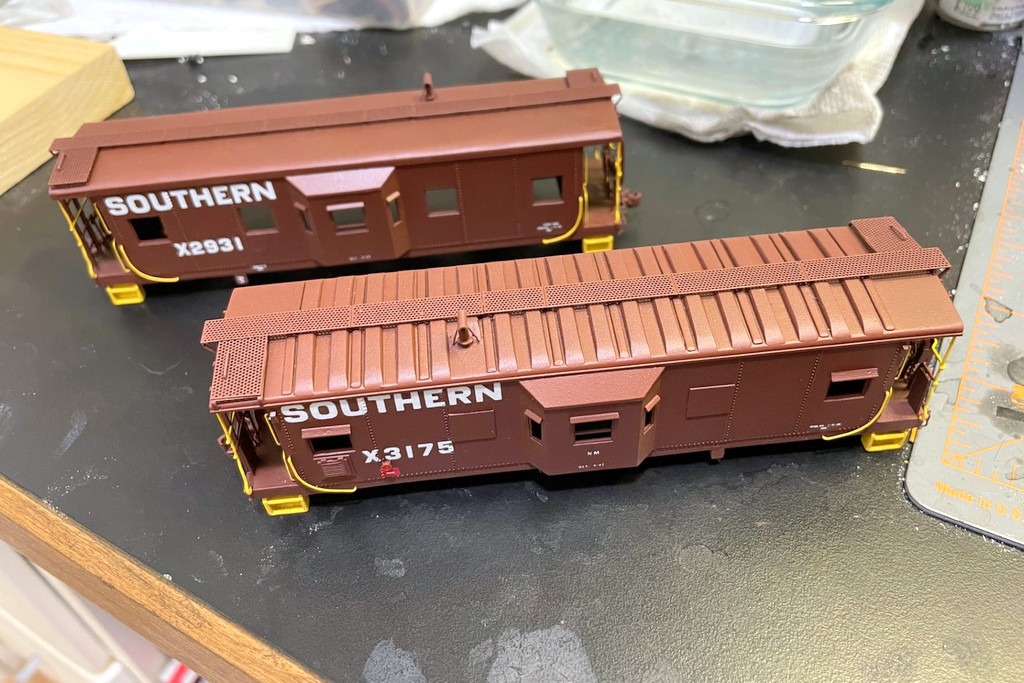
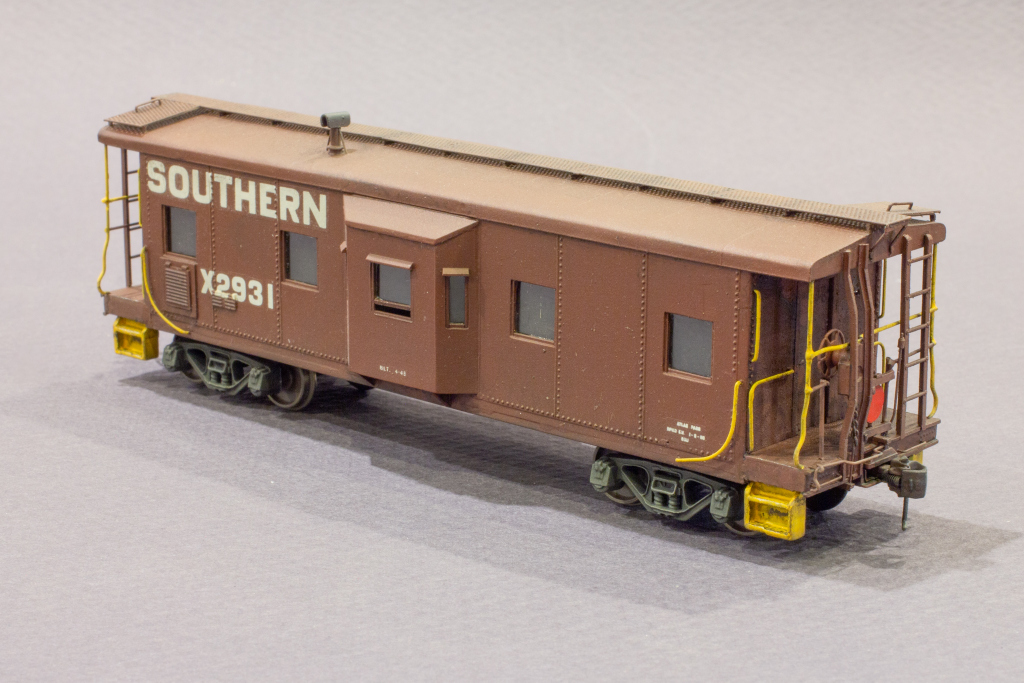
Finished Southern HO-scale cabooses in “Brosnan Brown” from heavily modified Athearn kits
In Part 3, we completed the ends and final details, and now the models are finally ready for some paint!
Body Paint
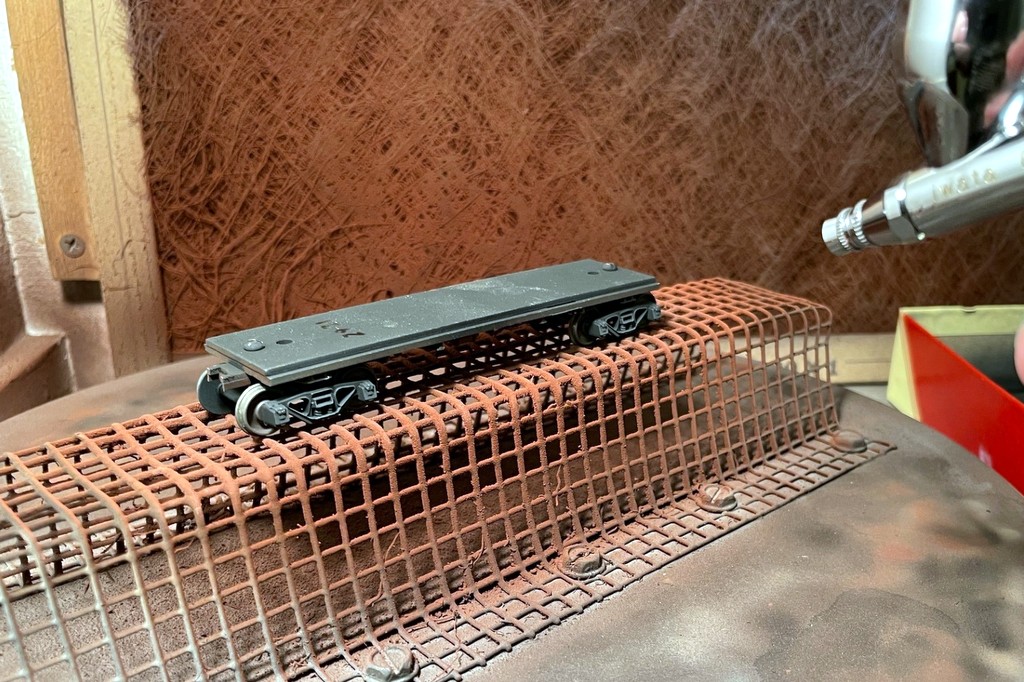
- Prep the pieces. I got my pieces ready for the paint booth by removing the underbody, attaching the metal weight from the Athearn kit, removing the wheels from the trucks, and attaching the truck side frames to the underbody.
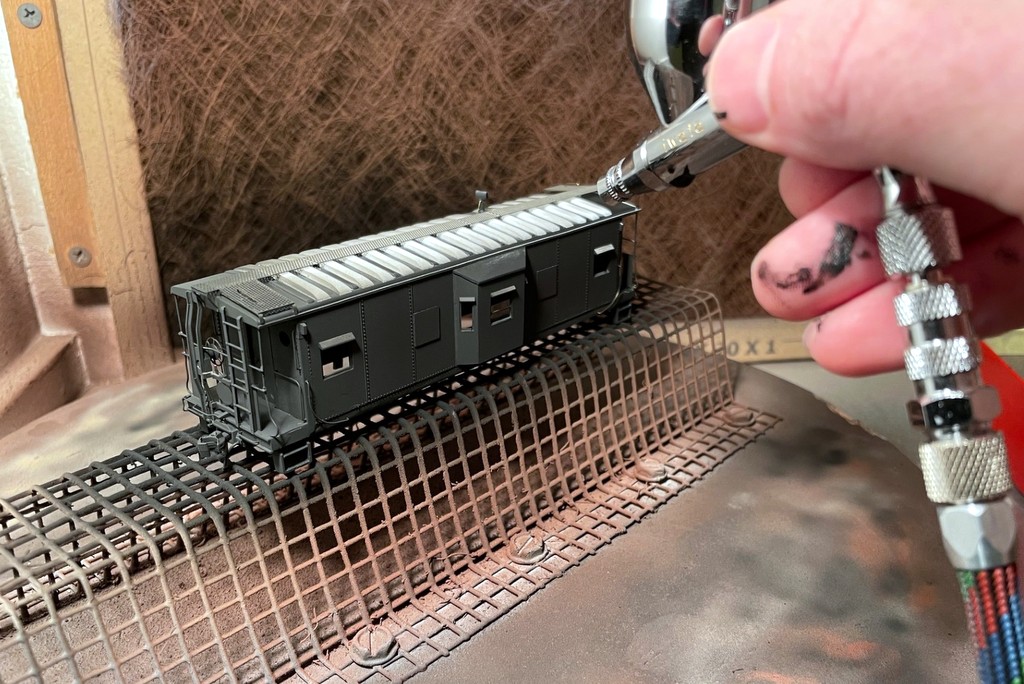
- Prime with black. I like to prime with flat black because I like the way it tends to “pre weather” the lighter colors that go on next. I find black primer prevents “toylike” color no matter what’s sprayed on top of it. For this coat, I used Tamiya flat black thinned about 1:1 with 91% isopropyl alcohol. I used my Iwata Eclipse dual-action airbrush and a pressure of about 50 PSI to apply liberal coats to all pieces until I couldn’t see any more white styrene or shiny wire. This is also a good opportunity to look for major flaws in body work that may need to be addressed before final paint and decals. I also painted the top of the metal weight so you wouldn’t see a shiny floor if looking through the windows.

83. I sprayed the underbody and metal weight in black

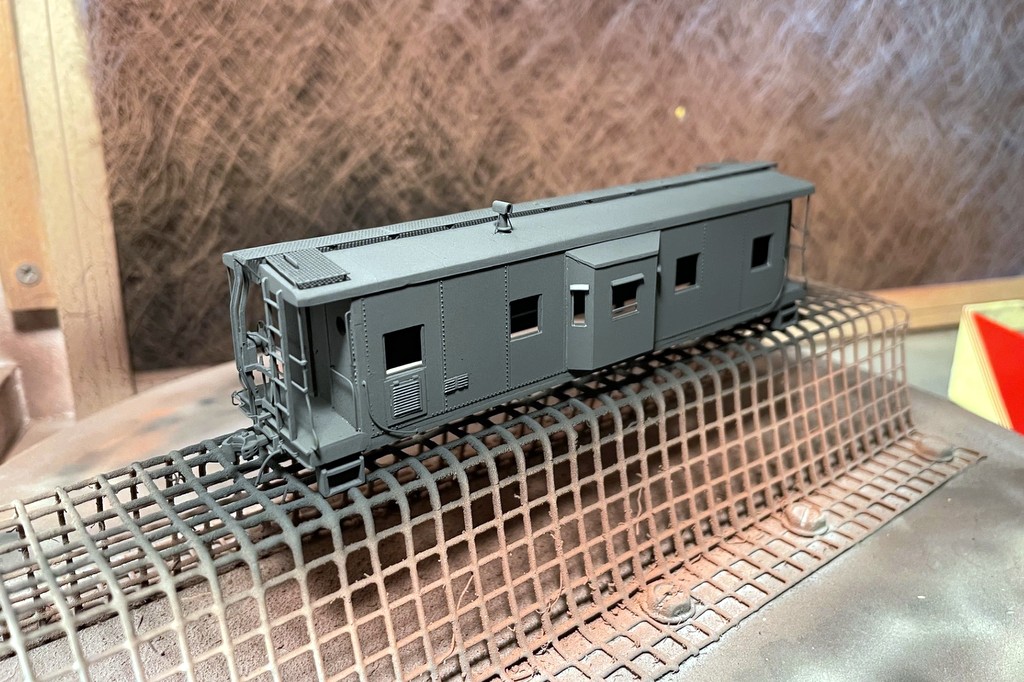
84. I first primed the models with flat black

85. Cab X2931 with black primer complete
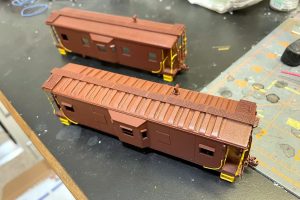
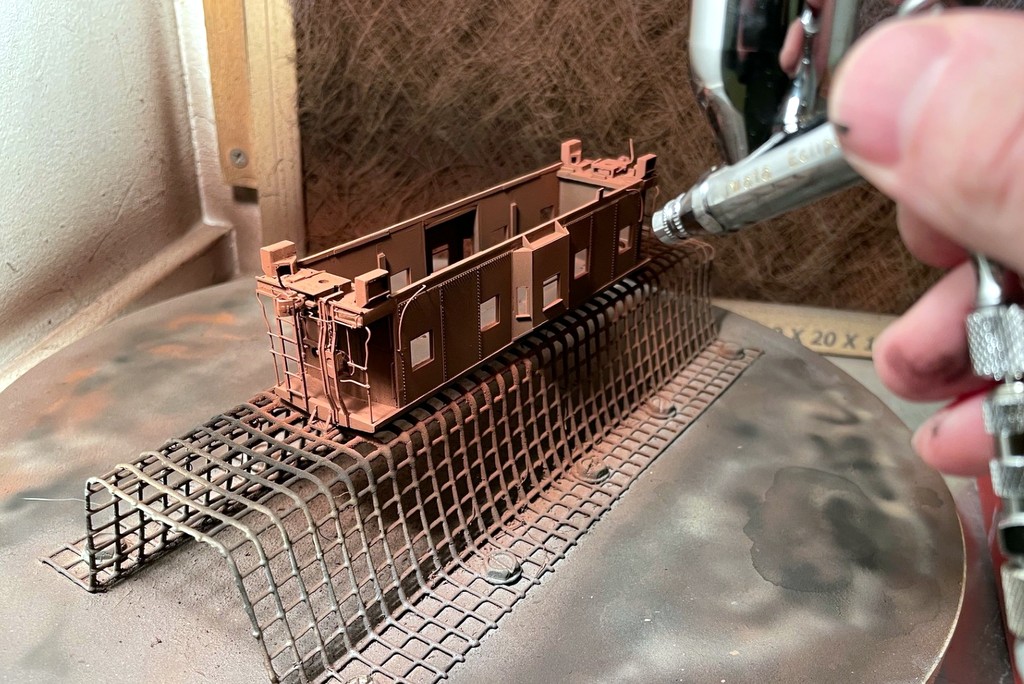
- “Brosnan brown” paint. The Southern used a pretty standard oxide red for their freight cars, and in the ’60s, their cabooses. I approximated this oxide red by mixing about 3 parts Tamiya NATO brown with 1 part Tamiya flat red. I sprayed this in about a 1:1 paint:alcohol mixture on everything that was painted black in the first coat EXCEPT I had removed the trucks (they stay black). I sprayed in multiple thin coats, starting with the model upside down and then right side up, making sure to spray the undersides of the roof ends, between the roof and the roofwalk, and the backsides of the end cage details. Once I was satisfied, I left the paint to dry overnight.

86. I started the brown by spraying the undersides first

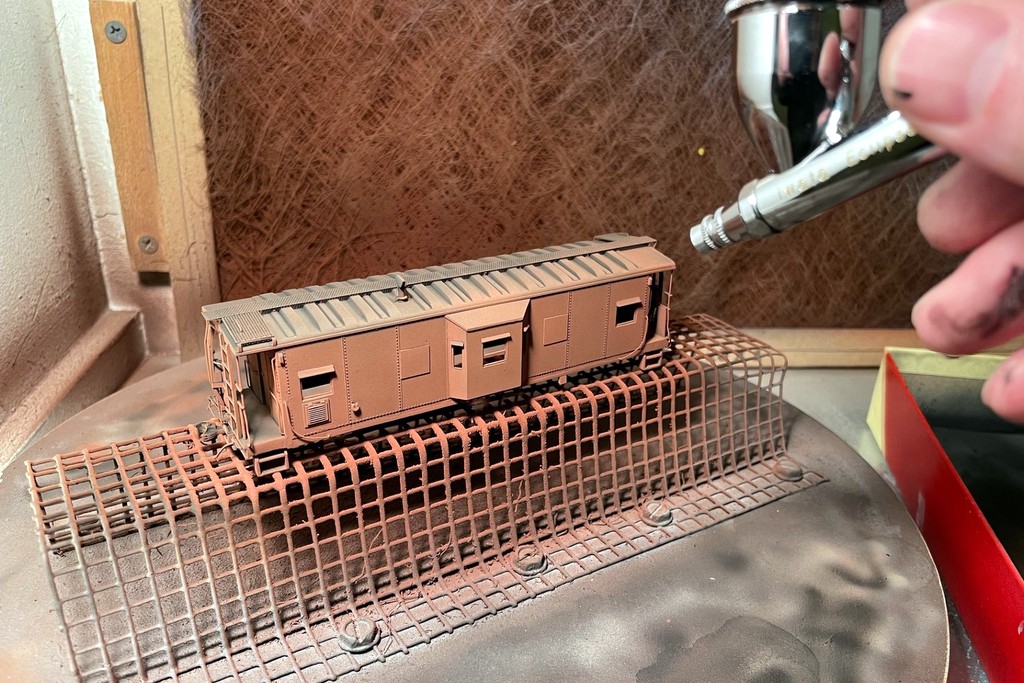
87. I finished painting the brown over the entire body, making sure to get all the nooks and crannies
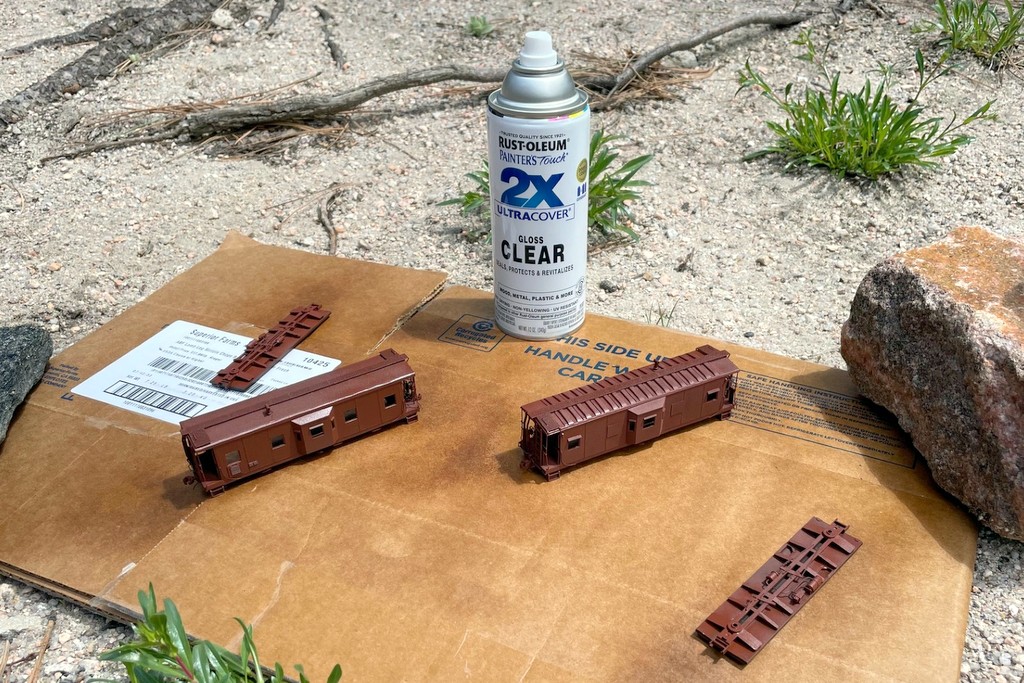
- Spray gloss lacquer. The next day, I applied a couple coats of Rustoleum gloss clear spray lacquer out of a spray can. I’ve had good results with this as long as I spray when it’s warm and not windy and move in thin coats. I’ve found even if there are a few pronounced drops, they tend to fade away with weathering.
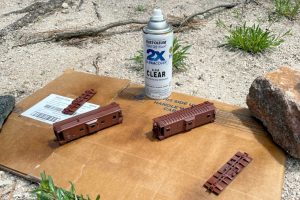
88. Before decaling, I sprayed the models with a coat of gloss spray lacquer
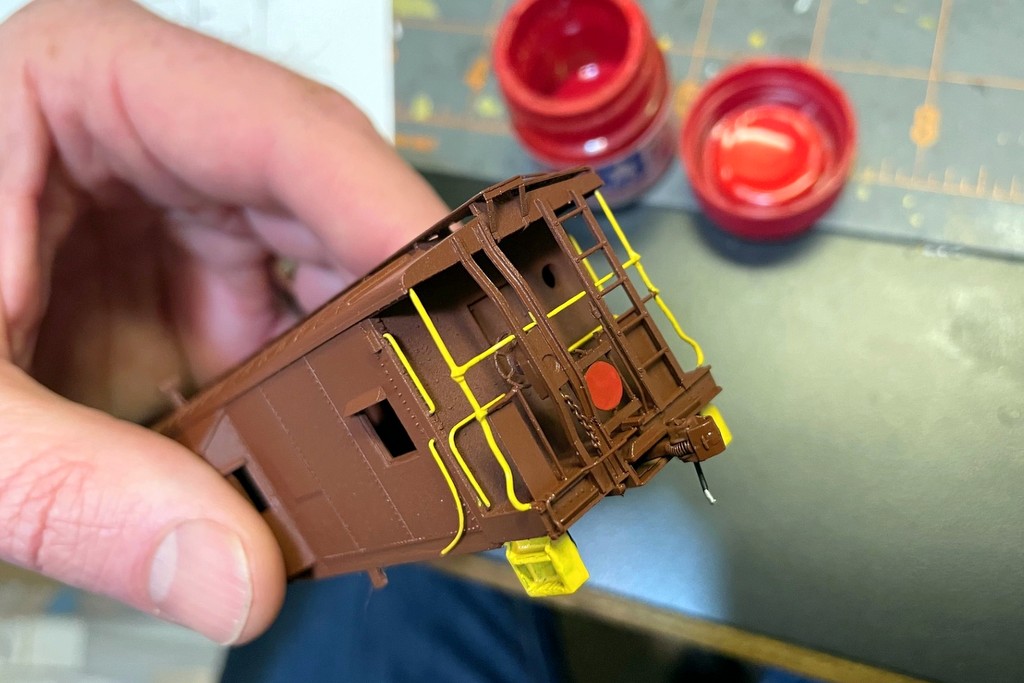
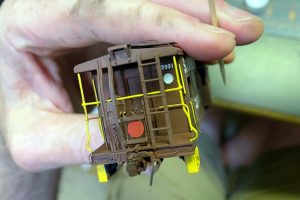
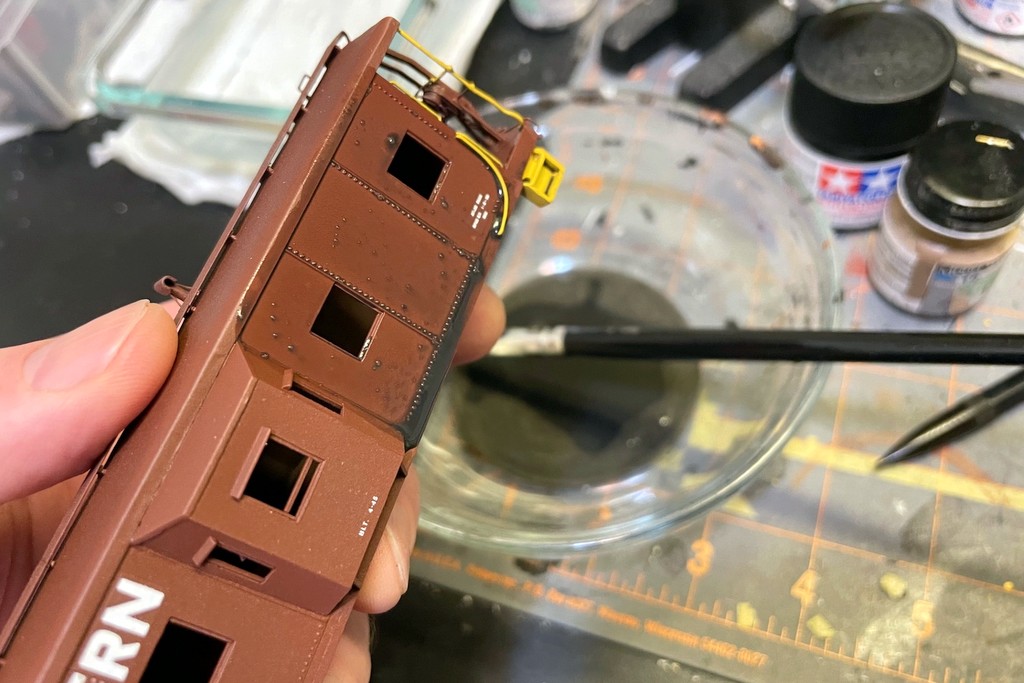
- Detail painting. Once the gloss coat dried, I painted the steps, grabs, and marker panels yellow. I used an old Testors Model Master yellow that went on more glossy than I’d hoped, so I would recommend a different slightly orange and flat yellow paint of your choosing. I painted the backside (soldered side) of the circular marker panels yellow as well. It took a few coats to get things to look decent. For the other side of the marker panels, I used Tamiya flat red. I put three coats on each side of the panels because I anticipate some wear-and-tear from turning the panels. Finally, I painted the air hoses flat black and added a little silver on the end and angle cock area with a silver Sharpie.
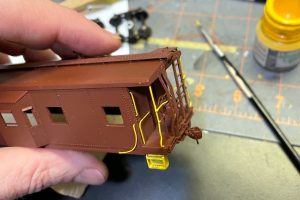
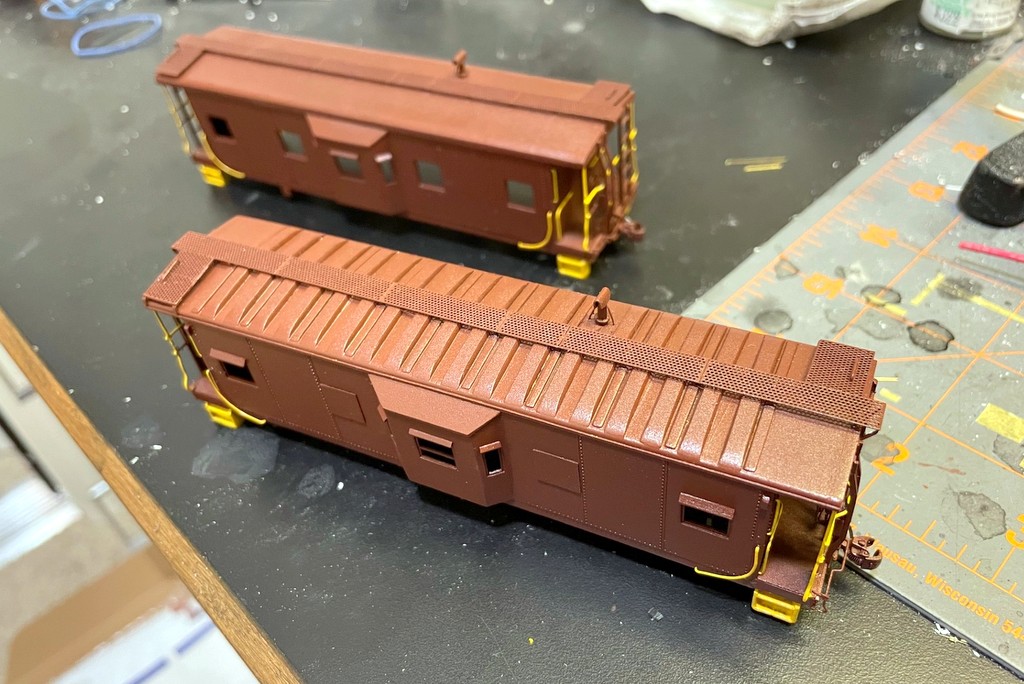
89. The steps, grabs, railings, and one side of the marker panel were painted yellow
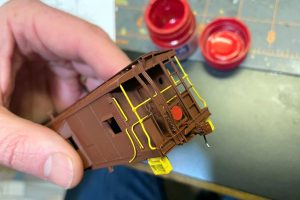
90. One side of the markers is painted red
91. Models ready for decals

Decals
- Decal sets used. I believe the best decal set to use for this project is a Microscale MC 4084 set. However, these were out of stock and tough to find, so I ended up using older sets of Herald King C-90 decals which I’d sprayed with matte spray lacquer to ensure they wouldn’t break apart during application. This set provided the Southern lettering, numbers, and end numbers. I augmented with Microscale 87-2 freight car data set for the build dates and some other details. Finally, I used a K4 decals Southern 70-ton hopper set that I had laying around for some additional detail decals. I couldn’t read the small print in photos, so I ended up using blocks of letters that looked to be the right shape as stand-ins. The build dates are on the bottom of the bay window, and X3175 had small “NM” initials in the middle of its bay windows which I cobbled together from stencils in the Microscale 87-2 set.
- Decal techniques. My decaling technique is to apply both MicroSol and MicroSet liberally and often both before and after applying decals. I’ll set the decal in water, apply a coat of each, apply the decal when it slides, work it to the right spot with the tip of a No 11 X-Acto blade, and press the decal in place with a damp paper towel. Then I’ll add more layers of MicroSol and MicroSet, occasionally pressing the decal into the body again with a damp paper towel. If the decal starts to “haze” underneath, I’ll poke it (and any bubbles) repeatedly with the X-Acto tip to perforate it, then soak it again with MicroSol. I repeat this for all decals until they’ve settled in and look good.
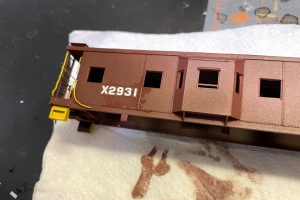
92. I applied the decals with liberal amounts of MicroSol and MicroSet
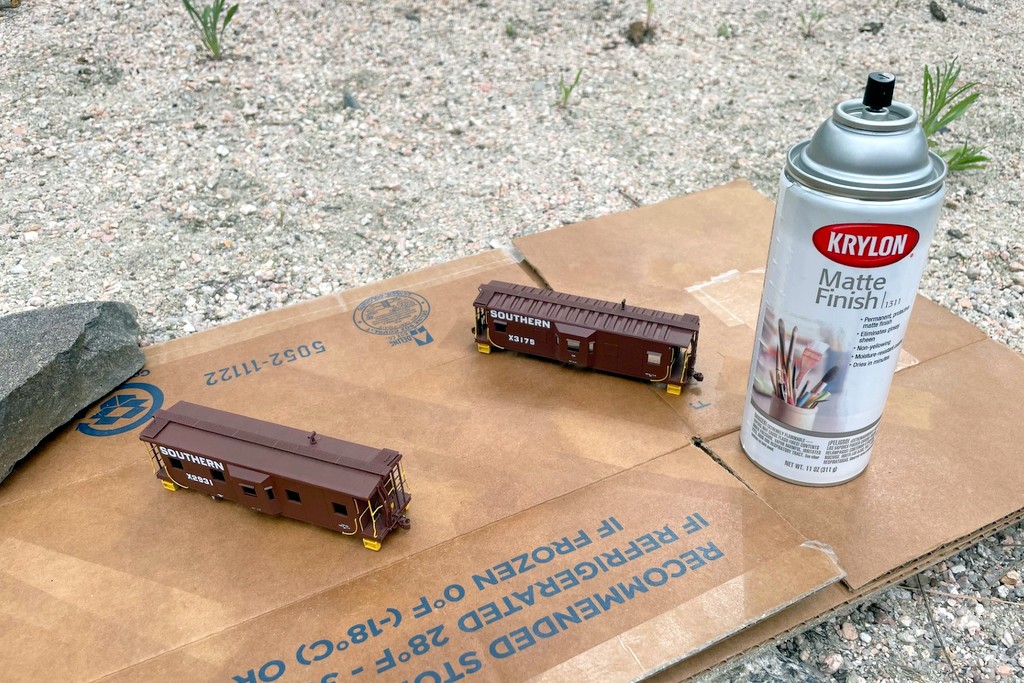
- Spray matte lacquer. After the decals dried for a day, I sprayed them with Krylon matte spray lacquer using thin, even coats.
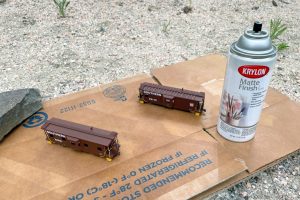
93. The decals were sealed with clear mattle spray lacquer finish

94. Painted models ready for weathering

Weathering
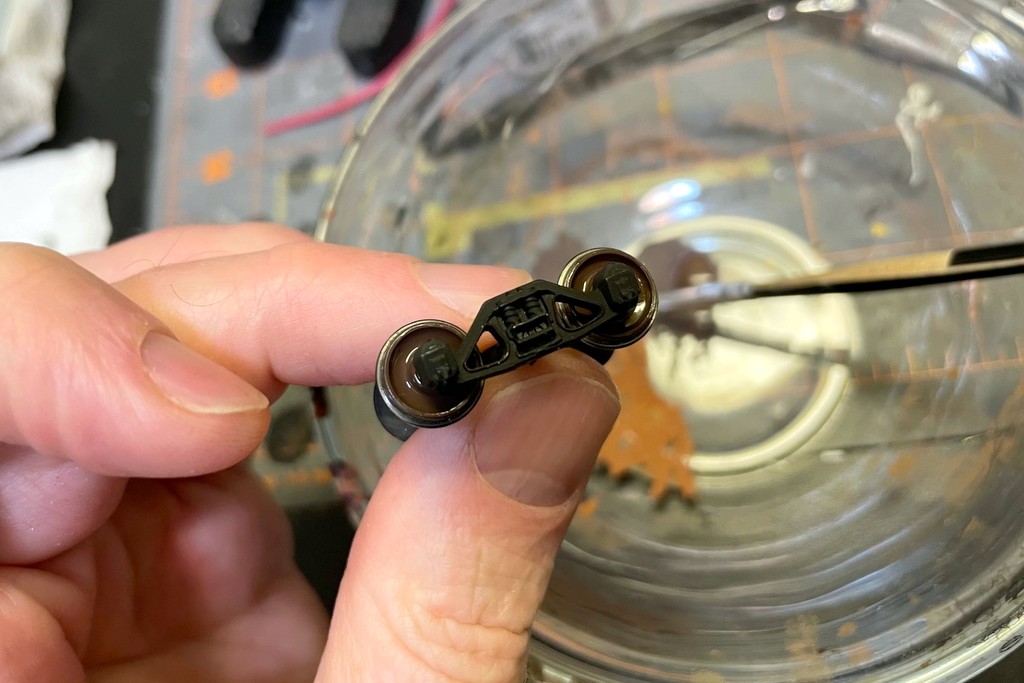
- Paint wheels. Before washes and airbrushing, I painted the metal wheels. I painted the backs and axles with Tamiya flat black, and I painted the wheel faces with Vallejo dark rust using a small brush, making sure to leave the treads clear of paint. Once dry, I installed them into the trucks and attached the trucks to the underbody again.

95. The wheels were hand-painted with a dark rust color
- Black wash. My first weathering step with these was a flat black wash. I mixed a few brush-fulls of Tamiya flat black into a couple ounces of water with a drop of soap to make my wash. Working one surface at a time, I used a large brush to apply the wash, letting it settle into the details for around 30-60 seconds. Then I used a damp paper towel to wipe off the wash, dabbing into pockets in the details and wiping straight downward on vertical surfaces to simulate rain streaking. I gave each 2-3 coats of wash until I was happy with it.

96. I applied a couple layers of flat black wash to every surface
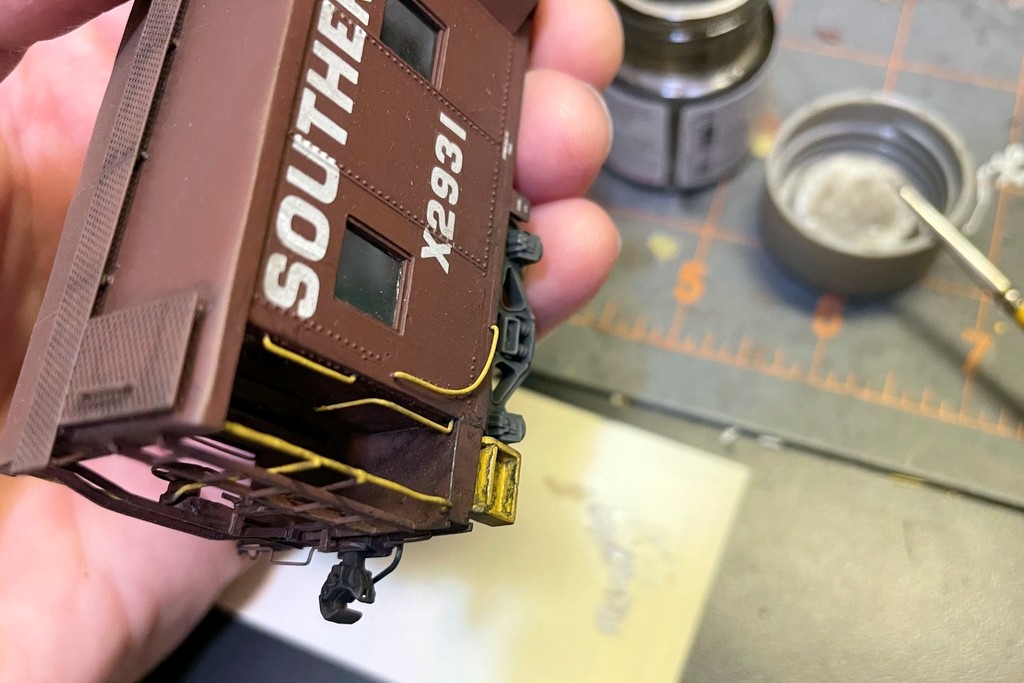
- Couplers. I made a thicker black wash specifically for the couplers, which at this point were brown. I worked this thicker wash into the coupler crevices, left it for a few minutes, and then wiped it off. It was effective in turning the couplers to a grimy rust color which looks about right to my eye.
- Add windows. I wanted just a little dirt on the windows (airbrushing), so with the wash complete, I went ahead and added the windows. I used Microscale Krystal Klear to fill in the porthole windows which turned to “glass” when dry. I cut pieces of transparent .010″ sheet styrene for the remaining windows and secured them with Krystal Klear. This was my first time using Krystal Klear, and man did I overdo it! I ended up with a thick mess of glue along the window edges which was very obvious and looked bad. I used a wet Q-tip to carefully rewet the glue and scrub it off of the visible portions of the windows. While it was time-consuming, I’m very glad the Krystal Klear cleans up pretty easy!
97. I used Microscale Krystal Klear to make the porthole windows and to glue the styrene windows
- Airbrush tan. Once the windows dried and were clean, I went back to the spray booth and applied a layer of Testors Model Master dark tan. I haven’t found a replacement for this color yet, but it’s just as it sounds, a darker tan color that works great to simulate both fading and dirt. I hit the roofs, underframes, and trucks pretty decently. I sprayed pretty lightly on the sides, just enough to fade it slightly and to add a little dirt to the windows. The couplers and ends got a little heavier coat as well.

98. Back in the paint booth for a light spray of dark tan grime and fading
- Dry brush silver. I took it pretty easy on the dry brushing for this project, using only a little silver to show some wear on the steps and end platform edges. The trick to dry brushing, I think, is to start very light and build up in layers. I kept the layers here very light.

99. A little silver was used the drybrush some paint chipping onto the edge of the steps
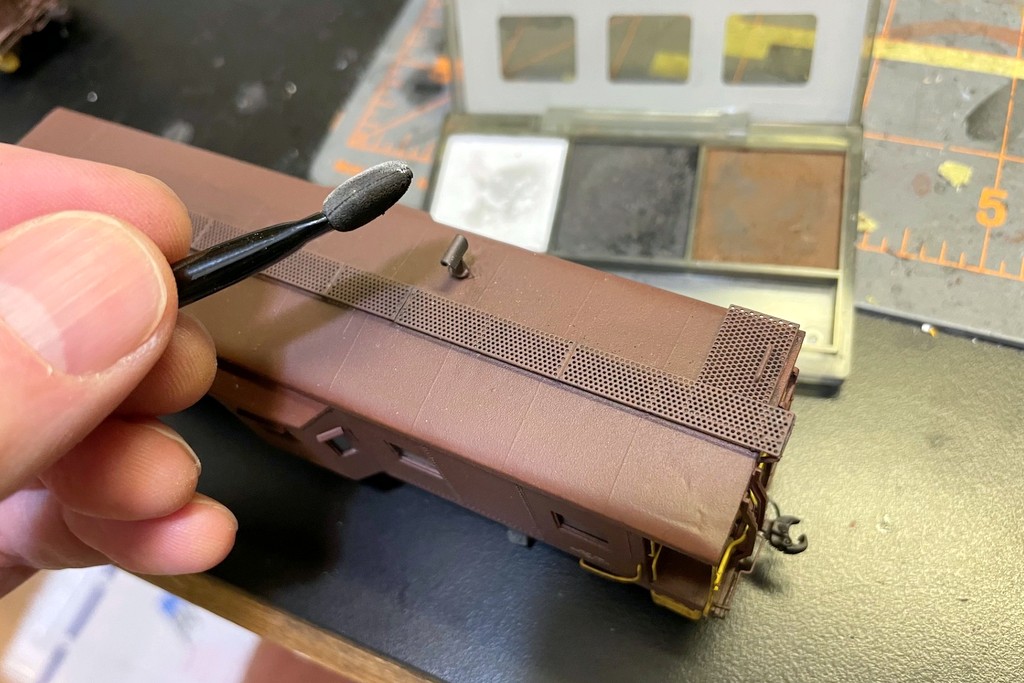
- Apply black smudge. The final weathering step was to apply Tamiya Weathering Master “soot” to the smokestack using the Tamiya applicator. I also applied a little “soot” to the underbody details like the brake air reservoir and the lower edges of the body, especially above the trucks.

100. Some Tamiya Weathering Master powder helped add some soot to the smokestack and grime to the underbody
- Clean the wheels. At this point, the wheels had picked up a slight layer of airbrushed tan, so I scrubbed this off using a piece of bamboo skewer–it’s tough enough to do the job but won’t scratch the metal or plastic.

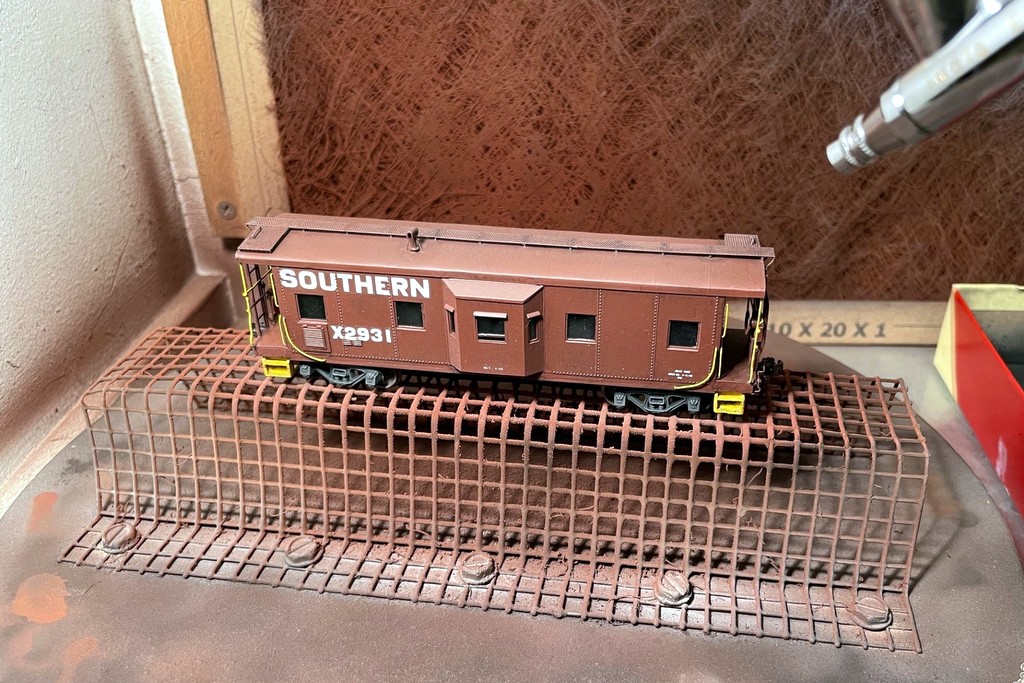
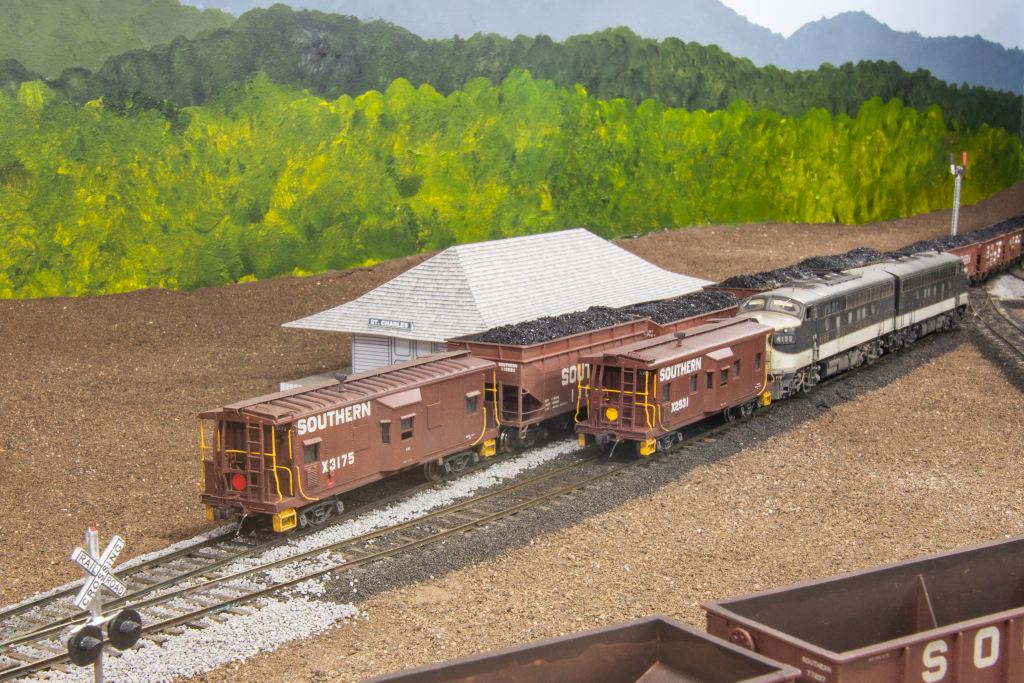
That’s it–models complete! As I said in Part 1, these were probably the most challenging models I’ve ever built. Even if each step wasn’t particularly difficult, the sheer number of modifications and details, and the fact that most needed to be scratchbuilt, made this a tough project. Still, I’m extremely happy with how these turned out, and while their dimensions aren’t perfect, they certainly capture the look and feel of the prototype. My coal trains look a lot better now with these models at the rear, and I can finally retire the unpainted Atlas cabs that have been gracing my trains for several years (I’m embarrassed to say). If you’re a Southern modeler, I hope you take the leap and try a version of this project yourself. Even if you don’t do every step, any step you take to add these Southern-specific details will make your model more believable.
-
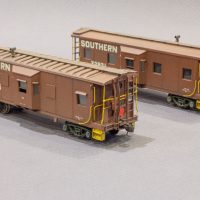
- Finished Southern HO-scale cabooses in “Brosnan Brown” from heavily modified Athearn kits
-
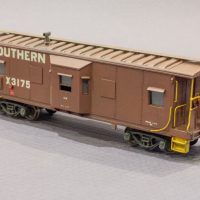
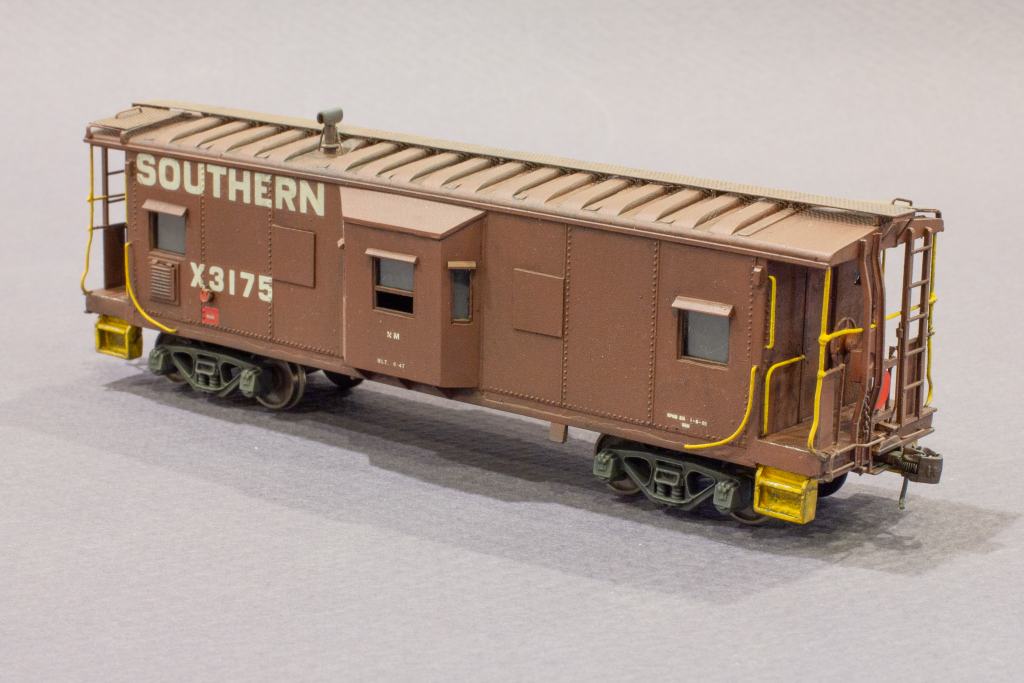
- 3/4 view of finished Southern caboose X3175
-

- 3/4 view of finished caboose X2931
-
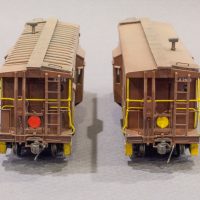
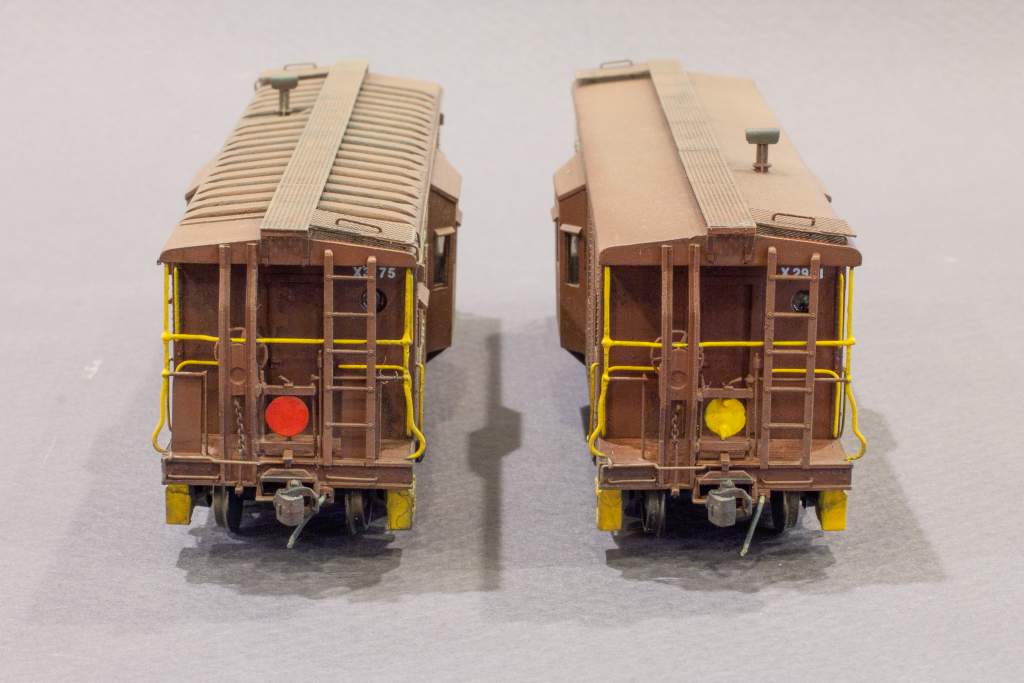
- Finished ends showing the switchable yellow and red marker panels